
Brrrr, did it just get freezing again where you were?
Tired of snow and frost and sun? Have you ever had a close look at what delicate, fascinating structures snowflakes are? None of them look the same, and they sparkle and glitter beautifully in the sunlight. And that's exactly what I want to bring into my house as decoration. You don't even need much for these beautiful, glittering snowflakes as 3D decorations.
Material for your 3D snowflakes
- Poplar plywood in 4 mm (only with the X-head!)
- Acrylic varnish spray in white
- Glitter spray with silver glitter particles
- wood glue
Plywood Pack of 5
Sale price
From CHF 30.00

Mr Beam Poplar plywood suitable for [x], 4mm, A3
Sale price
From CHF 34.00
Mr Beam poplar plywood 3mm, pastel (various colors)
Sale price
From CHF 21.00
Laser the 3D snowflakes
Start your Mr Beam and open the Mr Beam software in your browser.
I bought the file for my DIY 3D snowflakes on Etsy, where you can find many other providers to make snowflakes like this.

After purchasing the file, you can download it to your PC.
To make it easier to split up the laser jobs afterwards, you can first edit the file in your graphics program, for example Adobe Illustrator, CorelDraw or Affinity Designer.
If you colour the outlines of the snowflakes in a different colour, you can skip certain colours when lasering in the Mr Beam software if necessary. Then simply save the file for your DIY 3D snowflakes on your PC and then drag and drop it into the workspace of the Mr Beam software.

Here you can split the file to split it into multiple laser jobs.
To do this, select “By Line Colour”. Now you have each snowflake as an individual object and can place them on your footage using Camera Preview.

Divide your 3D snowflakes into several laser jobs
For example, if you find that you can't laser all the snowflakes at once, you can skip the respective line colour.
This is easy to do in the laser settings. You can access the material selection via “Laser”. Here, you now select your material and the material thickness. In my case, the plywood is poplar in 4 mm.

In my case, the red and yellow snowflakes no longer fit on my material, so I dragged those line colours to the “Skip” box.
Mr Beam lasers the 3D snowflakes
After focusing the Mr Beam laser head, you can start the laser job.

When the Mr Beam is finished with the first laser job, take out the poplar plywood and put new material in it to laser the remaining parts for your 3D snowflakes.
Isn't it always great when even such delicate parts simply fall out of the poplar plywood panel when you take them out because they were cut perfectly by Mr Beam?!

Make the 3D snowflakes
White 3D snowflakes glittering in the sunlight
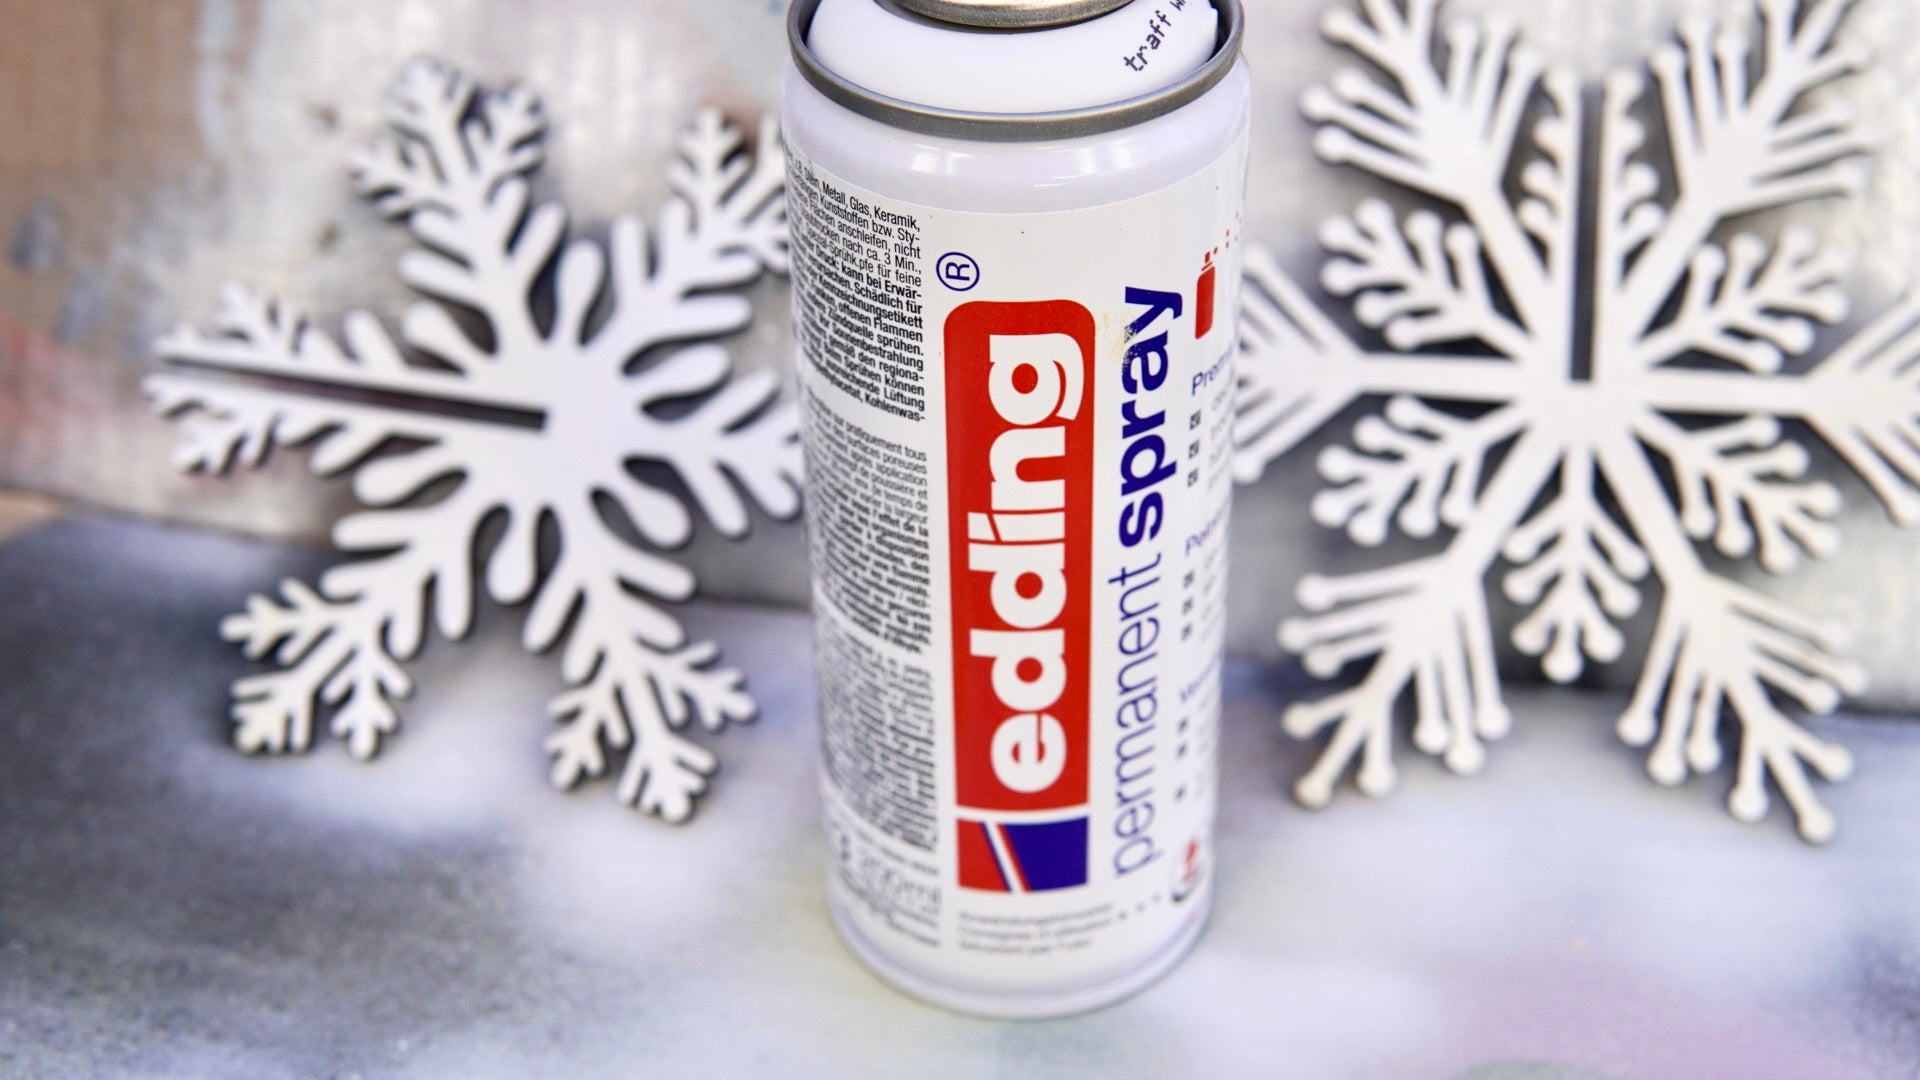
To paint your snowflakes, you will need
- white acrylic paint for spraying
- silver glitter spray
- Gloves
- Mouth guard
- Paint booth or a large cardboard box placed on the side
- and a well-ventilated place protected from wind and rain.
Now put on the disposable gloves and your face mask.
First, the snowflakes turn white. Prepare the spray paint according to the manufacturer's instructions and follow the instructions when painting. This way you get the best possible result.
Most spray paints have a ball in them that you hear when you shake them. Shake the can for a few minutes and do a test on a piece of cardboard or something similar.
Then spray your snowflakes thinly with the white paint from one side at a distance of approx. 20 cm.
For poplar plywood, a thin application of paint is usually sufficient. Now let this dry briefly until the paint is “dust dry”. This usually only takes a few minutes, and you can then touch it without leaving any marks.
Flip the snowflakes over to paint the other side.
Now let your white painted snowflakes dry against something before you finish painting them with the silver glitter spray.

When the white paint has dried, prepare the spray can with the glitter and then spray your snowflakes first from one side and, after drying, then from the other side.

2D becomes 3D snowflakes
When the glitter varnish has completely dried, you can put your snowflakes together, and they are finished.
To give your 3D snowflakes more stability, you can also glue them.
To do this, apply a very thin strip of glue to both elements of your 3D snowflakes on the opposite side of the slot.

Now slowly stick the two snowflakes together and let the glue dry. If some glue is squeezed out on the sides, you can wipe it off with an ear swab. The smeared, thin layer of glue dries transparent and is hardly visible on the snowflake anyway.
Your DIY 3D snowflakes are ready and can be placed as decorations or even used as hanging decorations.
I wish you a lot of fun crafting and a few nice, sparkling winter days.
Your Rina


