My children wanted to make a birdhouse because we don't have a bird feeder in our garden yet. I thought the idea was so great that I immediately looked for a file for a nice birdhouse in various shops like Etsy and Co.
Important for a homemade birdhouse
- The file should be designed for at least 4 mm, or better yet 6 mm thick wood, to ensure the birdhouse is stable.
- The birdhouse should be easy to clean afterwards.
- The roof of the birdhouse should be large enough to protect the food from rain.
- In general, birds should have good all-round visibility while feeding in order to be able to quickly spot enemies.
Once you have found a suitable file, you can start your joint crafting project. There are no limits to your creativity.
Materials for making a birdhouse with your children
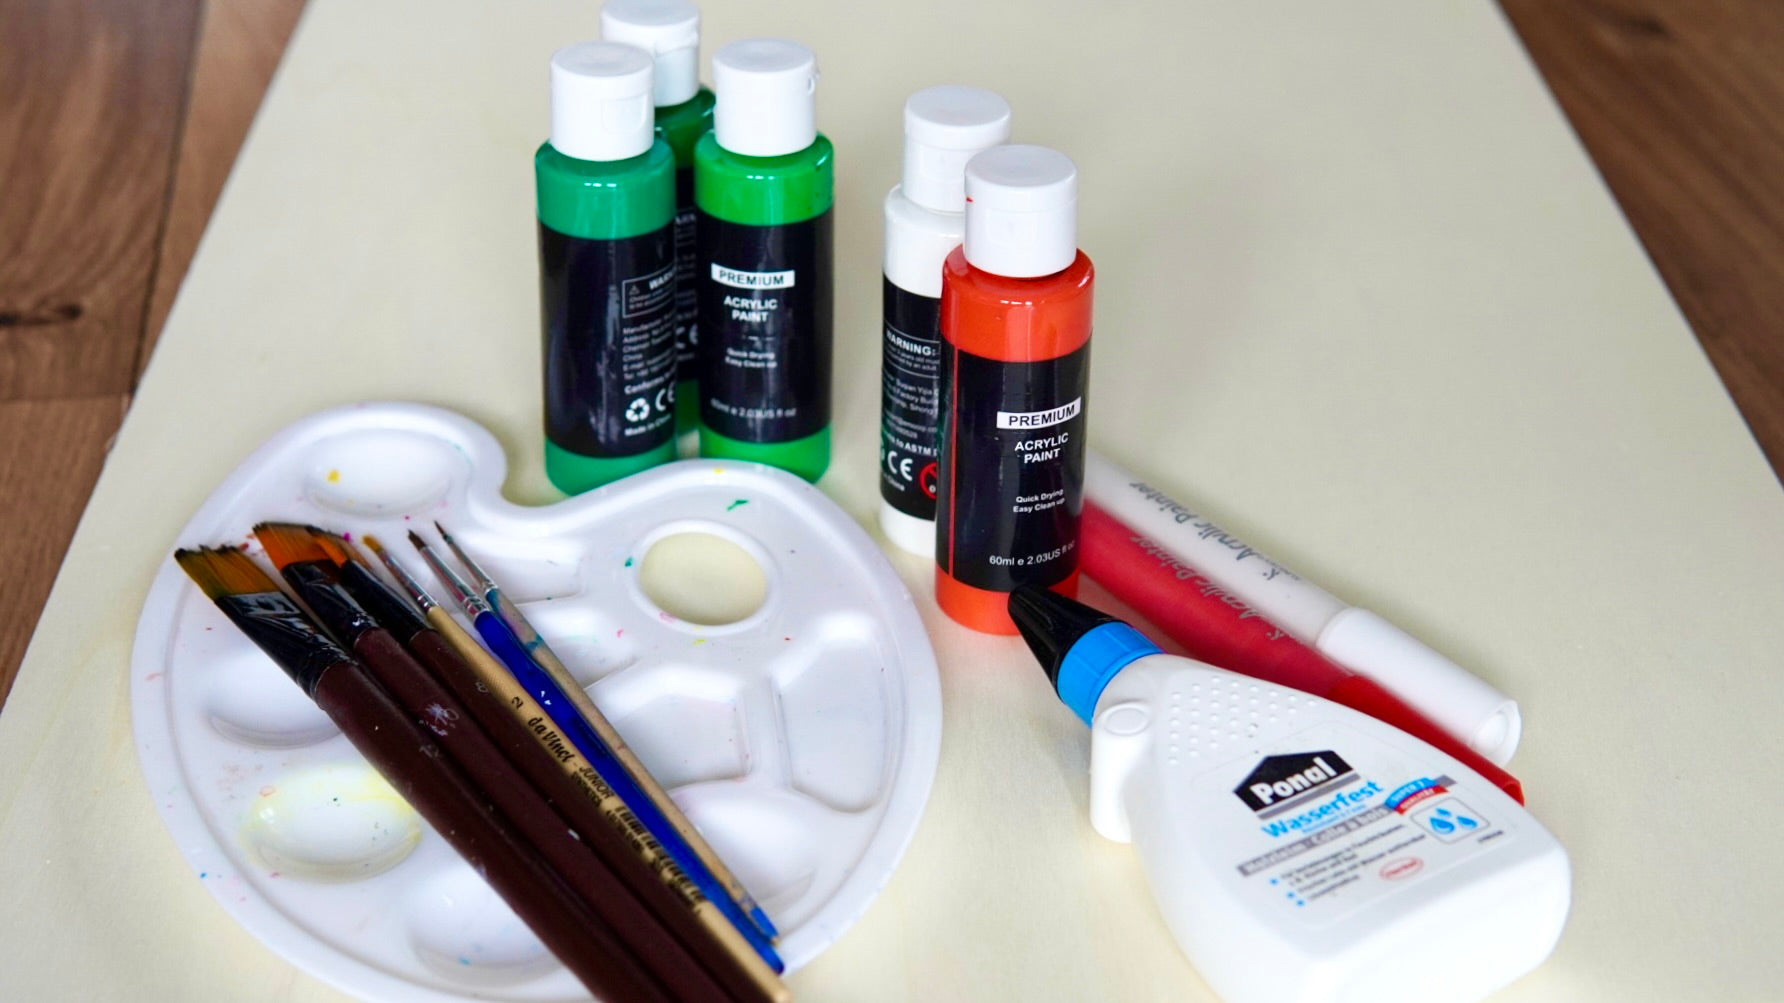
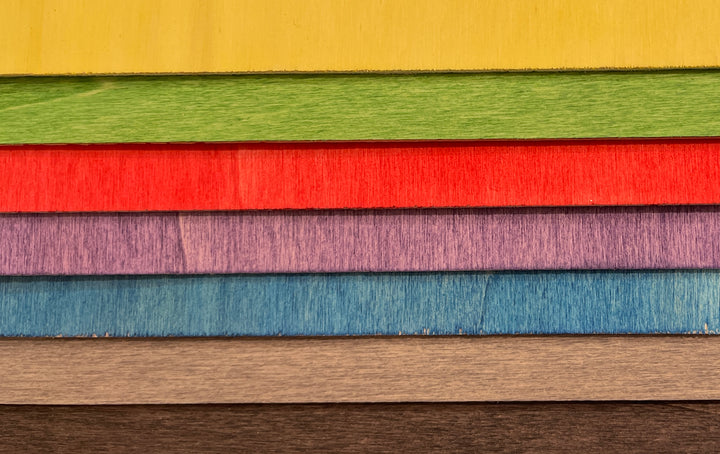
- 6mm plywood poplar
- waterproof wood glue
- Acrylic paints in the colours of your choice
- Brushes in different widths
- a mixed palette
- Acrylic pens for the details
- Clear varnish for spraying
- for the children, possibly painting smocks or old T-shirts
- a sturdy cord for hanging
- and of course food for your birdhouse
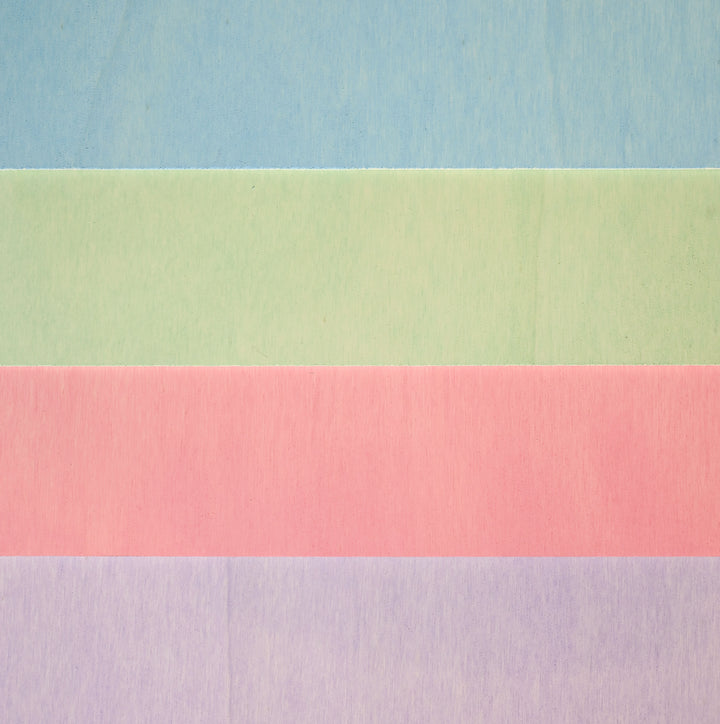
Mr Beam poplar plywood 3mm, pastel, A3, economy pack (4 colors)
Sale price
CHF 62.00
Mr Beam Poplar plywood suitable for [x], 6mm, A3
Sale price
From CHF 45.00
Mr Beam poplar plywood coloured (different colours)
Sale price
CHF 57.00
Lasering the DIY birdhouse
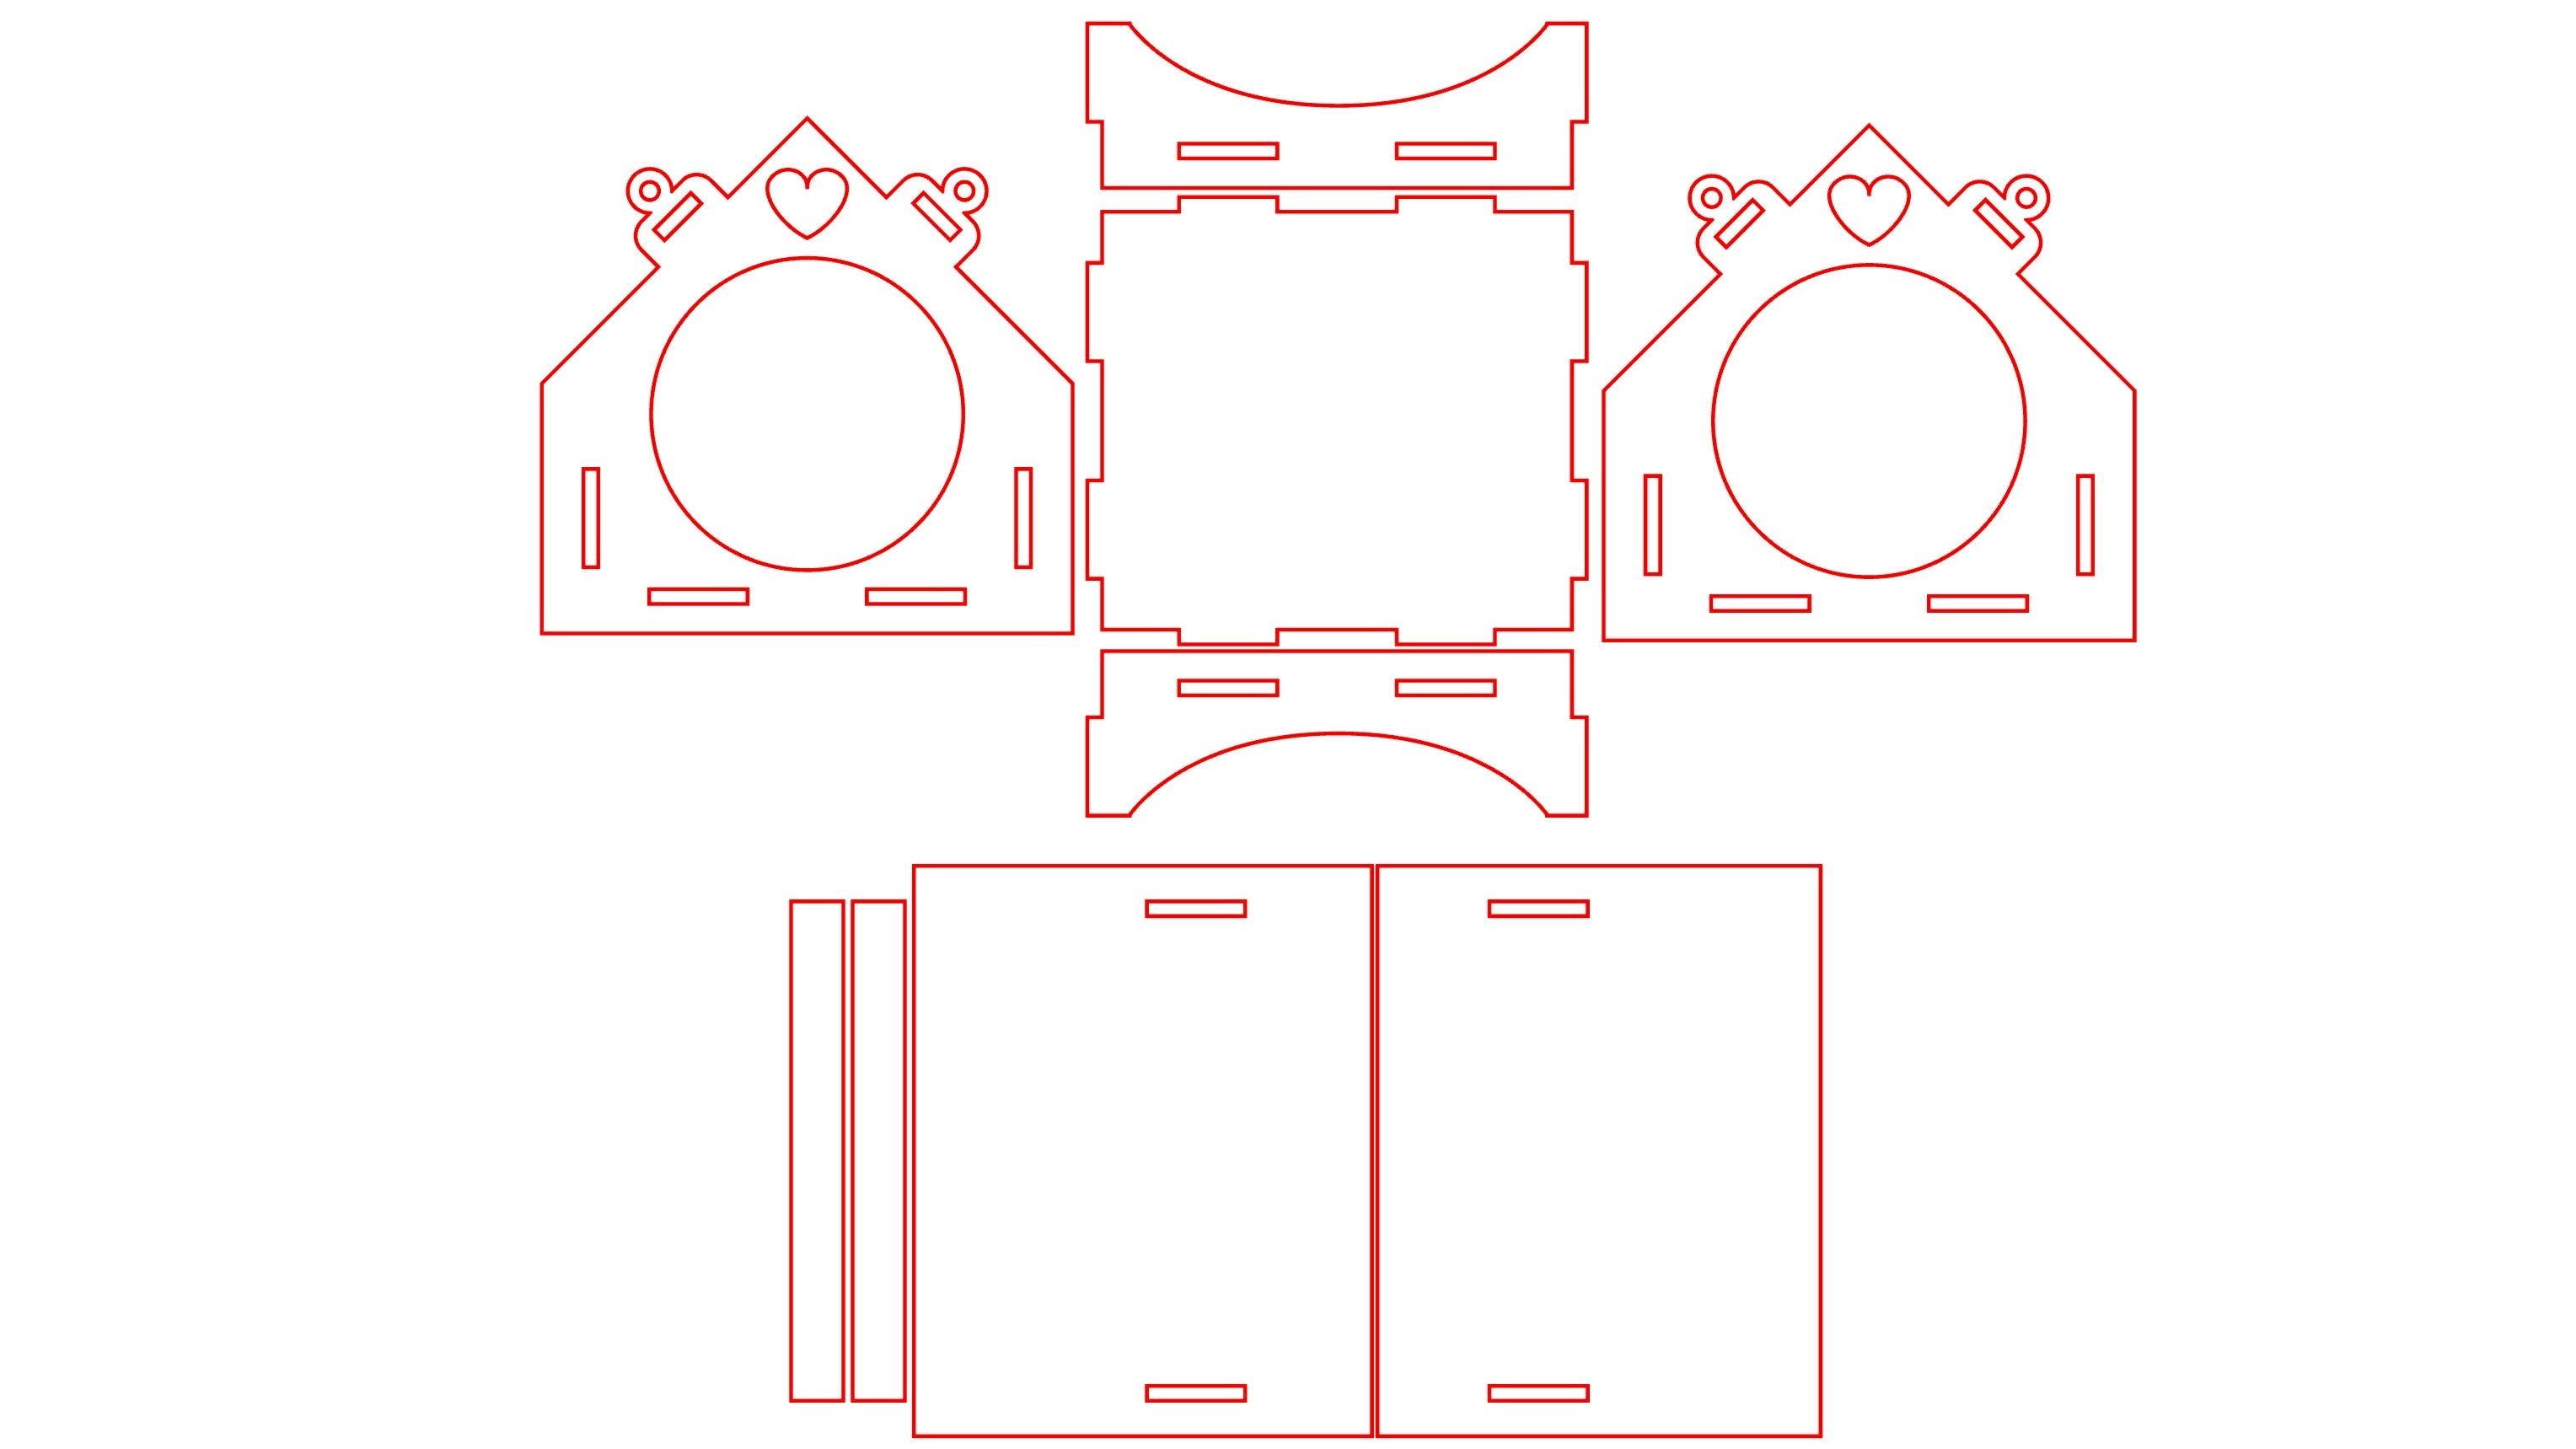
If you have found a nice file for a birdhouse, you can drag and drop it into the workspace of the Mr Beam software. Then you place the first sheet of plywood in the Mr Beam and use the camera preview to arrange the parts of the birdhouse on the material so that you have as little waste as possible.

The settings for lasering are saved in the Mr Beam software. So all you have to do is focus the laser head, and you're ready to go. The Mr Beam is so safe that your children can even watch the birdhouse being lasered - and my children always do it with enthusiasm!
Tip: After lasering, I recommend a quick test fit of all the pieces to see if they fit together before you start painting.
Brush and paint for your DIY birdhouse
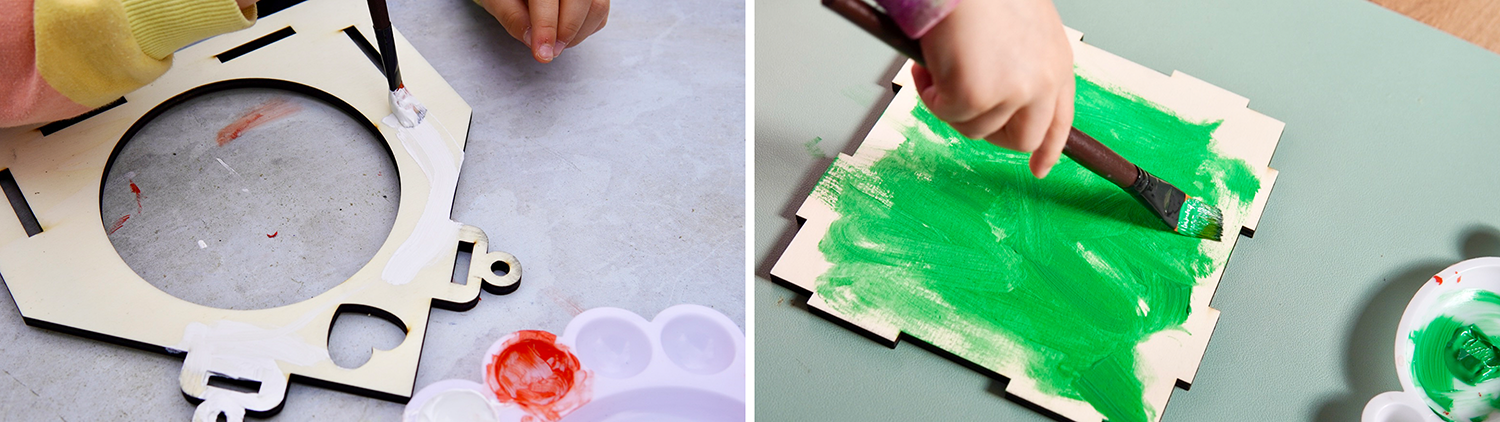
After lasering, acrylic paints and brushes are used.
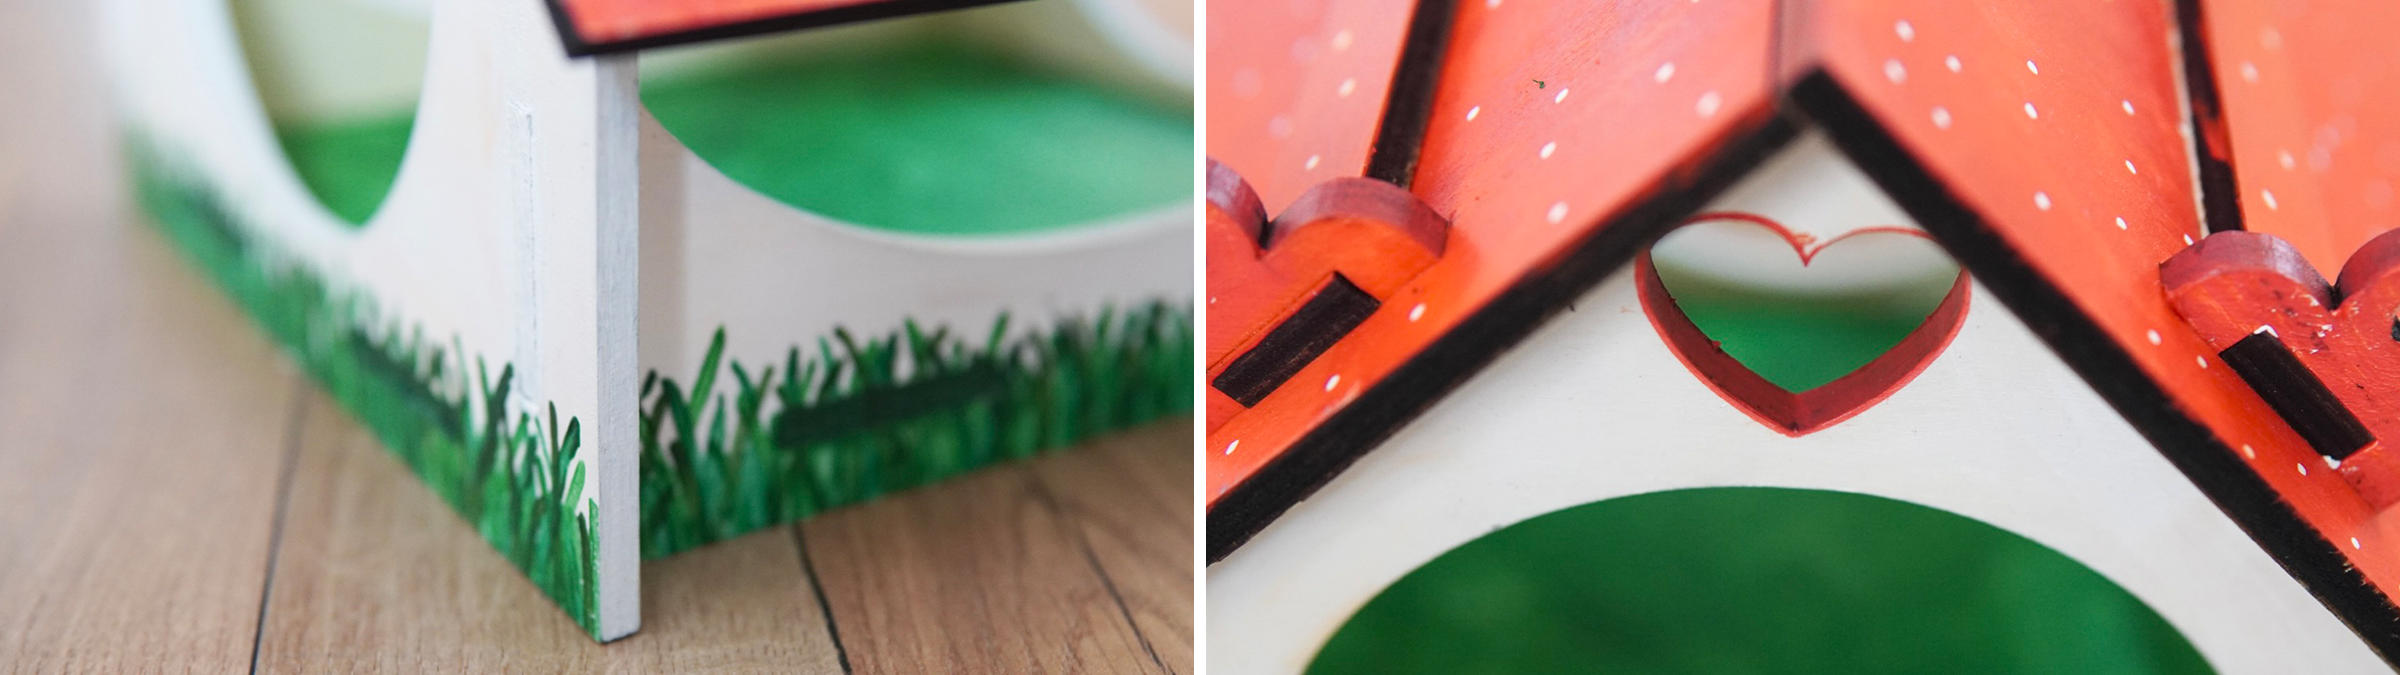
Our birdhouse will have a red roof with white dots and will look like a fly agaric. We'll have to wait and see whether that will deter the birds ;-) .
Red, white and green for our birdhouse
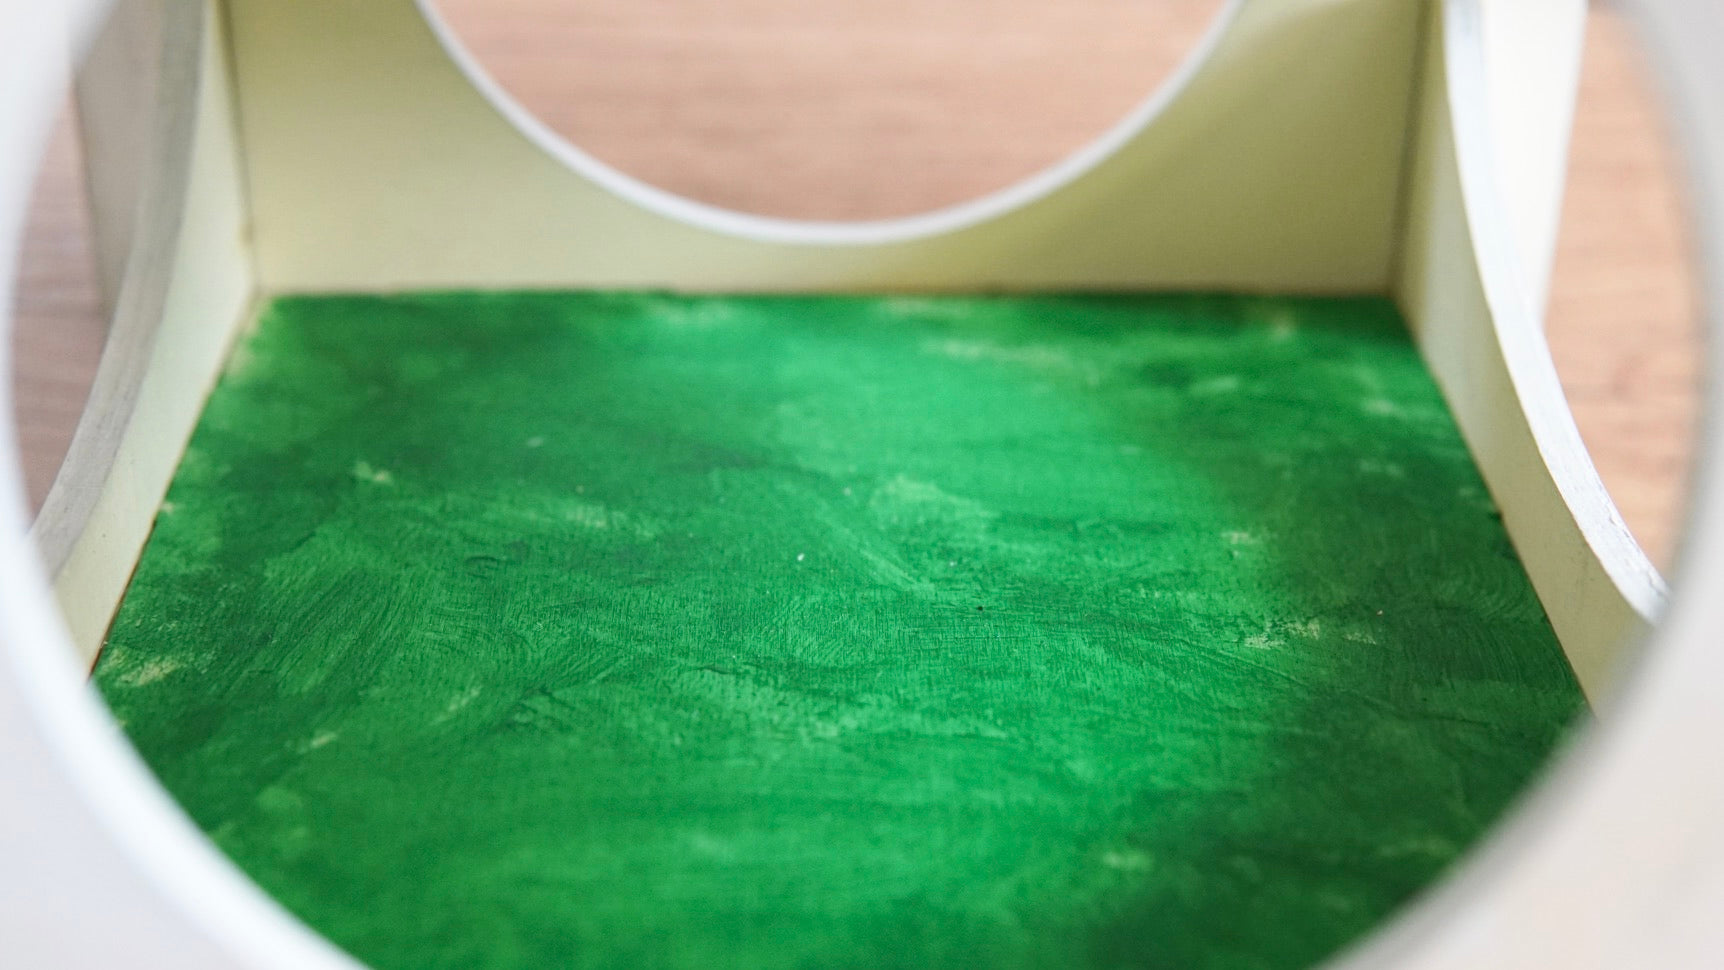
First, we painted the elements of the roof of the birdhouse red. This includes the two roof surfaces and the two struts for attaching the roof. We painted the walls white and the floor of the birdhouse green. Very wide brushes are best for such large areas.
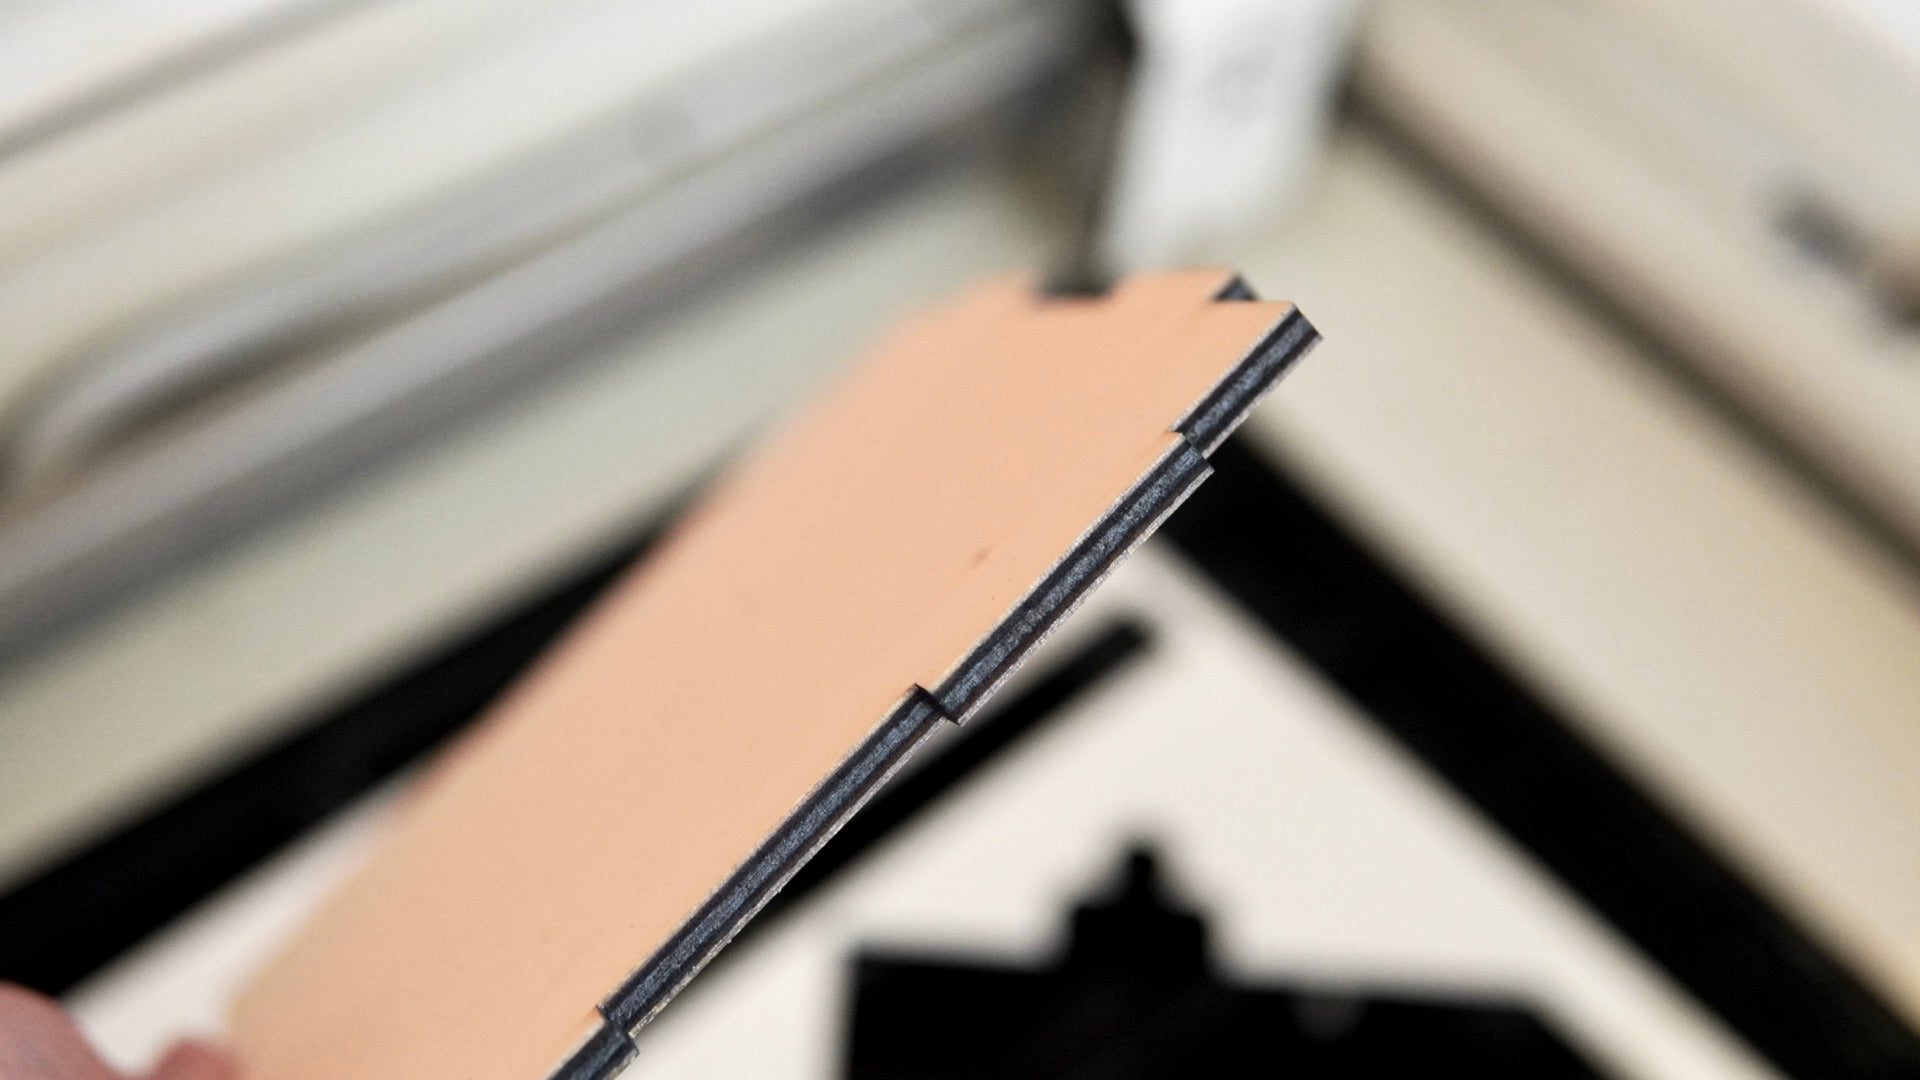
Be careful not to get too much paint into the slots used to assemble the birdhouse, otherwise it will no longer be possible to put it back together.
If paint does get into the slot, be sure to remove it before it dries. This is easy to do with a clean brush or cloth.
Fine work for the DIY birdhouse in toadstool look
Using thin brushes, we painted some grass around our birdhouse. Each of us used a different shade of green, which gave our painted grass a nice 3D effect.
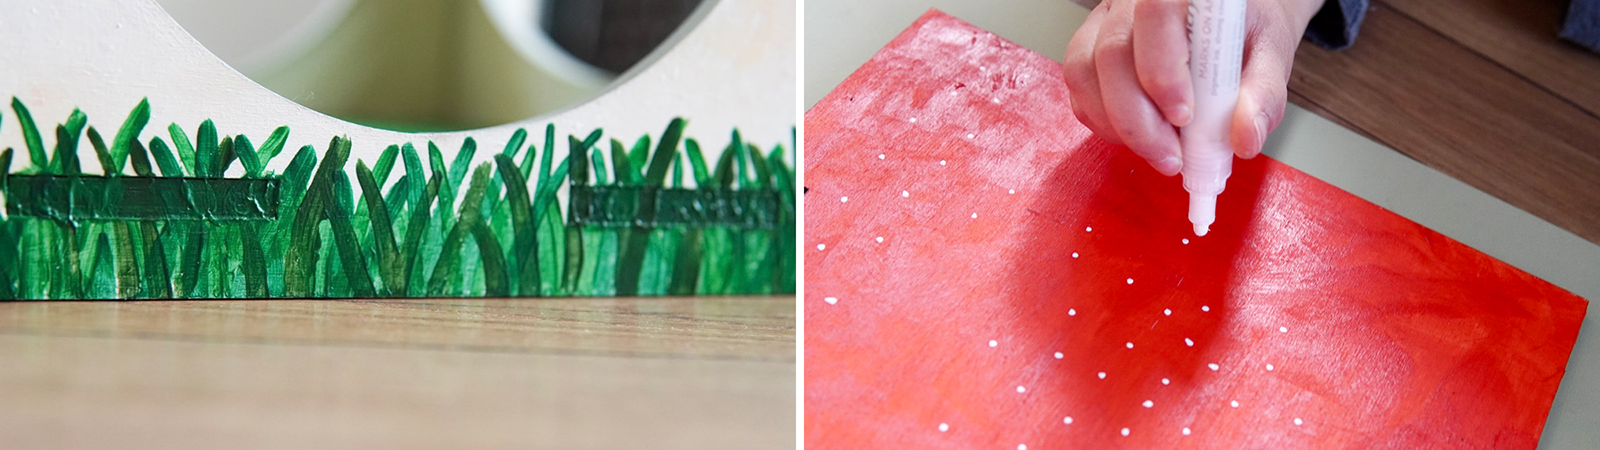
The roof was decorated with white dots, because "a toadstool without white dots is not a toadstool". My daughter used a white acrylic pen and dabbed lots of small white dots onto the roof surfaces and the roof struts.
Assemble and glue the birdhouse
After the paint has dried, the birdhouse is glued together.
Only the side walls are glued to the floor. To do this, apply the glue to the places where the floor and the side walls meet.
I always recommend using waterproof glue for craft projects that are to be used outdoors . The roof remains removable and is not glued, which makes cleaning easier. The roof is held in place by the cross braces.
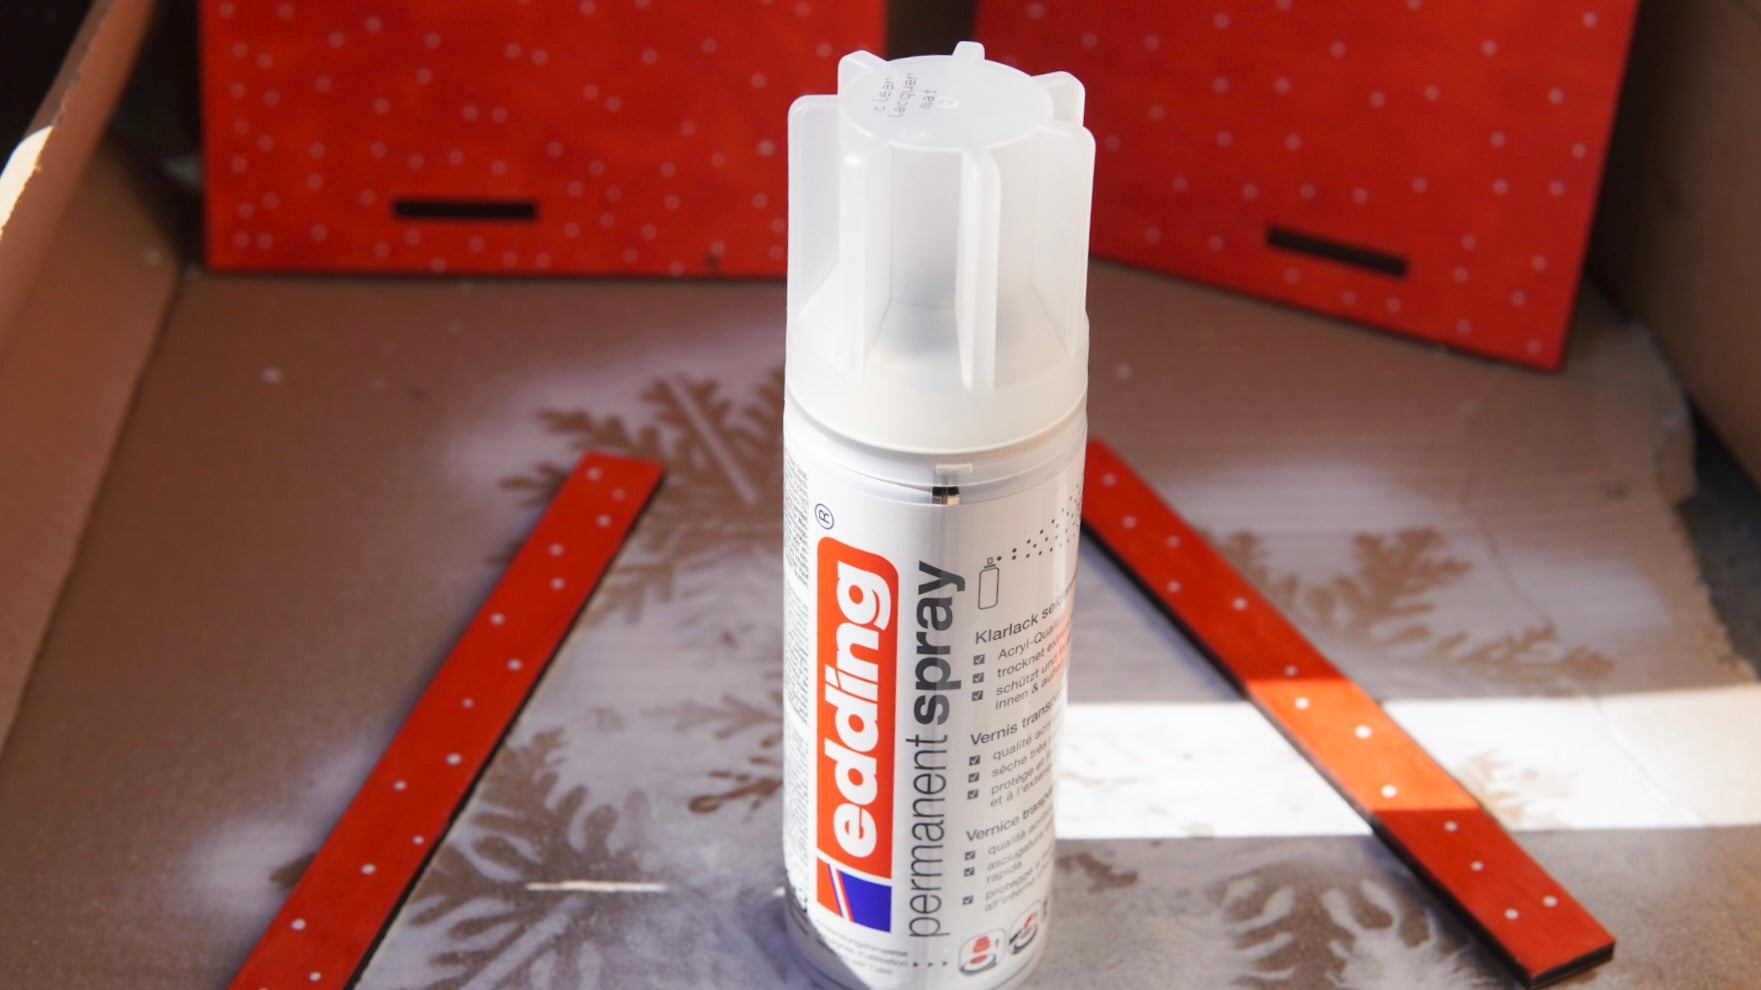
After the glue has dried, you can paint all the previously unpainted edges with acrylic pens with the children. This gives a uniform look and also protects against the weather. When everything has dried, you can paint everything with a layer of clear varnish.
A few tips for setting up the birdhouse
How and where should the birdhouse stand or hang
The birdhouse should be set up or hung in a place protected from the weather so that the food does not get wet. If you feed the birds all year round, it is also important to have a shady place. It should be a place that is easy to see so that the birds can notice cats creeping up on them in time and get to safety.
Bird droppings on the bird feeder should always be removed with warm water.
What food should you offer in your birdhouse
The bird food should be as close to the natural food as possible,
Seed-eaters such as tits, finches and sparrows prefer to eat dark sunflower seeds and hemp seeds.
Blackbirds, robins, fieldfares and wrens, on the other hand, are so-called soft-food eaters and love oatmeal, raisins and hazelnuts.
When should you offer birds food in the birdhouse
In principle, feeding birds only makes sense from November to the end of February. It is particularly important in the event of persistent frost, freezing rain or a continuous blanket of snow.
From April onwards, the winter bird food should be removed from the birdhouse. From April to July, the young birds are fed by their parents and they simply cannot tolerate many of the ingredients in the winter bird food. If you still want to offer food in the birdhouse, it should consist of low-fat wild herbs, seeds and mixtures. In any case, you should avoid high-fat food such as fat balls, peanuts and sunflower seeds.
Making a birdhouse with children is a great project to bring them closer to nature and to be creative together.
I hope you and your children have lots of fun making this birdhouse and especially watching the many birds at your homemade birdhouse.
Your Rina