
Typical Christmas wreaths are too boring for you? Would you like to have a slightly different Christmas decoration in the house entrance? Then this tutorial is just right for you. Your DIY Christmas wreath for the house entrance in the “Boho-Scandi-Mix” style.
Everything you need for your DIY Christmas wreath:
- a white metal ring with a diameter of approx. 30 cm
- Birch plywood
- thin cork fabric
- metal eyelets and eyelet pliers
- some clumps of pampas grass
- White and gray wool
- Wooden beads of different sizes
- white wooden or plastic beads
- hot glue gun
- white pompoms
- laser leather
- scissors
- needle
Plywood birch 5 pack
Sale price
€ 49,90 EUR
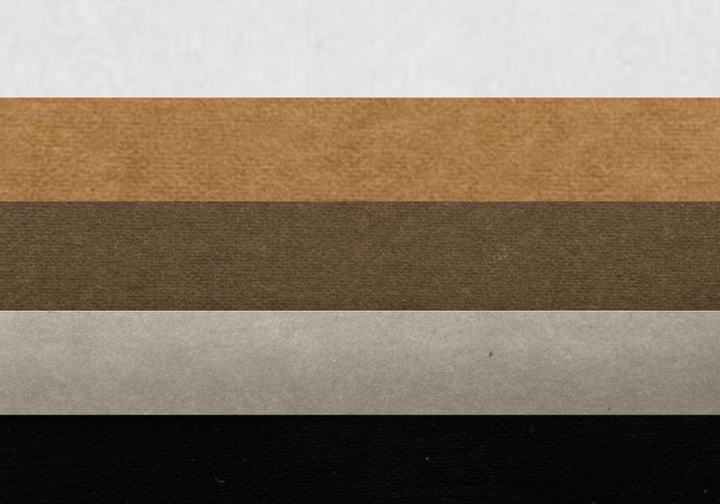
Mr Beam Laser Leather, A3, (dark brown/light brown/black/grey)
Sale price
From € 21,90 EUR
Step by step to your Christmas decorations in the entrance
Your DIY tassels for your Christmas wreath
For your Christmas decorations in the house entrance, you need a total of three tassels.
- Depending on the size of the tassels you want, wrap your yarn around the tines of a fork or, like me, around a spatula.
- When you have enough yarn wrapped around it, cut the thread and thread another thread through your wound yarn. This will be the suspension.

- Now use scissors to cut the threads at one end of the scraper.
- Just below the crease in your threads, wrap another piece of yarn to tie off.

- Tie them to your metal ring at different heights.
Decorative ribbons for your Christmas decorations in the house entrance
A friend once said, “You can never have enough wooden beads!” and yes, she was right! They are so versatile and can be quickly personalized with the Mr Beam for spontaneous use.
A few of them are engraved for the Christmas decorations in the house entrance.
A "Merry Christmas" should not be missing from the Christmas decorations, right? Since this would have been a very long pendant made of wooden beads, I chose the Swedish translation "God Jul".
Start your Mr Beam and place six large wooden beads in the indentations of your Mr Beam cutting mat. This way the wooden beads cannot roll away, and you can position them perfectly.

In BeamOS you create the individual letters via “Text” and adapt the size and position to your wooden beads.
Due to the roundness of the wooden beads, there is not the right focus during the complete engraving, but this does not have too much of an impact on the size of the wooden beads.
You have to try out which engraving settings are suitable for your wooden beads.
The default poplar plywood engraving settings worked well for my Christmas entryway beads and gave a nice result.

Your finished engraved wooden beads will now become the pendant of your Christmas wreath. Cut a piece of yarn and knot the end several times.
You now thread the beads alternately with a small white bead onto your wool. To prevent the letters from twisting, fix the beads together with hot glue.

Start with the bottom two beads and then work your way up, bead by bead.
With four smaller wooden beads and two white pompoms, make two more decorative ribbons for your Christmas decorations in the entrance and tie them all to the metal ring.

A “Welcome” for your door wreath as a Christmas decoration
Creating the file for your laser leather welcome sign:
- Measure your metal ring and create a circle of exactly the same size in your graphics program, such as Adobe Illustrator. It serves as a positioning aid and template for the welcome sign.
- Additionally, you create a rectangle that should be slightly wider than your circle.
- In the rectangle, you add a "Welcome" in your desired font. Mr Beam will engrave this on your laser leather.

- Now place the rectangle and circle on top of each other in the way you want your welcome sign to hang in the metal ring later, and use the circle to cut the rectangle. It adapts perfectly to the curves of your metal ring.
- Four small circles around the edge will be the holes to attach the welcome sign to the metal ring.
You load your file into your design library and then into the workspace.
Place the laser leather in your Mr Beam, focus the laser head and start the laser process.
Then you tie your welcome sign to the metal ring and turn the knots backwards so that you can no longer see them.

Pampas grass - the fluff factor of your Christmas wreath
Tie small bunches of your pampas grass to the metal ring with several pieces of your yarn so that they match the curves of the ring.
Start at the bottom in the middle and always tie the other bunches a little higher.
Your jewellery pendants are now fixed by attaching the pampas grass to the metal ring, so make sure that they are still evenly distributed at the bottom of your Christmas decoration for the house entrance.

To hide the wool from the front, go between the small tufts with a longer needle and pull some out of the wool.

Of course, wooden stars should not be missing on the Christmas wreath
You can also create the stars for your door wreath in your graphics program or even faster - directly in BeamOS. You will find a star over the “Form” button. There you can specify the number of teeth and the diameter, although you can also adjust the size later.

For your Christmas wreath for the front door, you need a total of ten stars in different sizes.
If you mark your previously created star, you can use "duplicate" to create nine more stars in no time at all, which you can then adjust individually.
In BeamOS you will already find the settings for birch plywood in the materials.
After lasering, you get your stars out of the Mr Beam and can now start decorating the stars for your Christmas wreath.
Glue a star to each tassel with hot glue. You distribute the remaining seven stars on your wreath as you like.

DIY Christmas decoration for the house entrance with a cork hanging
Sturdy and beautiful - the Christmas wreath gets a suspension made of cork.
To do this, create a very elongated egg in your graphics program and let your Mr Beam cut the cork fabric.

After lasering, prepare your eyelet pliers and place the cork around the metal ring. Now connect both halves with the eyelet pliers and your stable suspension for your Christmas wreath is ready thanks to the cork material and eyelet.
Now your Christmas decorations for the house entrance are ready - nice, isn't it?
I wish you a lot of fun imitating it - and a nice pre-Christmas period.
Your Rina


