We urgently needed a keyboard because all our keys were flying around in a drawer. At least they were in a fixed place and didn't get lost.
It was even tidy at first glance, but everyone in the drawer was a mess. The car keys, company keys, bicycle keys, the keys for the summer house and the garage, and then sometimes in multiple versions.
Which wood should you use for your DIY keyboard?
For a keyboard, you should use wood that is as robust as possible, since you often hit it with the key or the pendant and the keyboard also has to withstand a lot depending on use and load.
Of course, the choice of wood always depends on personal preferences, the style of furnishing and also the intended use. A popular wood for keyboards is beech. It is strong and durable and can be easily machined. Beech wood is light in colour and has a fine grain that gives it a beautiful look.
Oak wood is also well suited for keyboards. It is very hard and durable and has a distinctive grain. Oak wood has a warm, dark colour and gives the keyboard a rustic look.
Other types of wood that are suitable for key racks are, for example, maple wood, pine wood or walnut wood. However, it is important to note that some types of wood are more expensive than others and that they can have different properties.
In my tutorial, I'll show you how you can build a nice, sturdy keyboard with a storage compartment using a mix of blocks and black acrylic.

- Blocks in the type of wood of your choice
- Wood glue for example Ponal Express
- Force
- black acrylic
- poplar plywood
- several magnets
- two door handles
- five wall hooks
- glue
- superglue
- Dremel and cordless screwdriver with wood drill bit and Forstner bit
Plywood Pack of 5
Sale price
From € 31,90 EUR
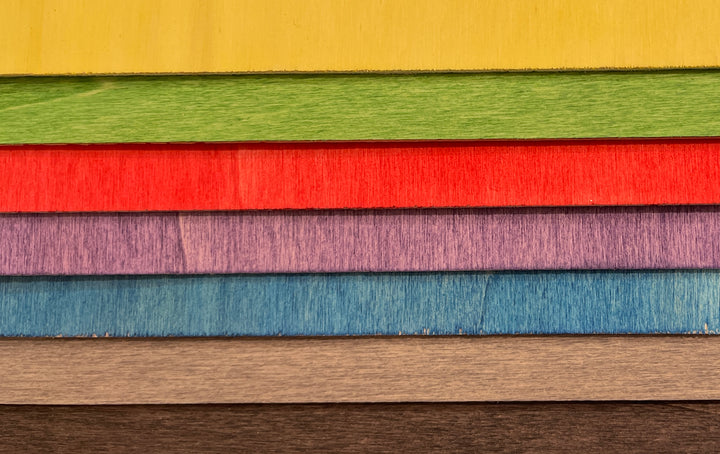
Mr Beam poplar plywood coloured (different colours)
Sale price
From € 21,90 EUR
Build a keyboard out of wooden blocks
The first step is to glue the blocks together. The back wall of the keyboard consists of six rows of blocks with a width of 32 cm - this corresponds to the length of two standard blocks. The shelf consists of three rows.

You can use offcuts for your keyboard to arrange the blocks a little offset in every second row. It looks nicer and is also much more stable in the end. First, you glue the blocks at the short ends. When the resulting six rows have dried, glue them together along the long edges.

Saw off the protruding ends of the blocks after the glue has dried.
Hook for hanging keys
When both the rear wall and the shelf are dry, it's time to go to the workbench.
Your keyboard gets hooks for the keys that are used less often. So more fits on the keyboard overall. Use a pencil to mark the holes for your hooks, evenly spaced on the back wall, and drill them with a matching drill bit. The screws that came with my hooks were too long and stuck out of the wood at the back.

If so, you can use a Dremel to remove the protruding ends.
Now all you have to do is screw in the hooks, and you're done. Ready for the first keys.

The storage compartment of your keyboard gets a protection against falling out-of-door handles
You also need to drill holes for the door handles to protect your shelf from falling out. With a Forstner bit you also drill a countersink for the screw heads so that you can glue the lasered poplar plywood board for the magnets to it.

Lasering for your DIY keyboard
The hiding place for the magnets on your keyboard
Magnets come under your shelf to attach the keys that you need all the time. So they go on quickly, but also off.
So that the magnets are not simply glued under the shelf, which would always make them visible, they are embedded in plywood.
To do this, create a rectangle in your graphics program or directly in BeamOS that fits under the shelf. You also need recesses for your magnets. Measure your magnets and create a corresponding shape. The magnets are embedded in the front part so that the keys can hang in front of the hook.

Start your Mr Beam and focus the laser head after placing the poplar plywood in the workspace. Align the file on your wood in the preview in BeamOS and start the laser job. The laser parameters are already saved.
After lasering, glue the poplar plywood to your shelf from below.

Make sure that both boards lie exactly on top of each other at the edge that is glued to the back wall. After drying, apply glue to the holes and insert a magnet into each. Now glue the storage compartment to the back wall a little above the hook and let it dry.

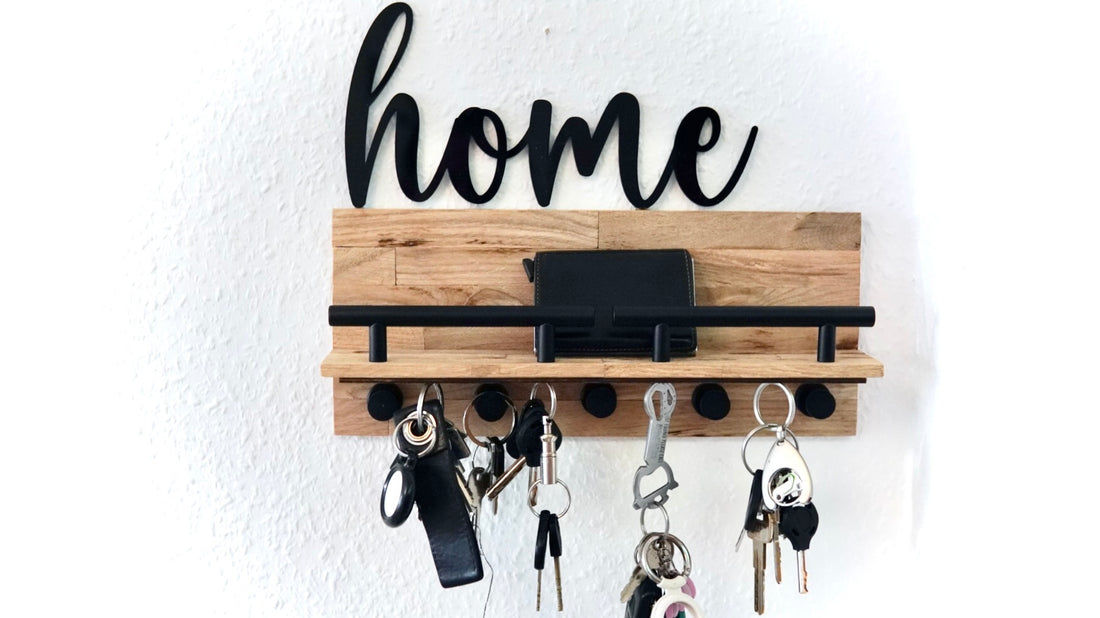
Chic accent for your keyboard - a "home" made of black acrylic
For the “home” I chose a broader handwriting because the entire keyboard, due to the blocks, the black hooks and door handles, looks rather bulky, and the word would otherwise have been lost. The font is called “Better Together”. The individual letters must be welded before lasering so that they are connected.

The Mr Beam II dreamcut [S] lasers black acrylic with ease and always delivers a beautiful result. You can leave the protective film on and only remove it after lasering, so you get very nice, smooth edges. The laser settings for black acrylic are also stored in BeamOS.

After removing the foil, stick the lettering on top of the back of your wooden keyboard. Due to the curved writing, the acrylic only has two contact points on the wood to which you can glue it. Your DIY keyboard made of wooden blocks is ready - finally order in the key chaos! And if you want to go faster, and you only have a few keys, there is a very nice file for a keyboard in the Mr Beam design store.
I hope you have fun imitating it and enjoy your new keyboard!
Your Rina


