DIY Pen Cake for School Enrollment - The Perfect Personal Gift
School enrollment is just around the corner - a very special moment for every child. Are you looking for a creative, personal gift for school enrollment that not only looks beautiful but can also be truly used?
Then a pen cake is just the thing. In this post, I'll show you step-by-step how to create your own pen cake with the Mr Beam - including tips for planning, execution, and personalization.
You can realize this project either with the [x] head or the new [xx] head. With the 20W head, you'll naturally be much faster.
Materials for your pen cake
- Poplar plywood 3 mm natural and colored (e.g. from the Mr Beam Shop)
- Poplar plywood 8 mm (e.g. from the Mr Beam Shop)
- Colored pencils
- Foam rubber
- Mr Beam Pastel Acrylic
- Jute ribbon or gift ribbon
- Felt, approx. 1 mm
- Mini card holders
- Sweets and small gifts for decorating

Mr Beam poplar plywood, 8mm, A3
Sale price
From € 59,00 EUR
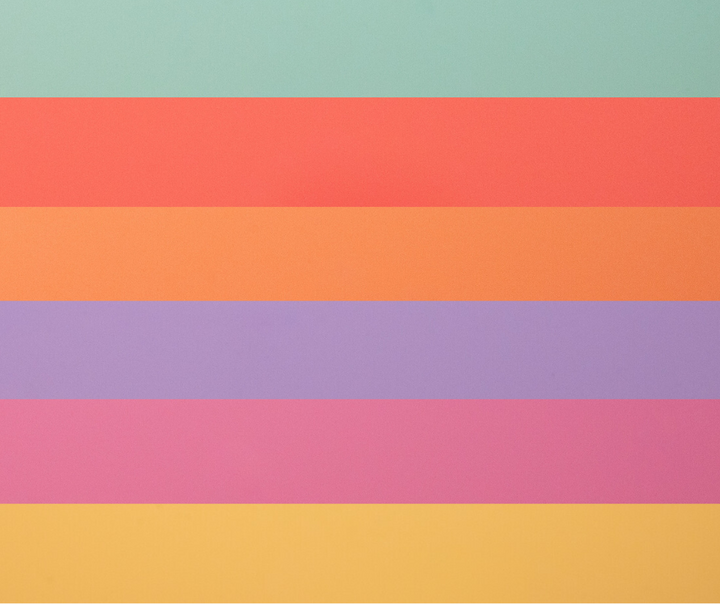
Mr Beam Pastel Acrylic, various colours, 3mm, A3
Sale price
From € 14,90 EUR
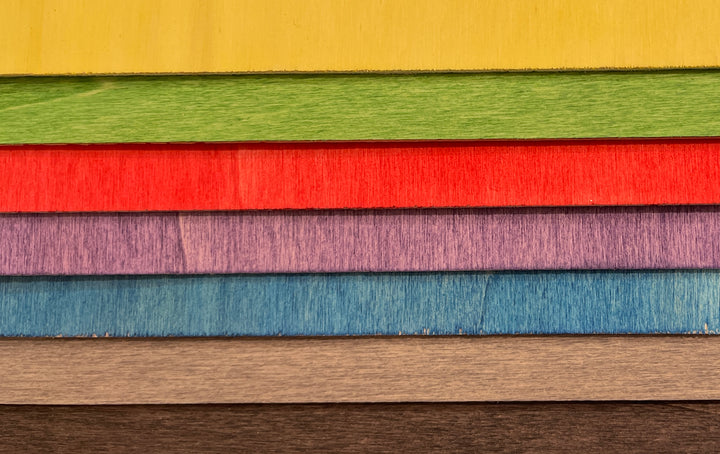
Mr Beam poplar plywood coloured (different colours)
Sale price
From € 21,90 EUR
Correctly calculating the size of the pen cake
The size of your pen cake depends on how many pens you want to attach to the outside and how wide they are together. First, measure the total width of your pens. This width will later correspond to the circumference of your cake.
For the diameter, you can use the following formula:
d = C ÷ π
Here, C stands for the circumference, i.e., the total width of your pens. For example, if you have 25 pen packages and they are 112.5 cm wide together, the diameter would be approximately 35.8 cm.
If that's too big for you, you can simply use fewer pens. With half the quantity, the cake will be correspondingly smaller and more manageable.

Building the base of the pen cake
Once you have calculated your diameter, cut out three circles from poplar plywood. These will form the base of your pen cake.
For the top lid, you can use colored poplar plywood or pastel acrylic, for example. Small support pillars will go between the individual layers. For this, you can use the Quick Shapes in BeamOS to create simple rectangles from 8 mm poplar plywood.
Glue two rectangles together and use three supports per layer for best stability. This will make the pen cake nice and sturdy. While the glue dries, you can secure the parts with clamps.

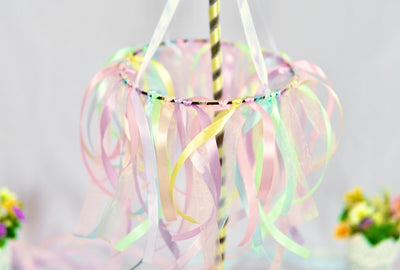
Attaching pens as cake border
Now you can attach the pens to the outside of your cake. If the pens are to be used later, you can fix them lightly with a glue roller and then tighten them with a ribbon.
If the pen cake is to be transported, I recommend hot glue. This will hold everything much better. It's best to glue the pens below the ribbon so that the glued areas are hardly visible later.

You can also form a nice bow from a leftover piece of jute ribbon. To do this, fold the ribbon into a loop, let the ends hang out a bit, and tie the middle together with another piece of ribbon.
Decoration for your pen cake
You can combine different materials for decoration. Small elements made of pastel acrylic, colored poplar plywood, felt, or foam rubber look particularly nice.
If you use acrylic, you should definitely do a test cut. Especially light, pastel, or bluish colors can be a bit more challenging depending on the material. If you are unsure, poplar plywood or felt is often the easier alternative.
Personalize the pen cake with a name
Your pen cake will be especially personal with the name of the school child. You can create the name directly with the Quick Text function in BeamOS.
Make sure you use only one line color and no fill color. This way, the lettering will be cut out and not engraved.
If you want to use a special font, you can also create the name in a graphic program. Then convert the text to paths, remove the fill, color the outline, and save the file as an SVG file.
You can then simply upload the file to BeamOS via drag & drop and laser it with your Mr Beam.
But you can also add your own font in BeamOS and set an outline. With the new functions of version 2.5.0, you can even create the entire cake topper in the software.

Attaching cake toppers and small details
For an acrylic cake topper, you can either laser small holes in the top plate or fix the supports with hot glue. If you use hot glue, you can easily cover it later with sweets, decorations, or small gifts.
Small school doodles, letters, stars, or other decorative elements can be glued around the cake. Hot glue works particularly well, as it also holds well on jute ribbon.
Leftover decorative pieces can later be used as scatter decorations on the school enrollment table.
Small gift ideas for the pen cake
Finally, you can decorate your pen cake with small gifts and sweets. Good options include:
- Erasers
- Stamps
- Small sweets
- Mini school cones
- Bookmarks
- Pens or markers
- Small charms

Conclusion: Personal DIY gift for school enrollment
A homemade pen cake for school enrollment is a wonderful gift for the first day of school. It not only looks great but can also be practically used.
With your Mr Beam, you can customize the pen cake – with names, favorite colors, small motifs, and suitable materials.
I wish you a lot of fun recreating it and the school child a wonderful first day of school!