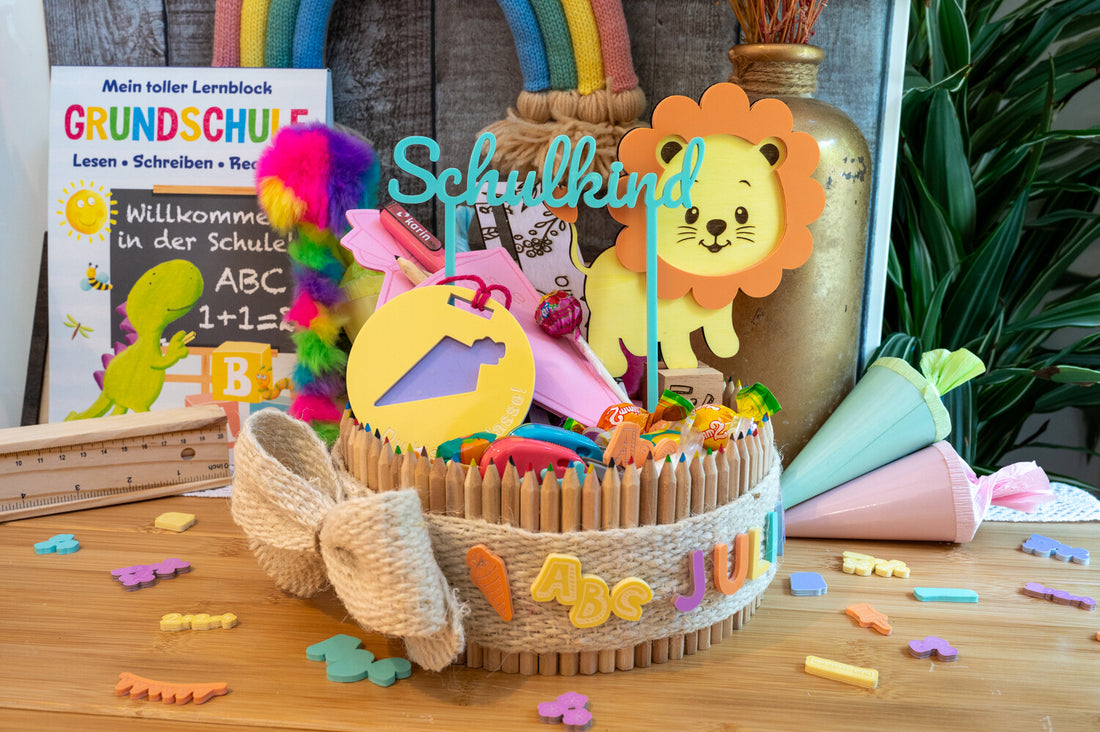
It's that time again! School enrolments are already starting again in some federal states. Here in Bavaria, it will still take a little while, but we still didn't want to withhold this great DIY gift for school enrolment from you. In this blog post, I will show you how to make a pencil cake.
Material for the pen cake
- Poplar plywood 3 mm natural and coloured
- Poplar plywood 8 mm
- Coloured pencils
- foam rubber
- Mr Beam Pastel Acrylic
- jute ribbon
- Felt 1 mm
- “mini” cardholder
- Sweets and small gifts to decorate

Mr Beam poplar plywood, 8mm, A3
Sale price
From CHF 56.00
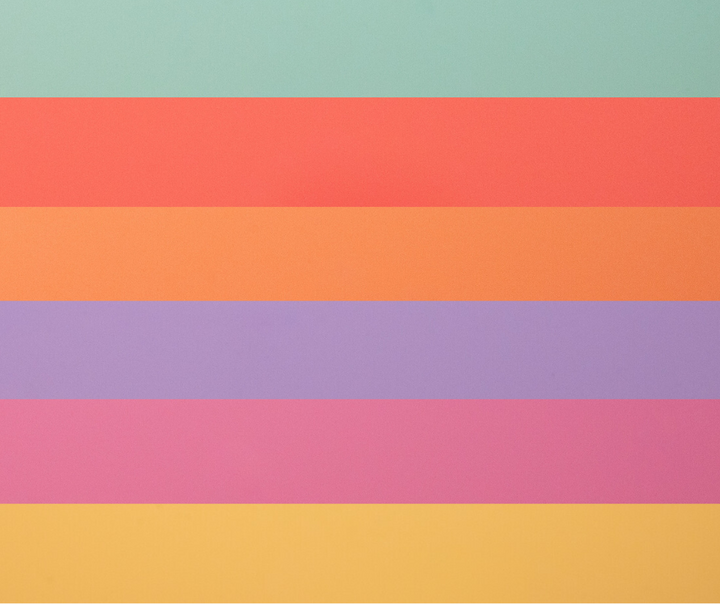
Mr Beam Pastel Acrylic, various colours, 3mm, A3
Sale price
From CHF 14.00
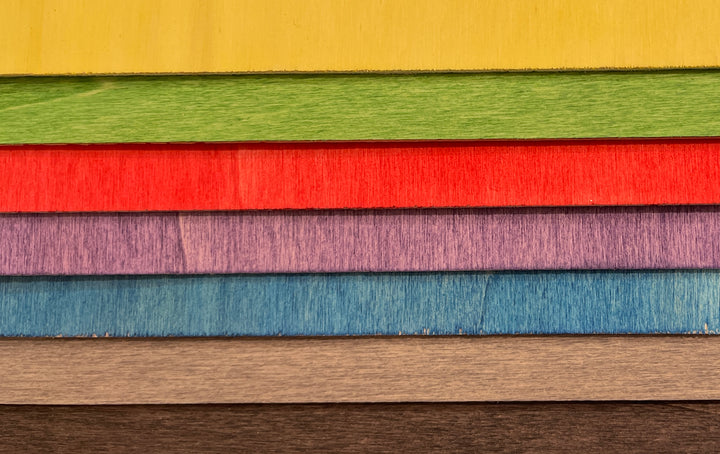
Mr Beam poplar plywood coloured (different colours)
Sale price
From CHF 21.00
How to create a file for your pencil cake
How big you can make your pin cake depends on the number and width of your pins. I chose small wooden coloured pencils. In a large box were 25 packs of 6 pens each. The 6 pins were 4.5 cm wide in total. With 25 packs, that makes a total width of 112.5 cm, with which I can dress my cake. To calculate the diameter for the corresponding circle, use the formula d=2 (U:(2π)) or be lazy like me and throw your number into one of the many online “circle calculators”. 😉

This results in a diameter of 35.81 cm for my pens, which is much too big for me. That's why I halved the number of pins and got a diameter of 17,904. I like that a lot better. Now cut out 3 circles out of poplar plywood in your chosen diameter.
For the top lid, I used the pink piece from our pastel poplar plywood. Individual support pillars still need to be glued between the layers of the cake. I simply cut out rectangles from 8 mm poplar plywood with the Quick Shapes and then glued two on top of each other. Three of these per shift to make the whole thing stable. It is best to use clamps for drying. The pressure will make it hold up better afterwards.

Pins as a cake edge
With that, the blank is complete and we can start decorating! First, the pins must be fixed to the cake. If you only want it to be temporary and to be able to use it afterwards, I recommend going down the edges with a glue roller. This keeps the pens from slipping.
You can then use a band to tighten the pins. However, I only recommend this method if you do not have to transport the homemade pin cake. In my case, I have so many pens left over that I simply spread hot glue all around underneath my jute ribbon. So the cake really holds bombproof.

A leftover piece of jute ribbon can also be used to make a great three-dimensional bow that gives your pencil cake a little more space. To do this, simply fold it into a loop and let the ends hang out a bit. Then you press the whole thing together in the middle with two fingers and tie a ribbon around it.
Of course, our new pastel acrylic could not be missing from this project! I made most of the decoration out of it. If you don't have a [x] laser head, you can use our poplar plywood. This has also been available in pastel colours for some time.
Personalize your pen cake with names
You can easily create the name of the new school child with the Quick Text function of the Mr Beam software. Just make sure that only line colour is selected there and not fill colour. This is how the letters are cut out. If you want a different font, you can easily create the name file in a graphics program of your choice. To do this, take the text tool, write the name, convert the text into an object, take the fill from your object and colour the outline. Just save it as an SVG file, load it into Mr Beam using “drag & drop” and start lasering.
You can find the rest of the files for the self-made decoration parts in the Mr Beam Design Store. I only bought the lion on Etsy. For the cake topper, I chose Spearmint Green. Together with Parma Violet, this is the most difficult colour due to the high proportion of blue. That's why I strongly recommend that you make a test cut and maybe insert a fresh pre-filter mat. We recently posted a new YouTube video with useful tips on the subject of working with acrylic. Have a look.

So that the acrylic cake topper holds well on the pin cake, I built a small "tower" of hot glue around the stilts by letting one ring of glue dry and then adding another one. Altogether, there were about 4 layers. We can hide the hot glue with decorations and sweets afterwards. If you still want to make it tidier, you can also laser two matching holes in your cover plate before you assemble it.
The small school doodles are decorated with an engraving and are stuck together with the name once around your pencil cake. I also used hot glue here because it sinks well into the jute ribbon. If you cut out all the colours, you will end up with too many decoration pieces, but you can later spread your leftovers among the sweets or use them as sprinkles on the table.
The medal consists of two acrylic layers that are simply glued together. You can attach a ribbon at the top. So the new school child can proudly wear them to the first day of school. I used different materials for the lion. The mane and the tip of the tail are made of acrylic, the body is made of wood. In addition, I cut it out of felt again and glued it on from the back so that it sits firmly in the card holder afterwards and doesn't fall over. Because of the acrylic, the head is very heavy.
I cut out the small school cone from foam rubber and attached the two layers to each other with UHU hard glue. Make sure that the glue is only on the edge so that you can fill your mini school cone afterwards. In addition, the glue must be completely dry. Finally, I simply engraved and cut a reading aid out of lavender-colored poplar plywood.

In the end, everything just has to be placed nicely on the cake. So that the big gifts for school enrolment look good, I put two large pompoms on the back of the cake. You can also put sweets, pens, stamps, erasers and whatever else you need to start school.
I hope your school child loves his or her pen cake and have a great first day of school.
Your Marie


