
The little monsters, witches and ghosts only ring here if the house is also decorated. Is that with you too "unwritten law"?
Every year we look forward to frightening our little visitors a little and of course to reward them with sweets. A snack tastes twice as tasty on a little fright.
Material for the Halloween window decoration - if you have the choice ...
We have two larger windows on the front of the house. Unfortunately, on the first floor. Hence, the Window decoration for Halloween Get beautiful, to be noticed from the street and, above all, to be recognizable.
It is always suitable as a material for the window decoration paper, cardboard or wood.
In combination with transparent paper, you can then create colourful, luminous effects. All materials are light, quick to laser cut and hold to the window with just a few adhesive strips. I recommend black as the colour for Halloween window decorations. This makes it look like a creepy black silhouette in the dark outside.
In unfavourable, paper and cardboard are not so stable and - to be honest - hardly survives a tinkered decoration made of cardboard or paper.

Then there is still black to choose acrylic. Have you ever worked with black acrylic? A great material, I think.
I learned to love acrylic as a material and did a lot with it. Door signs, Herbal signs, Wall decoration and much more.
Of the Mr Beam nevertheless, this stable material lies through with ease. The edges are exact and sharp. And on top of that everything looks Black acrylic, just chic and a little noble. However, paper, cardboard or wood are much cheaper than acrylic.

KRAFTPLEX Sample package, 15-pack (0.5, 1.0 & 1.5mm)
Sale price
€ 59,90 EUR
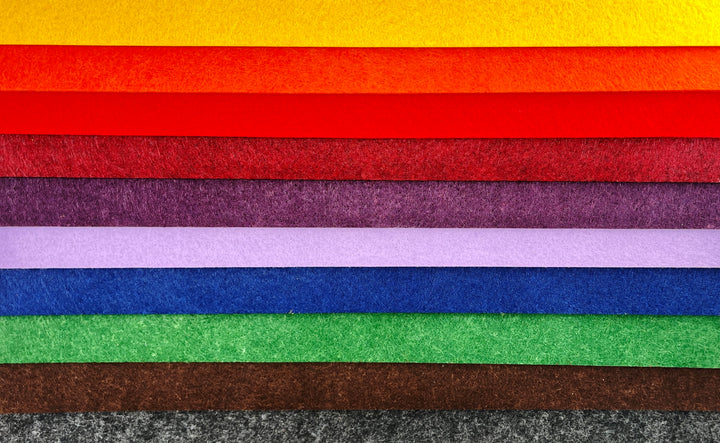
Mr Beam trial pack felt box
Sale price
€ 41,90 EUR
This year, the Halloween window decoration is much more stable and therefore more durable.
Some lighting in the form of a colourful LED light bar, and you have a wonderfully creepy window.
There are countless great templates for Halloween decoration. Individual elements or entire pictures.
Or you take a whole Halloween report for your window decoration, for example that of mamassachen. In the file "Halloween set for decoration, lanterns, cups and your party" You can find many more great ideas for your Halloween decoration.
The nice thing about a report is that you can extend it infinitely. Or shorten - adapt it to you so that it fits your idea and your project.
Preparation of the file for your Halloween window decoration
To win as much height, but the complete one Rapport with all its motifs, I halved it. Half per window.

On the right and left at the ends, there were vacancies that are normally used to expand the report. Since I don't want to extend it, I filled these free areas with individual elements from the file and also welded the report in my graphics program.
This becomes the Halloween window decoration almost 50 cm high And is 95 cm wide per window. The height is already perfect because the Mr Beam has a working area of a maximum of 50 by 39 cm. In order to take full advantage of this area, I use acrylic plates exactly in the size of the maximum work area from Mr Beam. Due to the resulting a maximum 39 cm, you have to divide your Halloween window decoration into the width again.

This may result in even smaller edges, but you can then have material and time-saving lashing together.
Lasing your Halloween window decoration
Put your black acrylic plate in the Mr Beam. Make sure that it lies in the middle of the grid. Whereby I recommend acrylic to the Cutting mat from Mr Beam to laser After ending the laser job It is easy to find out by slightly pressing whether everything is lasered. So you don't have to raise your acrylic plate and do not accidentally move it. Because if you have to repeat the laser job, the motif would be offset in the worst case.
Tip: Do not remove the film on the acrylic in front of the laser job, but only afterwards. So you get perfect laser cut edges.

Now you leave yours Mr Beam Part for part lasers. The laser settings for black acrylic are in BeamOS Started, but you should test whether your motif is actually lasered through.
I have adjusted the settings for my black acrylic after a test by has increased the number of passes to 7. After laser, you remove the film at the front and back.

Since the entire Halloween window decoration consists of a total of six parts, which are distributed on two windows, you now have to stick three parts together.
There is a special glue for acrylic.
This glue is thin, but can be distributed well. He shimmers slightly violet and later dries absolutely transparent.


You can close any small gaps between the elements with the help of a screw clamp while the glue dries up.
The Acifix does this the fastest in the sunlight, since it is under the Effect of UV light hardened. In daylight, it takes about an hour to two hours. After this time, you can transport the object. However, it is finally hardened after a few days.

When everything has dried, you remove protruding adhesive residues with a scraper.
Acrylic is very sensitive to scratch, So be careful with the scraper And if possible, take a scraper with a plastic blade.

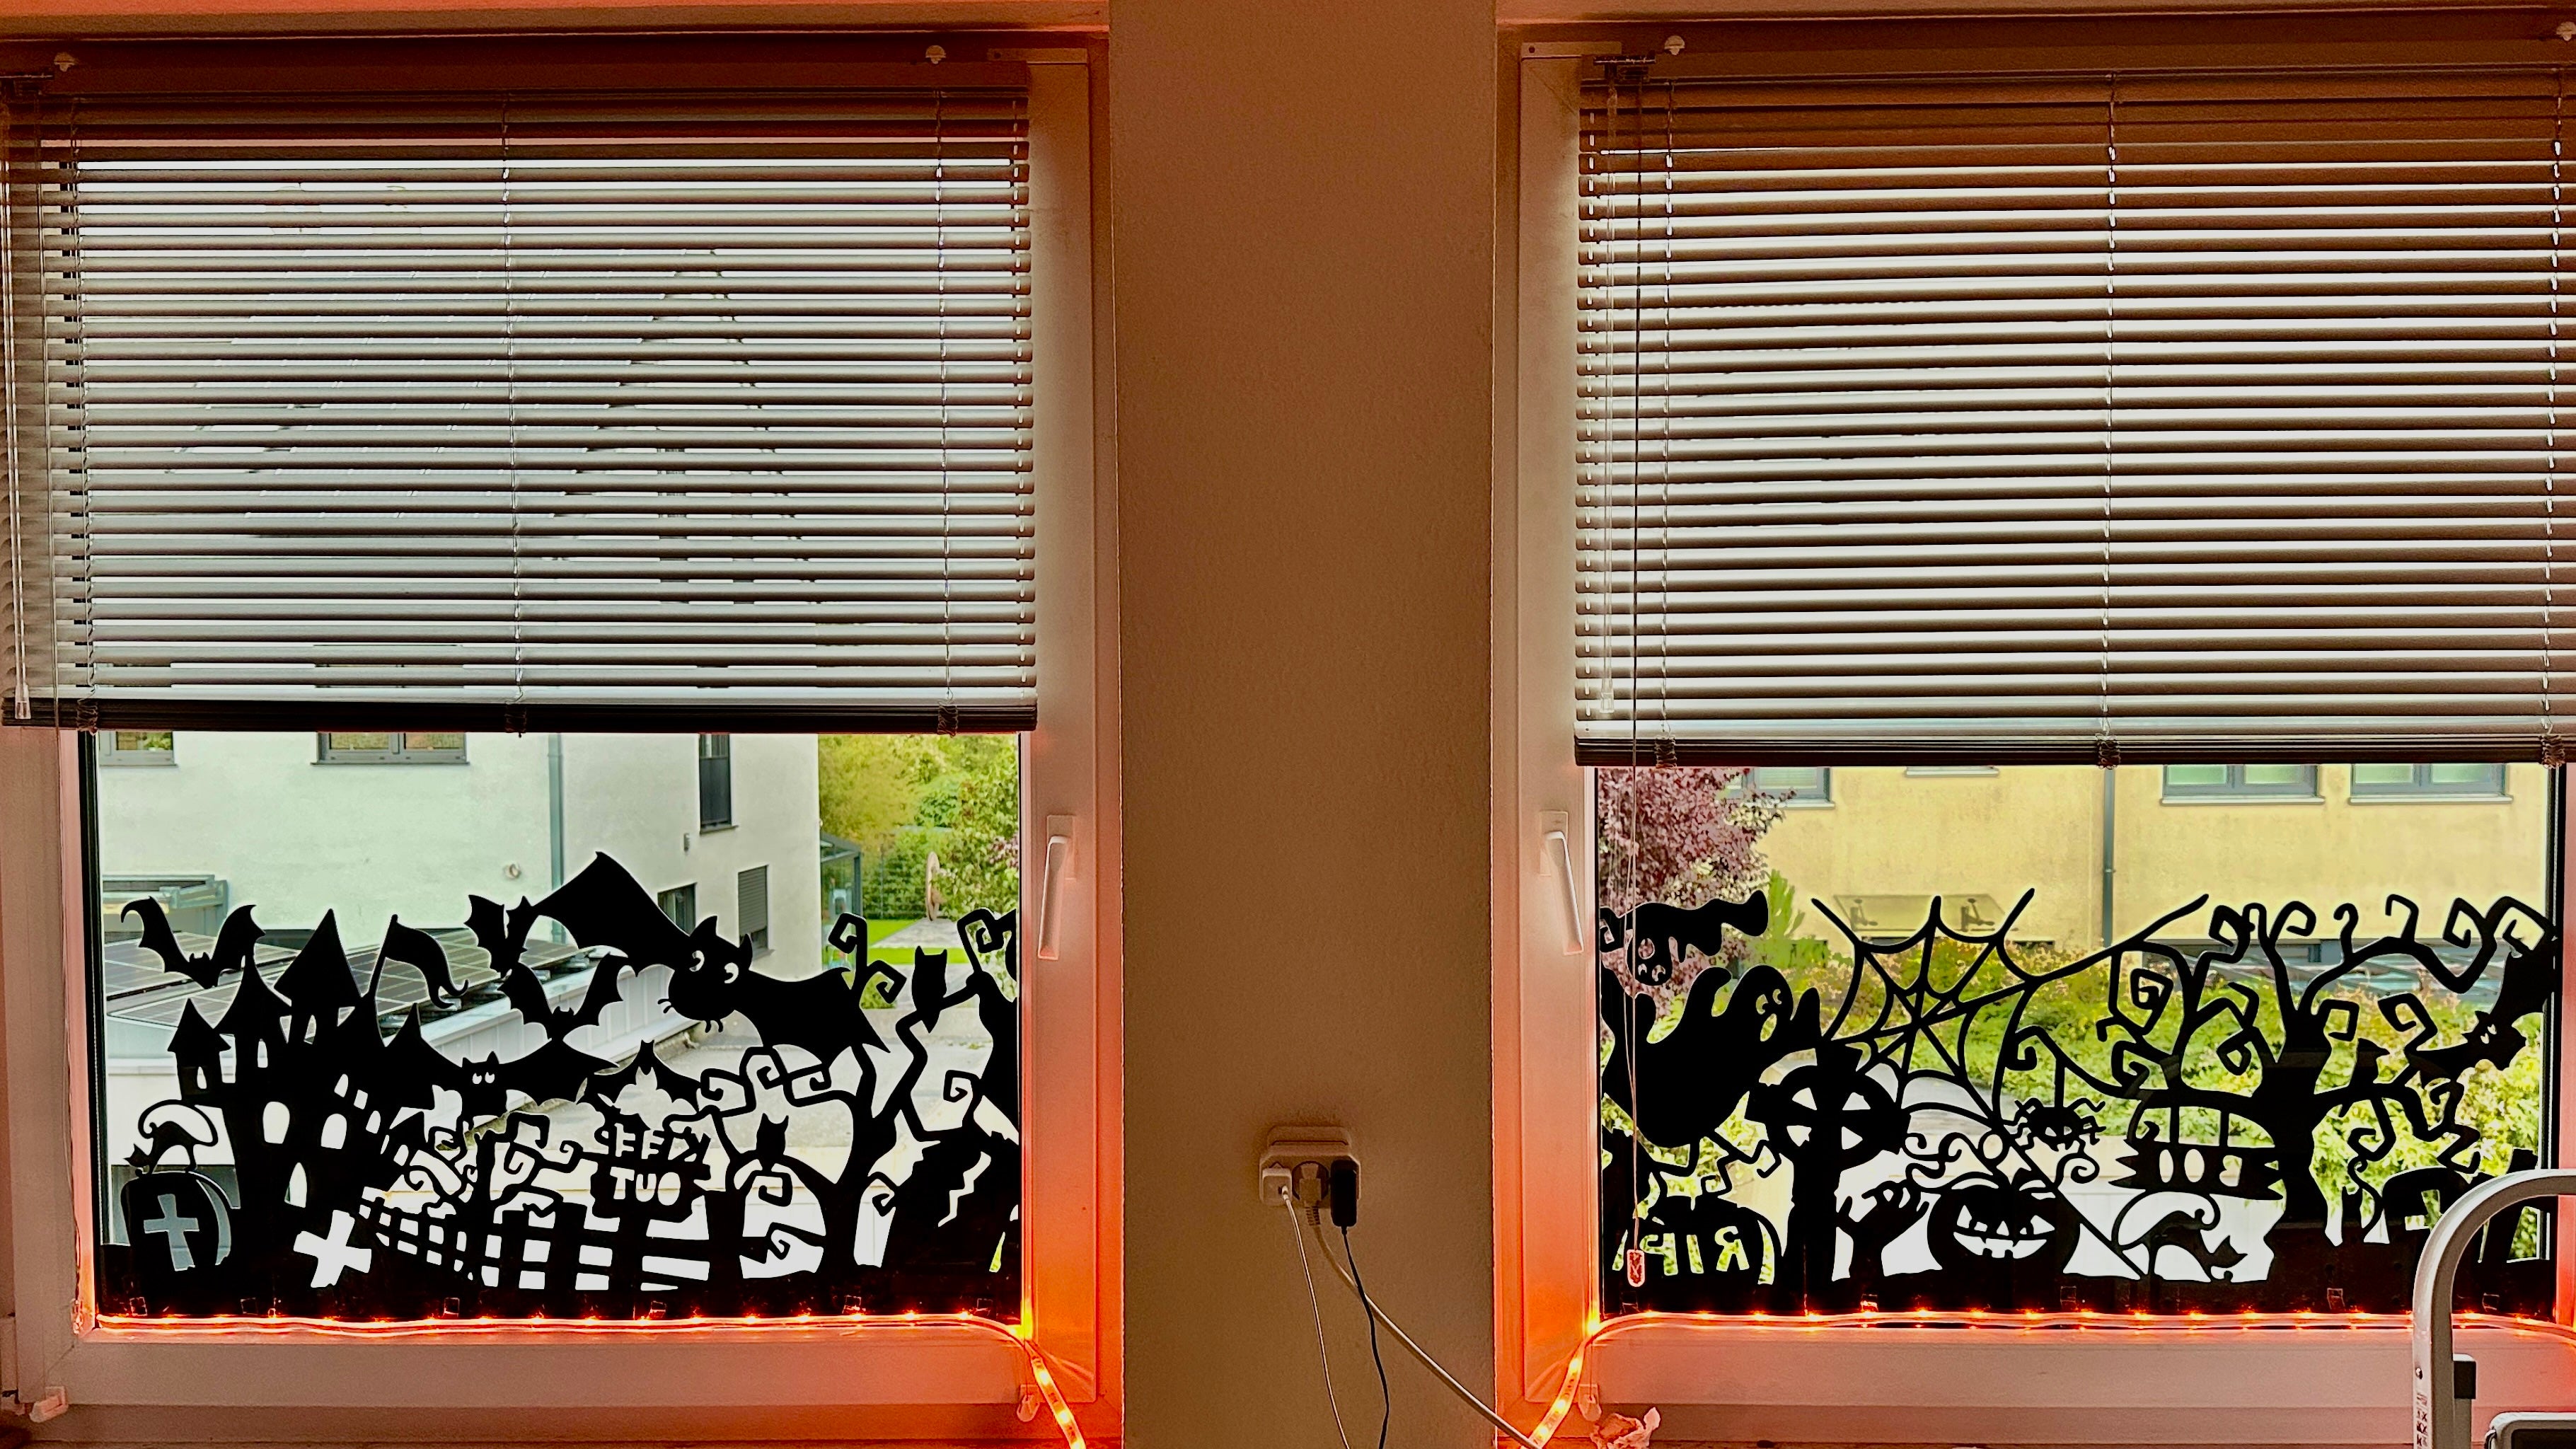
Now is yours Halloween window decoration Ready to be glued to the window.
Since acrylic is relatively heavy, especially in size, a strong double-sided adhesive tape is suitable for this. Now attach an LED light bar to the bottom of the window and your Halloween window decoration is ready.
Have fun copying - and happy creep!
Your Rina


