
Are you more of the faction that can hardly wait for the first advent to finally be able to start decorating? And, just like me, addicted to the block hype?
Today, I'm going to show you how you can easily make a Christmas decoration frame with your Mr Beam. From - of course - blocks and a few other materials.
What do you need for your Christmas DIY decorative frame:
- blocks or matches
- poplar plywood
- Spray paint in red and gold from Edding, for example
- Christmas baubles in red and green - matching the sleigh and the trees
- hot glue gun
- wood glue
- Force
- artificial mini fir trees, pine cones or other decoration that you like
- Felt in red and green
- masking tape
- a light LED string of lights
Plywood Pack of 5
Sale price
From £26.00 GBP
Plywood birch 5 pack
Sale price
£41.00 GBP

Mr Beam poplar plywood coloured (different colours)
Sale price
From £18.00 GBP
Build the basic structure for your Christmas decoration frame
You can design your Christmas decoration frame in completely different dimensions. I decided on a larger version because it offers so much space for decoration.

A Christmas decoration frame with base plate for lots of decoration
It consists of four blocks in width and the depth is determined by your decoration. For the sled, the trees and the reindeer, I chose it a little more generously and used five blocks. Lay out four blocks of five each and glue them together.

Once your four base elements for your Christmas DIY decorative frame have dried, you can also glue them together. When the glue has dried, your floor panel is complete.
A hiding place for the battery compartment or cables under your Christmas decoration frame
You can optionally add a compartment under the floor to hide cables or the battery compartment for your fairy lights.

This hiding place is already included in the map above. For this, you use your blocks upright. Since the blocks are longer than your base plate is deep, you should shorten them a bit. Glue one block to the outer edges and at least one more in the middle of the base.
The tree for your DIY decorative frame
While your base plate and hiding place continue to dry, you can start building the tree for your Christmas decoration frame. It consists of a total of 24 blocks. First, always glue two blocks together along the long edge and let the twelve parts that have been created dry.
Six elements are now glued together on each side, with an overhang of 3 cm.

Now all three large parts of your DIY decorative frame are ready and can be connected.
To make this easier, I recommend providing the ends of the two tree parts with appropriate angles to provide the glue with a sufficient area.
After sawing the angles, apply the glue and place the elements together. This is easiest if you put everything down.
The tree is attached to the back two rows of the floor so that the tree moves into the background and three rows of blocks protrude at the front.
To prevent slipping while drying, I fixed the corners with masking tape and only removed it again after drying.

Your Christmas decoration frame gets a chain of lights
Lay your deco frame on the front. Start with the end of the string of lights at the top of the Christmas tree and spread them evenly in a zigzag from one side of the tree to the other. In order to illuminate your decoration on the base plate a little from below, spread part of the chain of lights over the base and then route the cable to the back.
First fix the attachment points of the fairy lights on the decorative frame with masking tape so that you can correct them if necessary.

Starting at the tip, gradually remove the masking tape and attach the fairy lights to the points with hot glue.
Now it's time to decorate your Christmas decoration frame
Finally, your Mr Beam can work too - your Christmas decorative frame gets a sleigh and reindeer
I discovered and bought the files for Santa's sleigh and the reindeer on the internet.
Poplar plywood or birch plywood is a very good material. It is important for both files to have a material thickness of 3 mm, otherwise the plug-in system will not work.
Start your Mr Beam and load the files into your workspace in BeamOS. Arrange all the parts on your wood to save as much material as possible. Thanks to the camera image, this is very easy, and it is also very easy to use leftover wood.

But important: For a camera image that is as precise as possible, the correct material height should be set. The cutting mats are approx. 10mm high and your wood another 3mm.
Start the laser job with the appropriate settings for your material. After you've focused, of course.

After the lasering, Santa's sleigh gets some more paint. The runners of the sled are gold and the seat red in a very classic way.
For painting, I recommend always spraying in a well-ventilated place that is also protected from wind, dust and rain. A paint booth or an open box placed on its side protects the surroundings from the resulting paint mist.
You prepare your spray cans according to the manufacturer's instructions. There are also tips for painting in this spray paint tutorial.

Start with the red spray paint. To do this, carefully mask the runners with masking tape and then paint all parts of the sled thinly and evenly. If necessary, spray another thin layer after the first drying.

When the paint is touch-proof, turn all the sled parts over and paint the second side as well.
Now the paint has to dry well. Then you remove the masking tape and put the two side elements of the sled back into your painting booth.

Also prepare your spray can with the gold paint and tape the part of the sled side that is already painted red with masking tape and a piece of paper.
With metallic colours such as gold and silver, it is particularly important to shake beforehand, otherwise stains will appear when painting, and it will not be applied evenly.
Here, too, you spray in thin layers and shake your can up again and again in between. Now everything should dry well before you remove the masking tape and assemble your sled.

Apply glue to the edges of the sled elements and put your sled together according to the instructions.
While the sled for your Christmas decoration frame dries in peace, you can start assembling and gluing the reindeer. Since the parts of the reindeer are stuck together in a cross bond, a small drop of glue at the deepest point is enough.

The sleigh and reindeer are now complete and can be attached to your Christmas decoration frame. First test your desired arrangement and add your artificial snow-covered Christmas trees to it.
Once you've found the right position, glue everything to the floor.

At Christmas, a Christmas tree also includes Christmas tree balls or pendants
The combination of felt and wood is just beautiful, isn't it?
In your graphics program, such as Adobe Illustrator, you can design two beautiful pendants that you can hang on your Christmas decoration frame. There are no limits to your design.
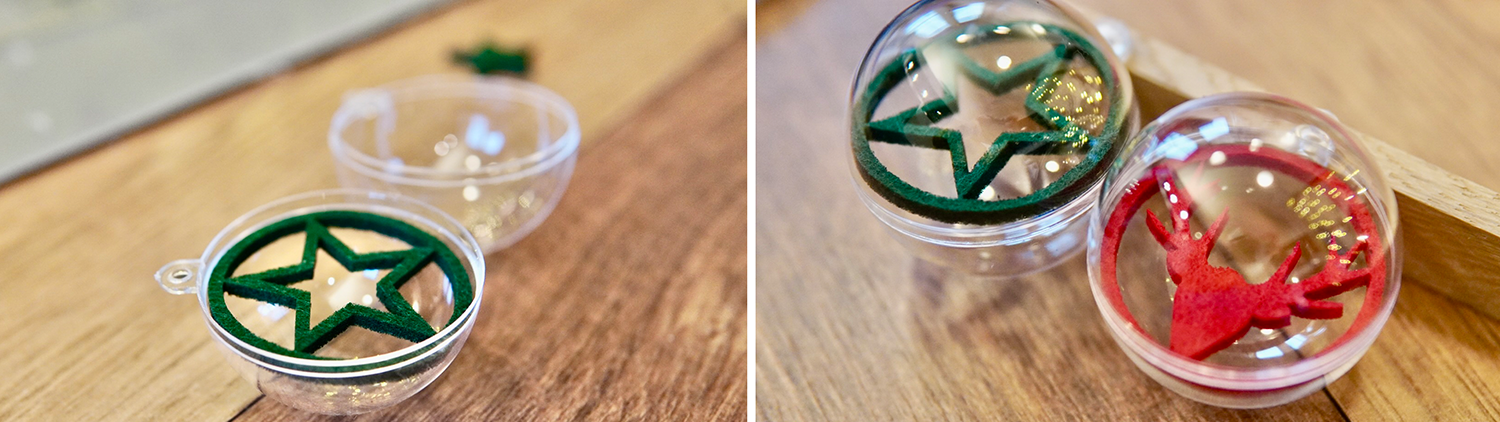
Or you can make matching inserts for two clear acrylic Christmas baubles.

To do this, measure the inner diameter of the balls and create a circle.
With an inner offset of the circle and a nice symbol in the middle of the circles, this creates a red and green felt insert for your clear baubles.

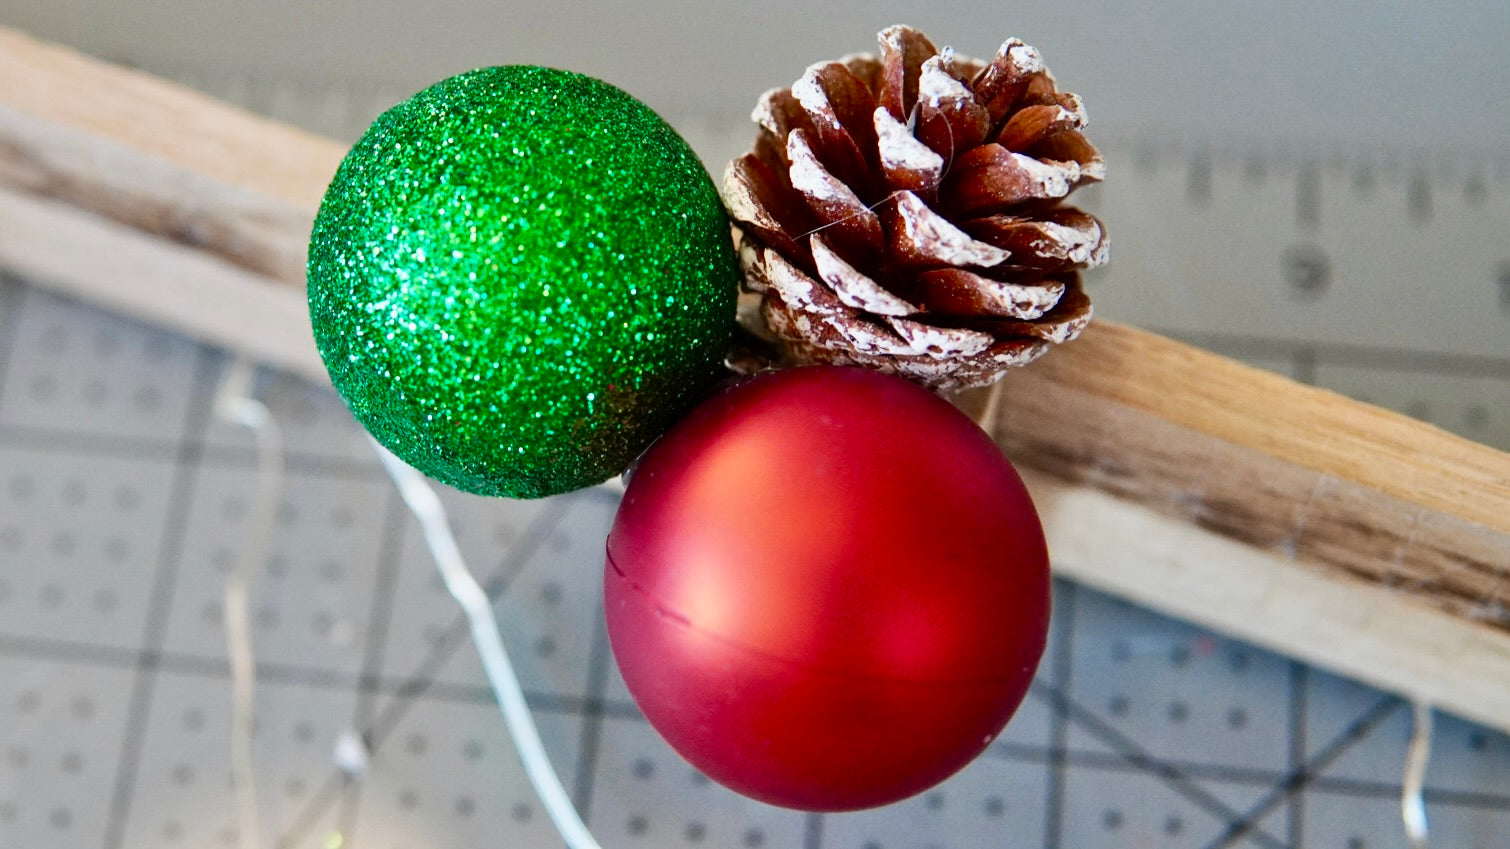
But there is more to a Christmas tree than just two Christmas tree balls.
For the rest of your decoration, combine red and green balls with small pine cones.
Christmas tree balls can be quickly and easily attached to your Christmas decoration frame with hot glue.
I also tied a few Christmas tree balls to the chain of lights and of course the transparent balls with felt inserts.
Finally, your Christmas decoration frame is ready - another great DIY project, don't you think?

I wish you a lot of fun tinkering and - pssssst, you can put a little bag for the advent calendar in the sledge every day, for example.
Your Rina


1 comment
So tolle Umsetzungsideen mit dem Mr.Beam. Mein großer Wunsch auch so einen tollen Laser zu haben 😊