The Christmas tree is the focal point of the holiday season. Every family has their own Christmas traditions when it comes to decorating the tree. For example, at my childhood home, the ladies of the house get together every year on December 23rd to decorate the Christmas tree and watch Love Actually. What should never be missing are new ornaments, so that the Christmas tree always looks a little different. To give your Christmas decorations an upgrade this year, we have a great tutorial for Christmas tree decorations filled with fake snow. We call them: Christmas Shakers!
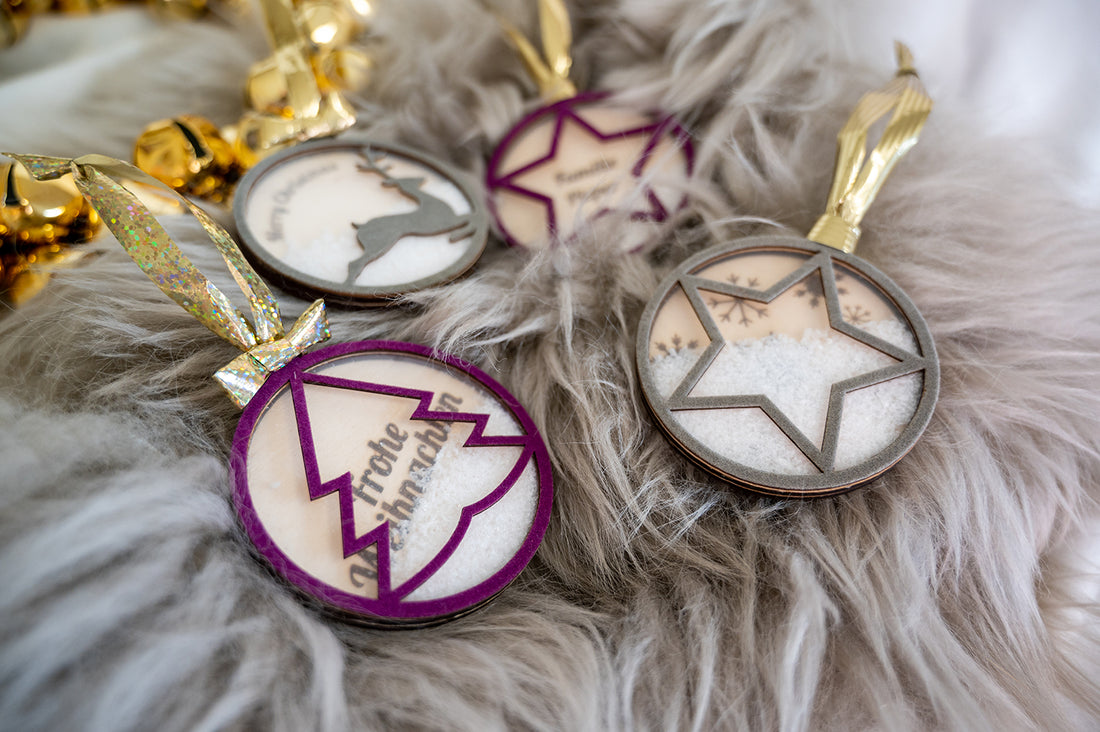
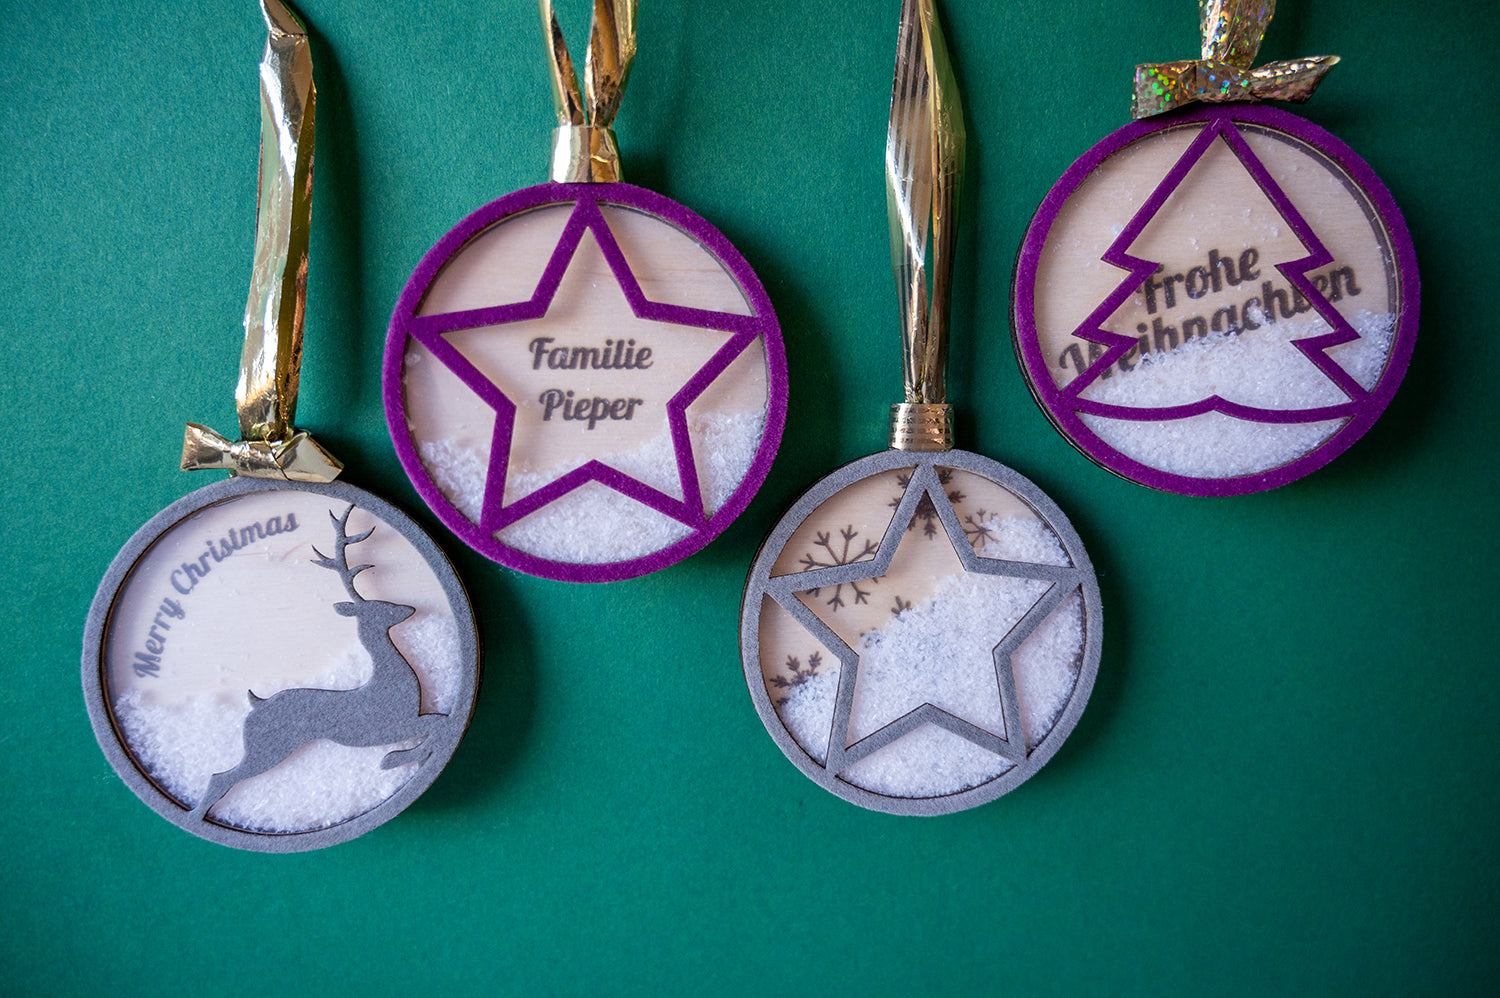
You can find the right file in our design store, which you can easily access via BeamOS. Our Christmas shaker comes with four different motifs: star, fir tree, reindeer and snowflake. If you would like to have your own motif, you can easily edit our file with a vector drawing program such as Inkscape or Illustrator. To do this, take the shape of the ring, change from “coloured contour, no area” to “no contour, coloured area”. Then you put your motif over it as a surface so that it overlaps with the ring and connect the two together. In Inkscape, this is done via Ctrl+k in Illustrator via Pathfinder.
What you need for your Christmas Shaker:

- Poplar plywood 3mm
- Kraftplex 0.5mm
- Clear sleeves (or other thick foil)
- artificial snow
- glue
- your Mr Beam and the file from the Design Store
- optional: adhesive velvet

Plywood Pack of 5
Sale price
From £26.00 GBP

KRAFTPLEX ST 1.0mm / 1.5mm, Pack of 5
Sale price
From £18.00 GBP

KRAFTPLEX Sample package, 15-pack (0.5, 1.0 & 1.5mm)
Sale price
£49.00 GBP
Making Christmas tree decorations - DIY Christmas Shaker
Now start your Mr Beam and thus also the BeamOS . Open the theme store and load the Christmas Shakers from the theme store into your workspace. This consists of two files: the backing plates with rings and the decorative toppers.
Place a sheet of poplar plywood in your Mr Beam. It is best to use a cutting mat underneath to avoid traces of smoke. If we now place the rings and backplates on it, we can add individual lettering within the software. To ensure that it sits perfectly, you can place the file for the top layer over the backplate in the work area. This way, you can see exactly where the writing would be when you put everything together afterwards. This works just as well with patterns that you can create in a graphics program beforehand. For example, snowflakes or stars have a particularly Christmassy look.

Then simply delete the file from the work area, focus the laser head and start your laser process. To create a particularly precise engraving, you can change the line spacing from the standard setting of 0.15 to 0.1 in the advanced settings.

Then you load the file for the top layer with the motif, insert 0.5 mm Kraftplex and start the second laser process. If you like, you can paint them or, like me, use an adhesive velvet for a Christmassy colour.

So that your artificial snow doesn't fall out afterwards, we need another transparent layer. You can use an old transparent sleeve for this, for example. But any stiffer plastic will work. Lay your backplate on top and trace it. When cutting out, make sure you stay inside the border, so there aren't any ugly edges sticking out when everything is assembled.
Assemble your DIY Christmas tree decorations

When you have all the pieces, we can start assembling. First, glue the ring to the backplate with glue. When this has dried, spread a thin layer of glue on top of the ring and fill the ornament with about a teaspoon of fake snow.
It is important that you apply the glue beforehand, otherwise the blast of air from the glue bottle will spread the snow everywhere. Also, make sure to use really thin layers of glue, so it doesn't ooze out of the joints when you put it together. Then comes the transparent plate and finally the Kraftplex decoration on top. Now you can attach a nice ribbon.
Your filled Christmas tree decorations are ready. Friends and family are also happy about the ornaments as an individual Christmas present. Children in particular like to shake the snow back and forth, but they don't break them as easily as a snow globe.
I wish you a lot of fun imitating and of course decorating the Christmas tree.
Your Marie
Would you like to learn more about Marie and her work at Mr Beam? Then we can recommend our Pinterest video on YouTube. There you will get a little insight into it!


