
Do you still have your measuring stick from your childhood in the attic, at your parents' house or in the basement? Back then, my mom wrote this down very regularly on my measuring stick, and these days I think it's nice to look at it every now and then.
The measuring stick we bought at the time for our two children recently fell down and unfortunately broke. When I went to get glue to fix them, our older daughter stopped me. “Mom, I actually don’t think the measuring stick is that nice. Can’t you make us a prettier one?”
And what do you think I said?! Correct! “Sure I can do it, come with you two. We’ll choose a nice motif for your yardstick, and I’ll make it for you.”
The two then decided on a llama with a flower necklace. We discovered this file on Etsy.
Material for making measuring sticks for children

- Poplar plywood, 3 mm thick
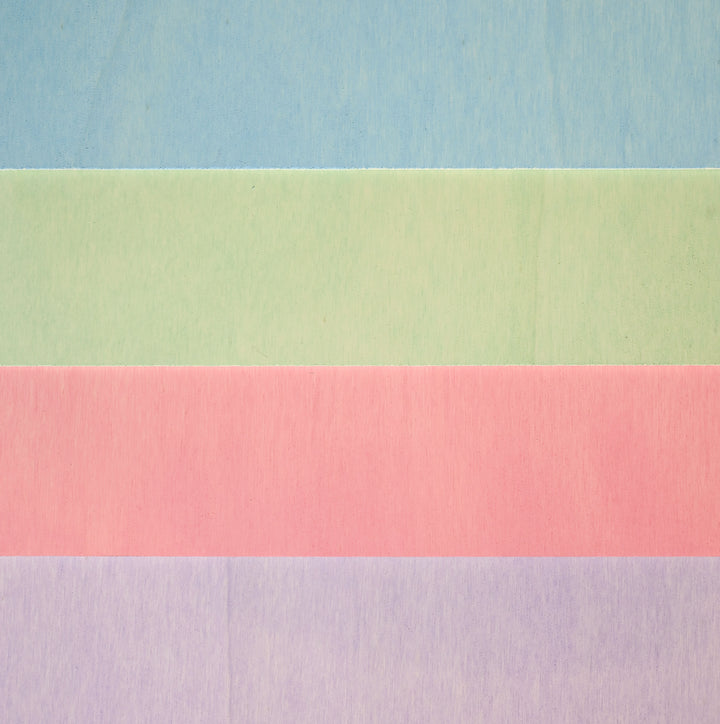
- Colourful poplar plywood - here pastel pink
- wood glue
- Acrylic paint
- Paint brush
- sandpaper
- a file from the Internet
Plywood Pack of 5
Sale price
From CHF 30.00
Mr Beam poplar plywood 3mm, pastel, A3, economy pack (4 colors)
Sale price
CHF 62.00
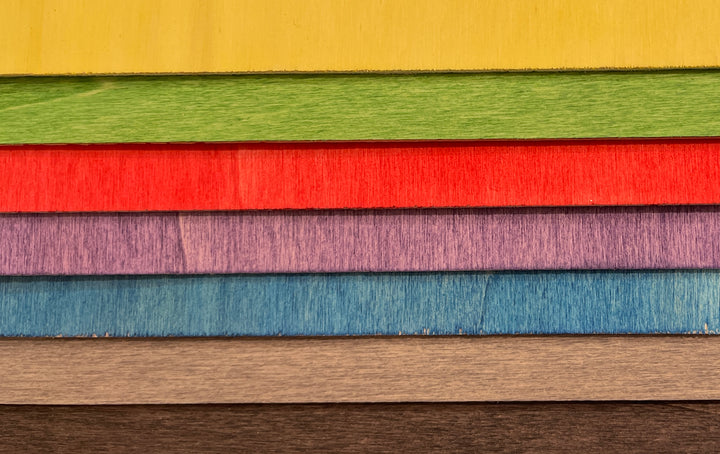
Mr Beam poplar plywood coloured (different colours)
Sale price
CHF 57.00
Prepare the file of the measuring stick for our children to laser
The laser template for our llama for making the measuring stick still needs to be adapted to the dimensions of the wood.

To do this, first measure the sizes of your pieces of wood. This way, you can divide the entire measuring rod into suitable pieces in your graphics program, which you can then glue together after laser cutting. For our DIY llama measuring stick and the existing poplar plywood, this is what the whole thing looked like when the file was ready for lasering.

The black lines are engraved and serve as a colouring template after lasering. The red lines are the cutting lines.
To make lasering faster, you can also save the elements in such a way that they can then be lasered out of your wood by Mr Beam.
So always check how many elements can be lasered out of one of your plywood panels. This saves material and time.

Save the individual files of your DIY llama measuring stick for your children on the PC and open the Mr Beam software. To do this, start your Mr Beam and open your browser. Then you gradually drag and drop the files into the workspace of the Mr Beam software.
Laser your DIY llama measuring stick for children
Place your first poplar plywood sheet into your Mr Beam. For the llama I chose poplar plywood with a thickness of 3mm and the measuring stick itself is made of colourful poplar plywood in pastel pink. Since the measuring stick later consists of two sheets of plywood glued together, the measuring stick is sufficiently stable.
In the work area of the Mr Beam software, you can use the “preview” to arrange the elements of your DIY llama measuring stick on the wood. It is important to set the object height correctly in order to get the most accurate image possible.

The laser settings for the respective wood are already stored in the Mr Beam software. So you can start the laser job straight away.
Now do the same for all elements of your DIY llama measuring chart for your children. And after lasering it gets colorful!

Now it's getting colourful - paint your DIY measuring stick for children
Now grab your brushes and acrylic paints and let your creativity run wild.
Acrylic paints are always good for wood. They can be applied easily and precisely with a brush. At the same time, they cover very well, are mixable and do not run.

Since the colour of a llama is rarely pure white, I found the light colour of the poplar plywood very suitable. That's why I only painted the face, the feet and the flower necklace.
With a thicker brush, you can quickly paint larger areas. A thin brush is useful for finer lines and corners. Acrylic paint dries quickly, so you should correct minor mistakes quickly. The effect of the quick drying is nice, as you can continue quickly or apply a second coat of paint if necessary.

Putting together your DIY llama measuring stick
When the acrylic paint is completely dry, you can glue your ruler together. Sand the edges that will be glued a little beforehand. This makes them a little brighter and the connection points are less noticeable afterwards.
You need a larger, flat surface on which you can glue everything together.
I started with the head and the first piece of neck. At the same time I glued the body and the lower neck piece and also two elements of the pink measuring stick.
Since you usually can't work with such narrow edges with the pressure that the glue needs to set, only time will help you now. Without pressure, glue takes significantly longer to dry, but is no less stable afterwards. Then glue the remaining edges of the llama and the measuring rod together and let it dry as well.

Finally, apply enough glue to the back of the measuring rod and distribute it evenly.
Then place the measuring stick on the wooden llama. You can press the two wooden elements together with large clamps so that the glue sets more quickly, or - like I did - place the whole thing on the floor and stand on it.
Now you need a tape measure or a ruler to properly hang up your self-made measuring stick for children in a llama design.

To attach it to the wall, four or six poster strips (depending on the nature of the wall) or nails are sufficient. If you want it to be more robust, I recommend small screws with dowels. Your DIY measuring stick for children in a llama design is finished and ready to use.
I hope you have fun copying it - and watching how quickly the children grow!
Your Rina


