
In your closet, your sweaters are neatly hung, your pants are neatly folded and stacked, and your blazers and jackets are also hanging in a row.
And your jewellery? Are the necklaces tangled, rings and ear-studs lying in a mess or scattered in small bowls in the bathroom and bedroom?
If that isn't actually too bad, you would be much more likely to wear a necklace that you don't have to untangle first, or even the earrings if you don't have to find a suitable second one. It would be much nicer to see all the pieces of jewellery at a glance, and in an orderly and not tangled manner.
That's why in this tutorial I'll show you how you can make your own jewellery holder.
A jewellery holder tailored to your own needs
You can find files for jewellery stands or jewellery holders on Etsy or other providers. This way you can look for a file that suits your personal requirements and design wishes.
I chose a jewellery holder in the shape of a tree, with a bowl underneath for loose items. I own a few stud earrings, a few rings, but few necklaces or bracelets. After I found a file that was right for me, I adapted it to my needs in my graphics program, for example Adobe Illustrator, Affinity Designer or CorelDraw.
I removed a few stud holes, so I can hang something on these leaves more easily.
Choice of material for your jewellery holder
The tree, as the latest jewellery holder, should of course be made of sturdy material, as the stems of the leaves are quite delicate.
Since I find white acrylic very chic and really like the shiny look of the surface, I chose white acrylic as the material for the jewellery holder.
And you already know from my other instructions that I like to use the combination of wood and acrylic.
I also like the softness and warmth of wood. The shell of the jewellery holder is therefore made of poplar plywood in pastel purple. A soft, but still sufficiently stable wood - especially thanks to the four layers.
Material to make your own jewellery holder

- white acrylic in 3mm thickness
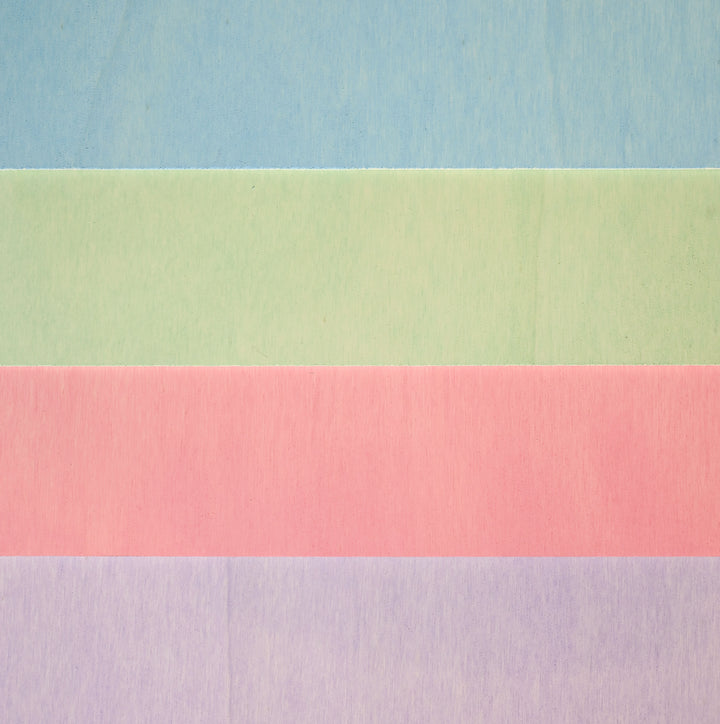
- Poplar plywood in a beautiful pastel colour
- wood glue
Mr Beam poplar plywood 3mm, pastel, A3, economy pack (4 colors)
Sale price
CHF 62.00
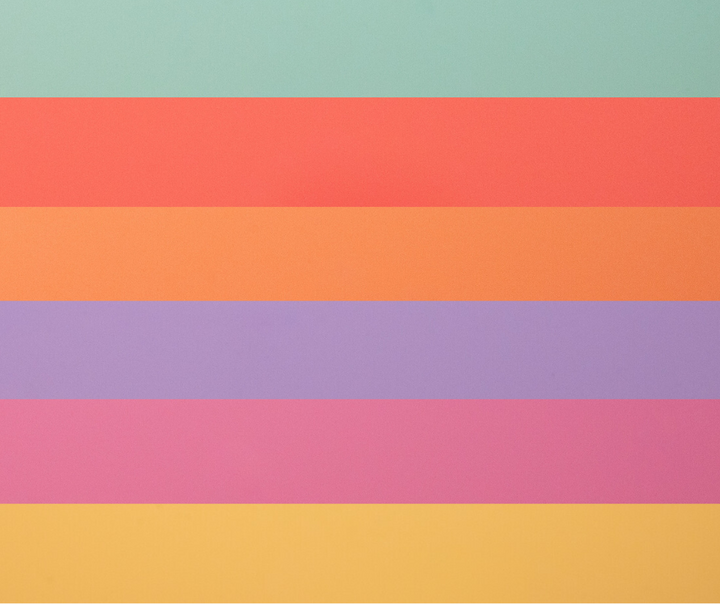
Mr Beam Pastel Acrylic, various colours, 3mm, A3
Sale price
From CHF 14.00
Laser your jewellery holder
Since I had the file for my jewellery holder open in my graphics program anyway, I used it to adjust the line colours. Everything I want to laser from the poplar plywood in pastel purple has been given a black line colour and I have made the cutting lines of the jewellery holder tree, which I want to laser from white acrylic, blue.

This makes it easier to divide up the laser jobs later. After adjusting, save your file and start Mr Beam. Open the Mr Beam software in your browser. In order to be able to laser your customized file for your jewellery holder, simply drag and drop it into your workspace in the Mr Beam software. Not only do you have it right in your workspace ready to go, but it's also saved in your design library.
Laser cut the acrylic for the tree of your jewellery holder
Place the white acrylic - without first removing the protective films - into the Mr Beam and focus the laser head (don't forget!).

You can simply leave the protective film with lasers, which has the advantage, among other things, that you can simply remove any traces of smoke from your acrylic afterwards with the film and at the same time get more beautiful laser edges.
In the Mr Beam software workspace, position the tree on your acrylic.
It is important to set the working height correctly in order to get an accurate preview image.
Tip: With acrylic, it doesn't matter which side is at the back and which is at the front. That's why, depending on the piece of material, you can also mirror your file if it fits better on a leftover piece, for example.

You can access the settings using the “Laser” button. Here you choose acrylic and the corresponding colour as the material. In this case, white.
It is now important to move the black cutting line into the “Skip” field. To do this, click on the symbol and drag it into the field. In this laser job, only the blue cutting lines are lasered.

After the laser job, take out the tree as a jewellery holder and the remaining white acrylic from the Mr Beam.
The shell of your jewellery holder, made of poplar plywood
Now place your pastel purple poplar plywood into the Mr Beam.
Focusing is not necessary as both the acrylic and poplar plywood are 3mm thick. In the work area, you move the four parts for the bowl on your wood using the camera preview so that you waste as little material as possible, and you can then go to the laser settings via “Laser”.

Here, you now select “poplar plywood” in the material selection and confirm the thickness of 3 mm. Now it's exactly the opposite: you skip the blue cutting line for the tree and only laser the black lines.

After the laser job, take out the parts of your jewellery holder for the bowl and the remaining wood from your Mr Beam and get everything ready for assembly.

Finish making your jewellery holders
For the bowl, start with the largest oval and coat the areas on which the next part will rest with wood glue.

To position the ovals exactly, insert the tree into the opening after placing the smaller oval. Now fix the two wooden elements with clamps until the glue dries.

Do this for all the ovals, from large to small, until your bowl is finished.
While the bowl for your jewellery holder is drying, remove the foil from your acrylic tree. Especially with white acrylic, the cut edges might be a little dark from lasering. This can be easily removed with nail polish remover and a cotton pad, and in the corners with ear swabs. There is also a good video about working with acrylic here !

After cleaning, insert the tree of your jewellery holder into the opening provided on the edge of your bowl, and you have made your very own jewellery holder.
I hope you have fun copying it - and cleaning up your mess in your jewellery box :-)
Your Rina


