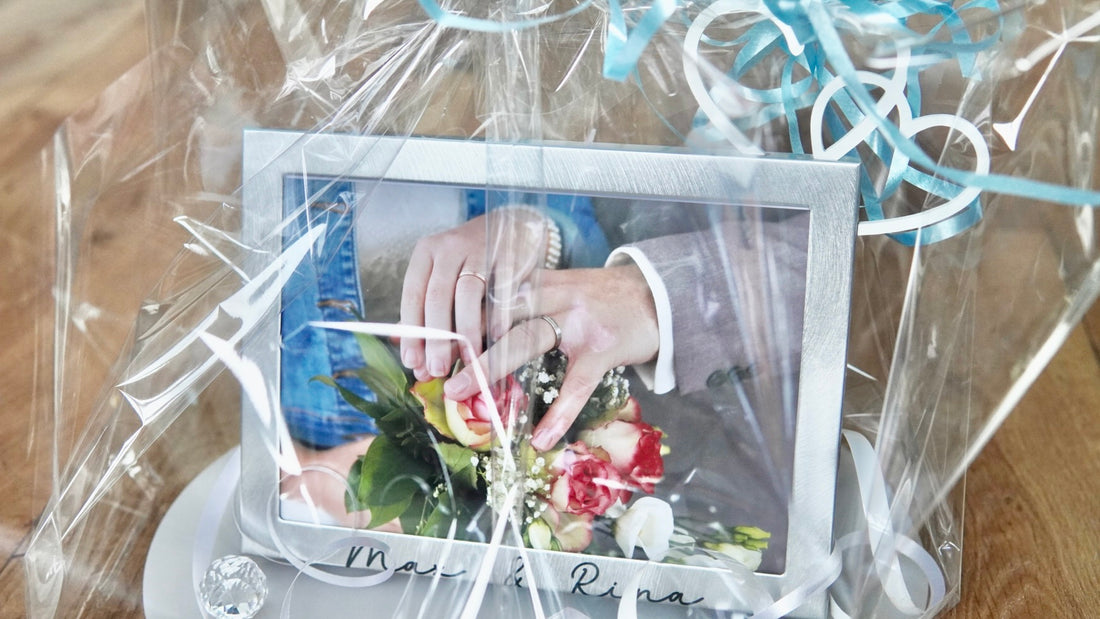
Giving a picture frame is a wonderful way to express memories and emotions in a creative but also very personal way.
With the picture in the picture frame, you also have the option of capturing shared experiences. It becomes a gift with a deeper meaning.
Perfect as a gift for a wedding or a birthday - especially with a personal engraving.
Material for your engraved picture frame
- a beautiful photo
- a metal picture frame
- the mark solid spray
- Acrylic in the color of your choice
- Glue, here Pattex Repair 100%
- Stencil material (paper or cardboard)
- and your Mr Beam
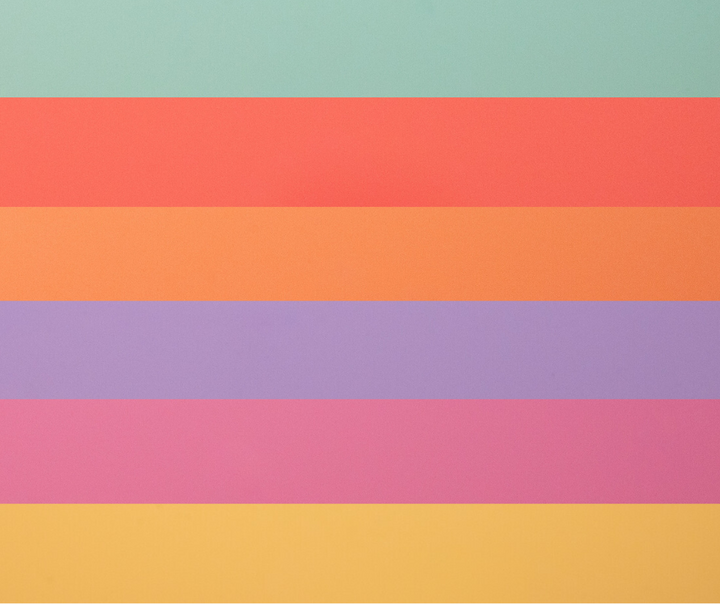
Mr Beam Pastel Acrylic, various colours, 3mm, A3
Sale price
From CHF 14.00
Mr Beam Acrylic Bo[x]
Sale price
CHF 168.00
How to engrave a metal picture frame
An engraving on metal - no problem
In order to spray your picture frame with the markSolid spray, you again need a (self-made) spray booth. I use old shipping boxes for this. You should shake the spray can vigorously for at least a minute beforehand so that you can hear the mixing ball inside clicking up and down.

Then spray the area of your metal picture frame that you want to engrave evenly at a distance of 10-30 cm. After that, the paintwork has to dry completely. You can tell by the fact that the surface becomes lighter and completely matt.
A template for the exact engraving of your picture frame
To engrave the picture frame, you need a stencil. You can laser them out of paper or cardboard. Measure the length and width of your picture frame and start BeamOS.

Use the "Form" button to create a square with the dimensions of your picture frame for the template. For me it is 19 x 14 cm.

Use the camera preview to align the square on your template material. Choose your material in the settings and let your Mr Beam cut a template for your metal picture frame as a gift. After lasering, remove the inside of the stencil.
Create the engraving
To personalize the picture frame as a gift, you create an engraving.
The couple's names as a wedding present, or your funniest inside joke for your best friend? There are no limits to your creativity here.
In the Mr Beam software, you can create a lettering with the Quick Text function. Different fonts are available here. It is important that the fill colour is selected here and not the line colour.

You have even more choice of fonts if you create your engraving in your graphics program. Once you have created the text using the dedicated tool, it is important that it is filled, as you will want to engrave it.
When your lettering is ready, save the file.
Use "drag & drop" to pull them into the BeamOS workspace.
The height of your writing should of course be smaller than the width of the frame.
My picture frame is 13 mm wide, so the font height is set to 12 mm.

Engrave your picture frame
Now place the picture frame exactly in your already lasered template.

Center the lettering on the bottom edge of your stencil rectangle.
Via "Start" you get to the settings for the laser. Select “stainless steel” as the material and reduce the line spacing to 0.1 to get a nicer engraving.
When your Mr Beam is ready, take out the engraved picture frame and simply rinse off the remaining markSolid spray with water. The engraved picture frame looks great, doesn't it?

A small individual highlight for your engraved picture frame
What do you think of the combination of an engraved metal picture frame and an acrylic decorative element ? The x-head cuts quite a few colours with its power, but even without the x-head you can cut beautiful, elegant highlights for your picture frame out of black acrylic, for example.
For my engraved wedding picture frame, I chose two hearts, which I glued to the upper right corner.
I bought the two hearts file on Etsy, then subtracted a corner in my graphics program, so I can glue the two three-pad hearts to the corner of my engraved picture frame.

You can do the same with any other symbol.
Then drag and drop the finished file into the BeamOS workspace and place your acrylic in the Mr Beam. I recommend removing the foil from the acrylic only after the laser job.
The laser settings for the individual acrylic colours are stored so that you only have to click through, and Mr Beam can start cutting.

After the laser job, take out your decorative element and remove the foil from the acrylic.
The hearts are now ready to be glued on. I like to use Pattex Repair 100%, it always takes a while to dry, but then everything holds.
After the glue has dried, your engraved picture frame is complete.
I wish you a lot of fun imitating and thus giving away!
Your Rina