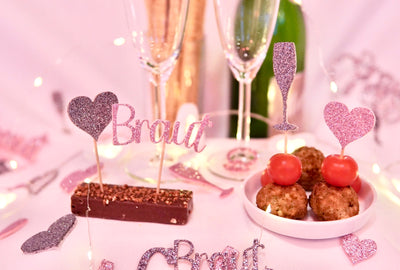
Wow, have you ever seen such beautiful letters made of flowers at a wedding or birthday and thought “I would like to have something like that as decoration at my party.”?
Letters made of flowers are not only suitable as decoration for baptisms, communions, confirmations, weddings or birthdays, but also as a gift or simply as decoration for your home. In this tutorial, I'll show you how easy it is to make these flower letters yourself.
Material for your letters made of flowers
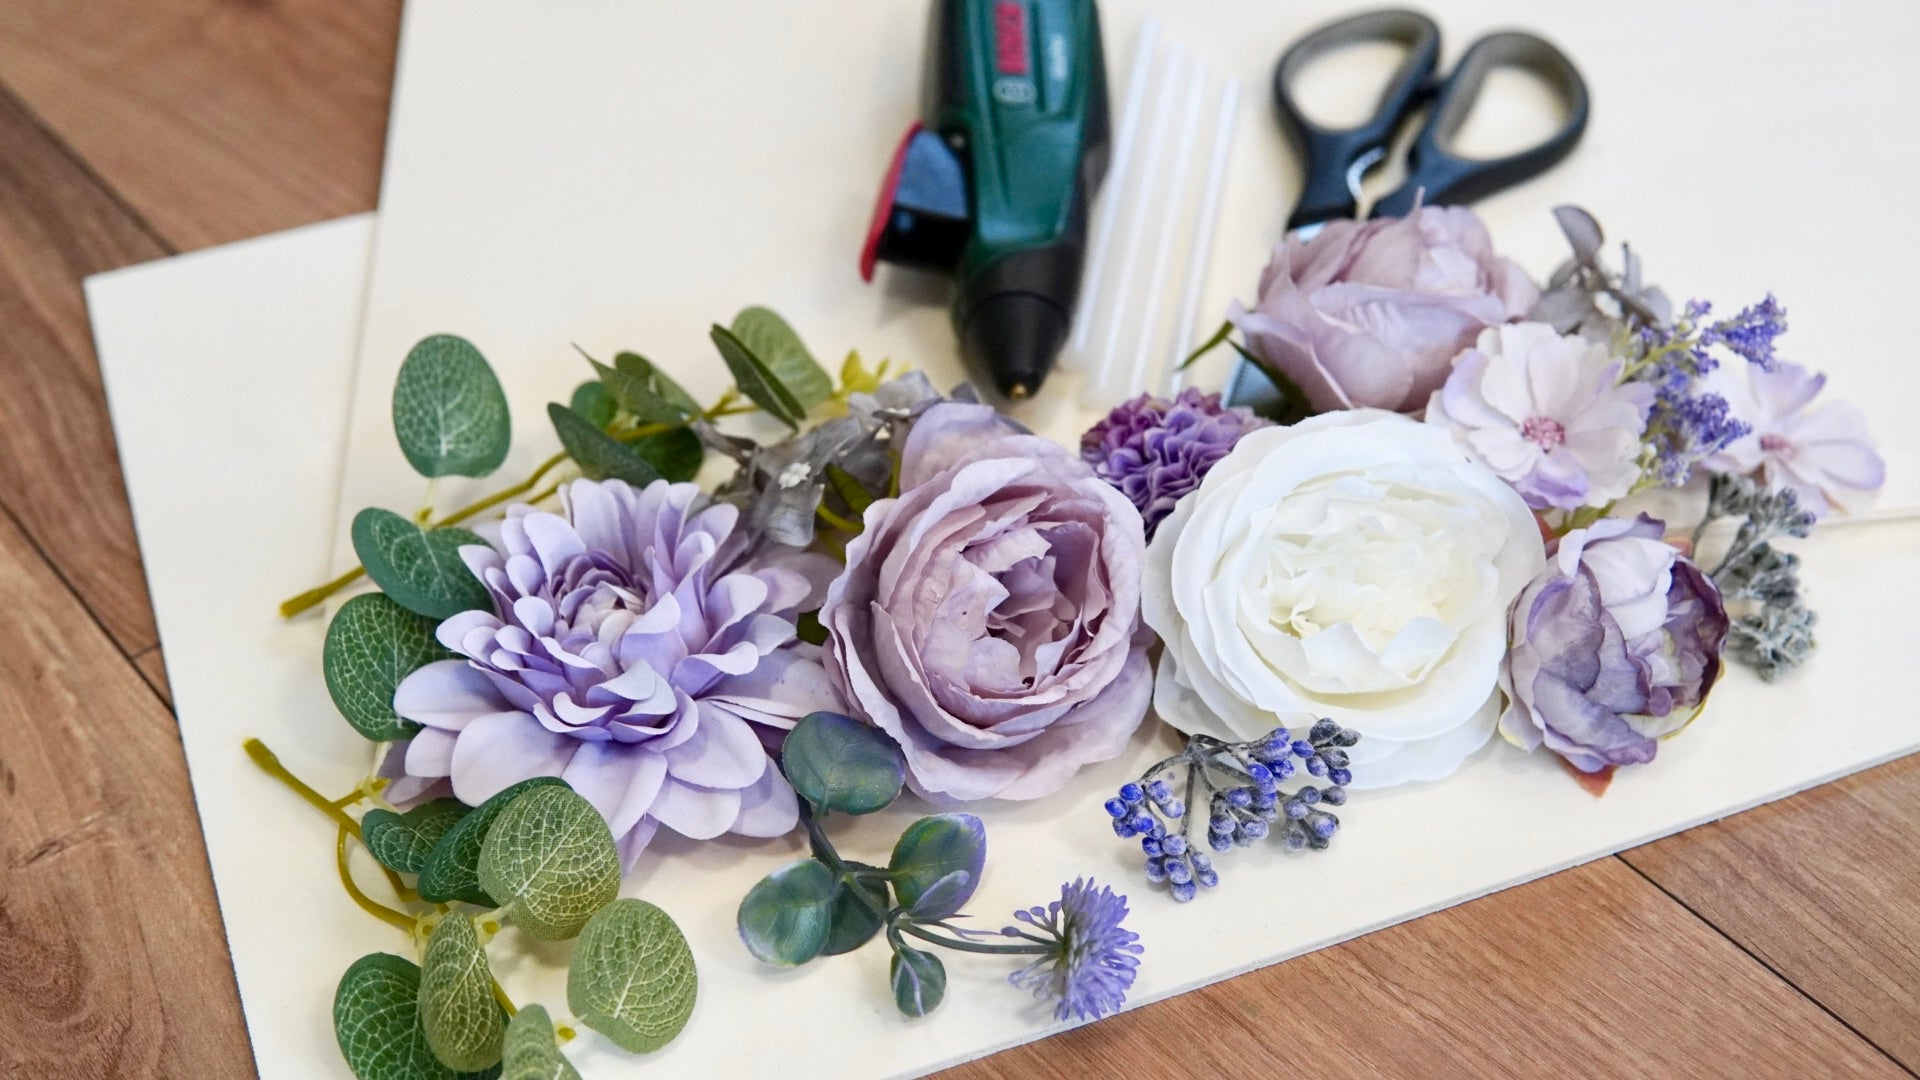
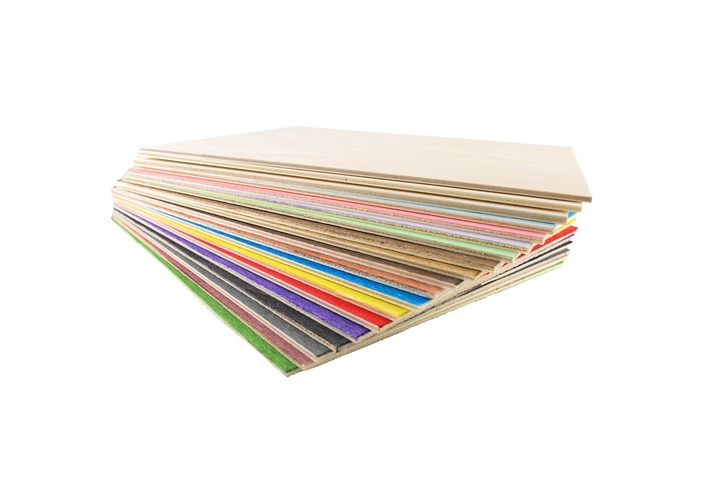
- Birch plywood with a thickness of at least 3 mm or even better 4-5 mm
- many different sized artificial flowers in the colours of your choice
- scissors and possibly side cutters if your flowers are on wire stems
- lots of hot glue sticks and of course a hot glue gun
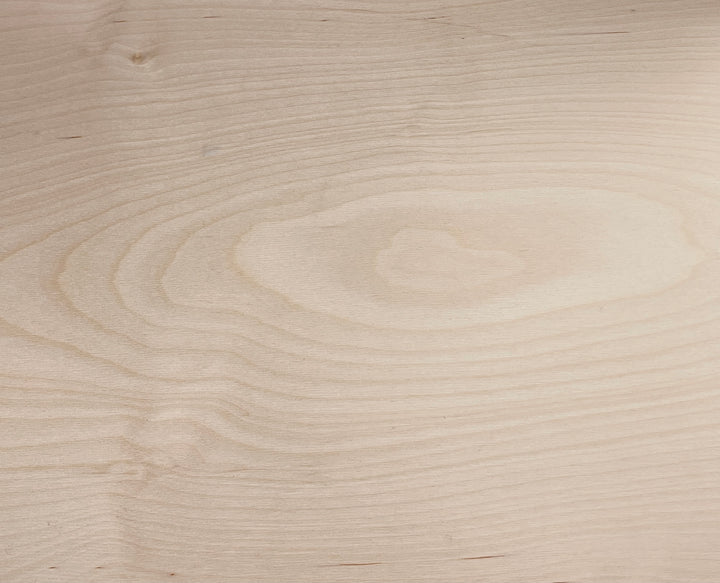
Plywood birch 5 pack
Sale price
£41.00 GBP
EuerKonstantin "handicraft box", wooden trial set
Sale price
£54.00 GBP

Mr Beam Poplar plywood suitable for [x], 4mm, A3
Sale price
From £30.00 GBP
Planning your floral letters
For your flower letters, there are a few things to consider and think about in advance:
- Which letters would you like to make as flower letters, and how many letters do you need?
- How big should the letters be?
If, for example, they are to hang on the wall or on the bride and groom's chairs, then the flower letters should be of an appropriate size in order to be sufficiently effective.
- Which font for the letters?
The individual letters should have a certain width.
The flowers that you stick on afterwards always look slightly beyond the edge of the wooden letters so that the wood is completely covered.
This automatically makes them slightly wider than the actual letter. If it is too narrow overall, you will hardly be able to recognize a letter afterwards and, in the worst case, a guessing game begins as to what it is supposed to be.
- What colours should the letters made of flowers be?
It then plays a role where they are used and what other colours are used there.
- Will the crafted flower letters be hung up, or will they be propped up somewhere?
Leaning letters should have a strong wooden base, so thicker birch plywood is better.
- Are the crafted flower letters used indoors or outdoors? If they are to be used outdoors, it is advisable to make sure that they are waterproof when choosing artificial flowers. You should also impregnate or varnish the lasered wooden letters before sticking the flowers on to protect the wood from the effects of the weather.
Laser the letters for your DIY flower letters
For your letters made of flowers, the first thing you need is a wooden base. You laser them with your Mr Beam. To do this, start your Mr Beam and open the Mr Beam software in your browser. In the workspace, you will find the “Quick Text” function. And the pre-installed font “Merriweather”.
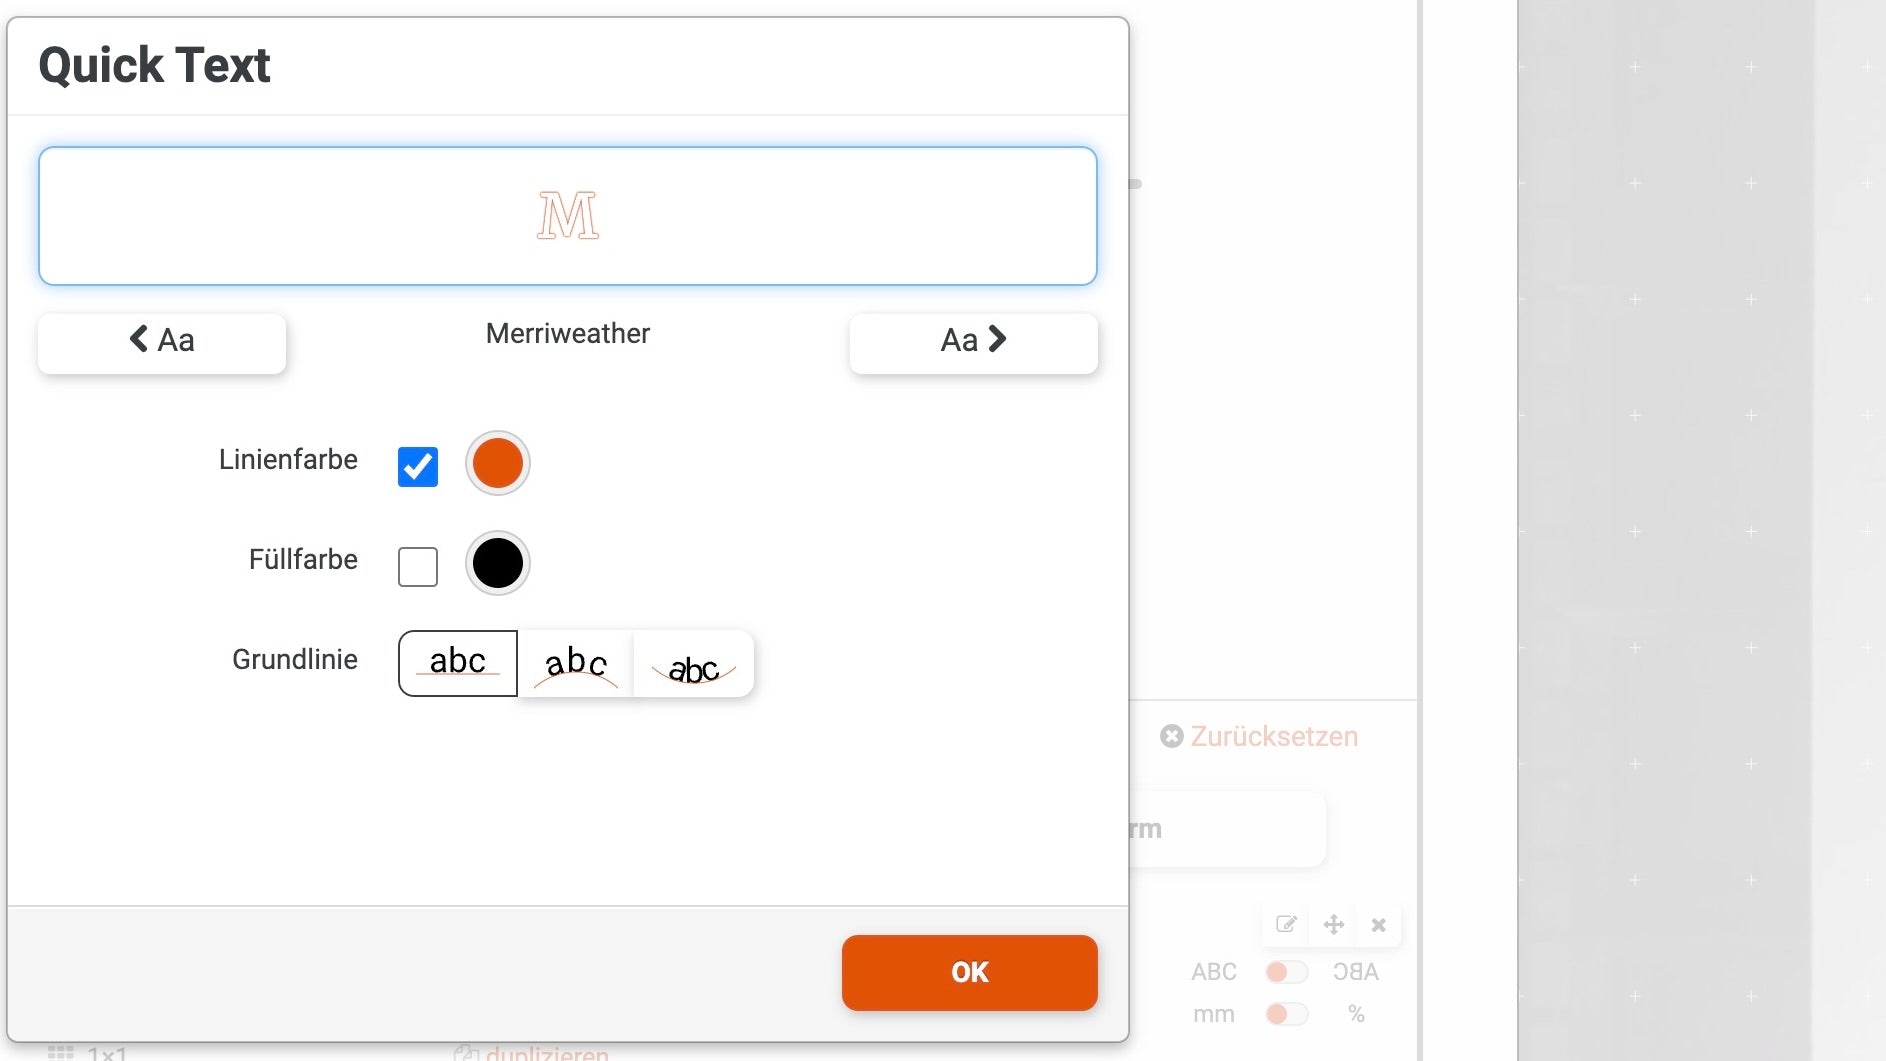
It is very suitable for making your flower letters, as the line width and the letters overall are sufficiently wide. However, if you don't like any of the saved fonts for your flower letters, you can also create your own letters in your graphics program.
After saving, these can then simply be dragged and dropped into your workspace.
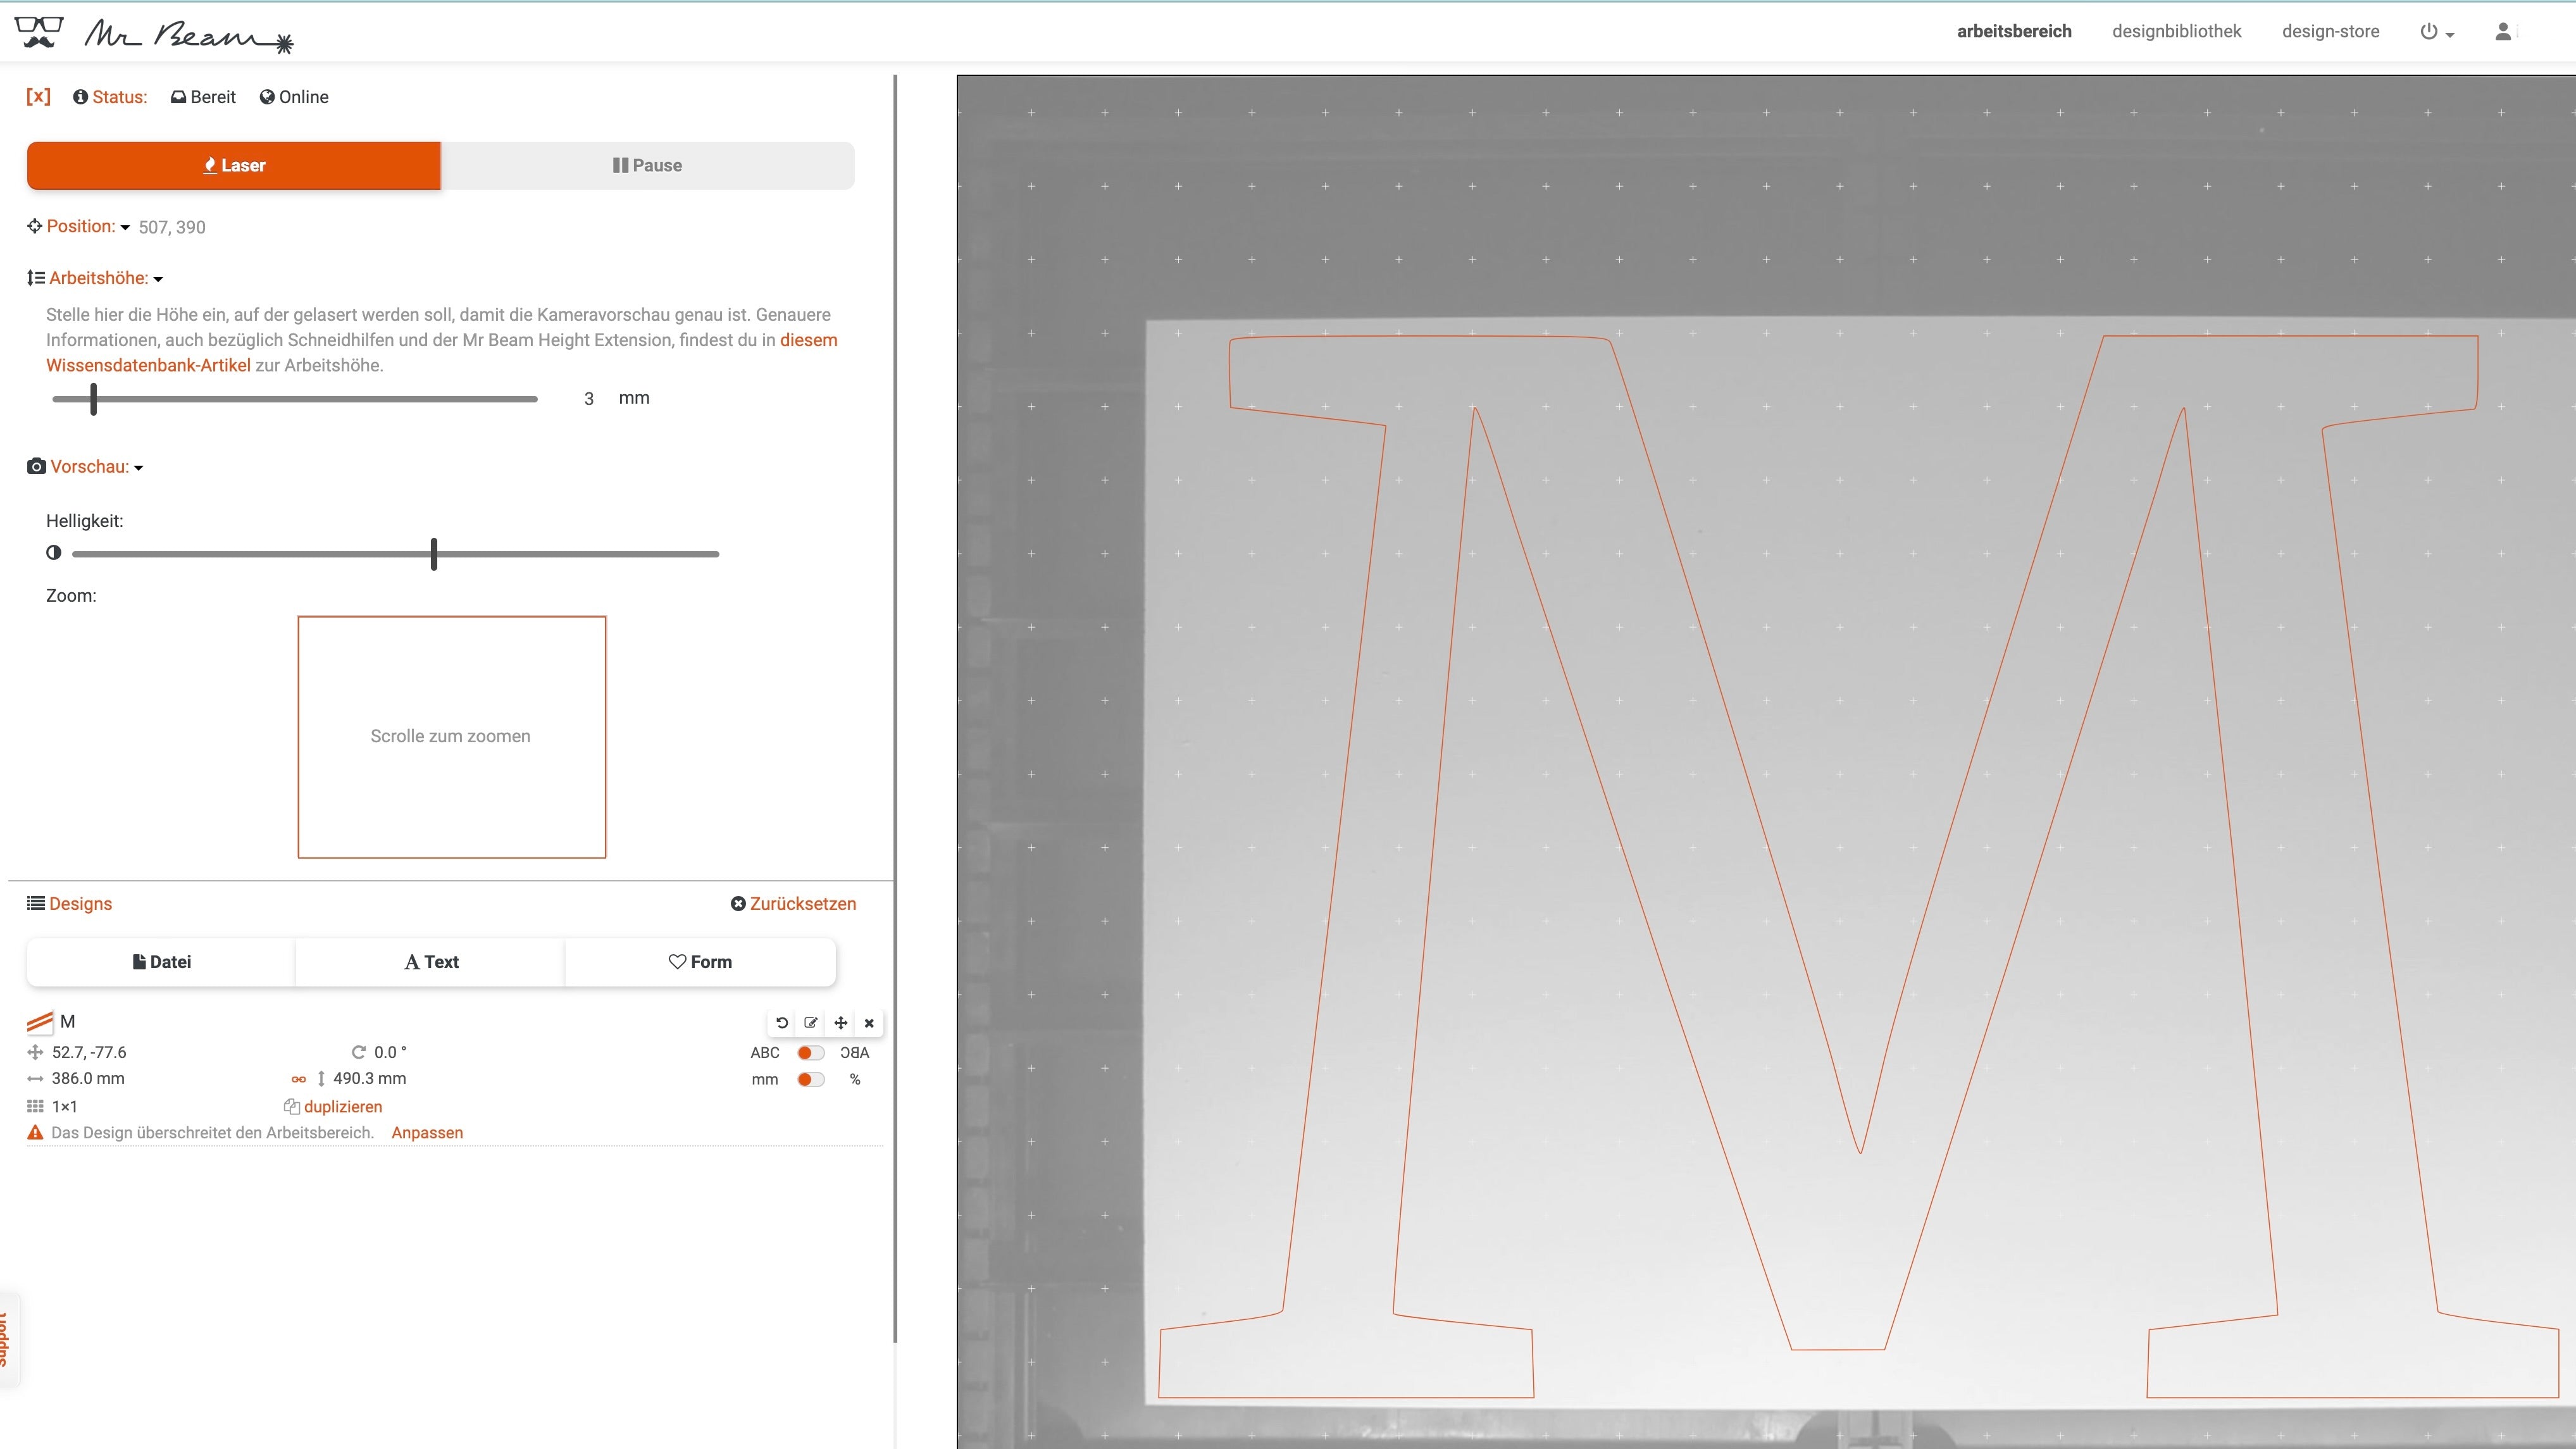
Now you determine the size of your flower letters by placing your plywood in the Mr Beam in advance in order to adjust the letters to both your needs and your material using the camera preview. If you want to hang up the flower letters, you can either insert a small circle using “Quick Form” and laser a hole for a string or nail in your letters, or you can simply use self-adhesive picture hangers afterwards.

After focusing the laser head, you can start. You start the laser job by clicking on “Laser”, selecting the settings for your type of wood and the thickness of your wood, and confirming the whole thing with “Start”.
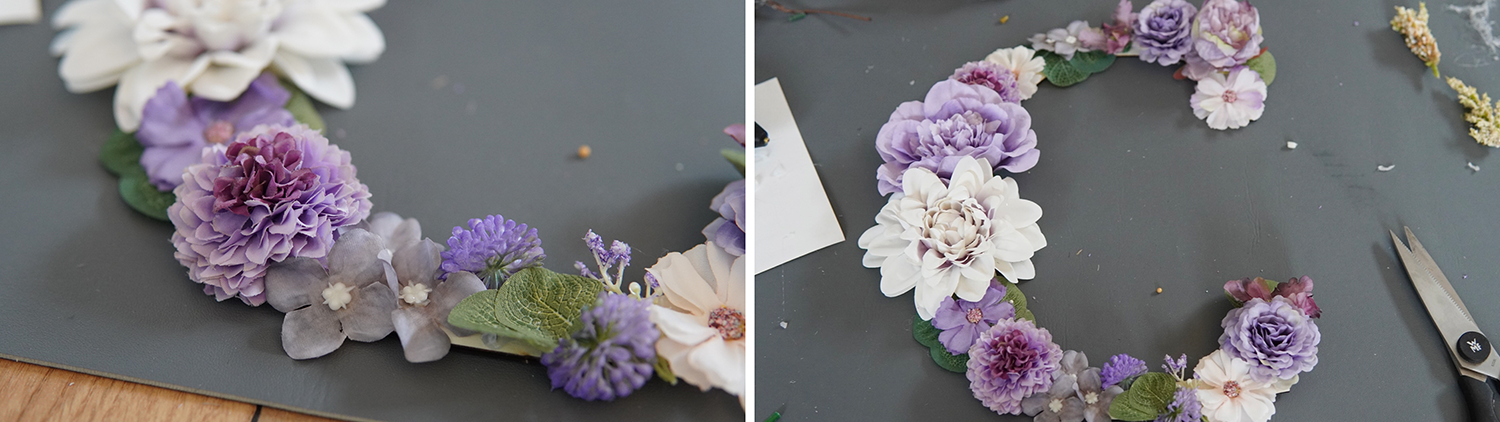
Glue the flowers onto the letters
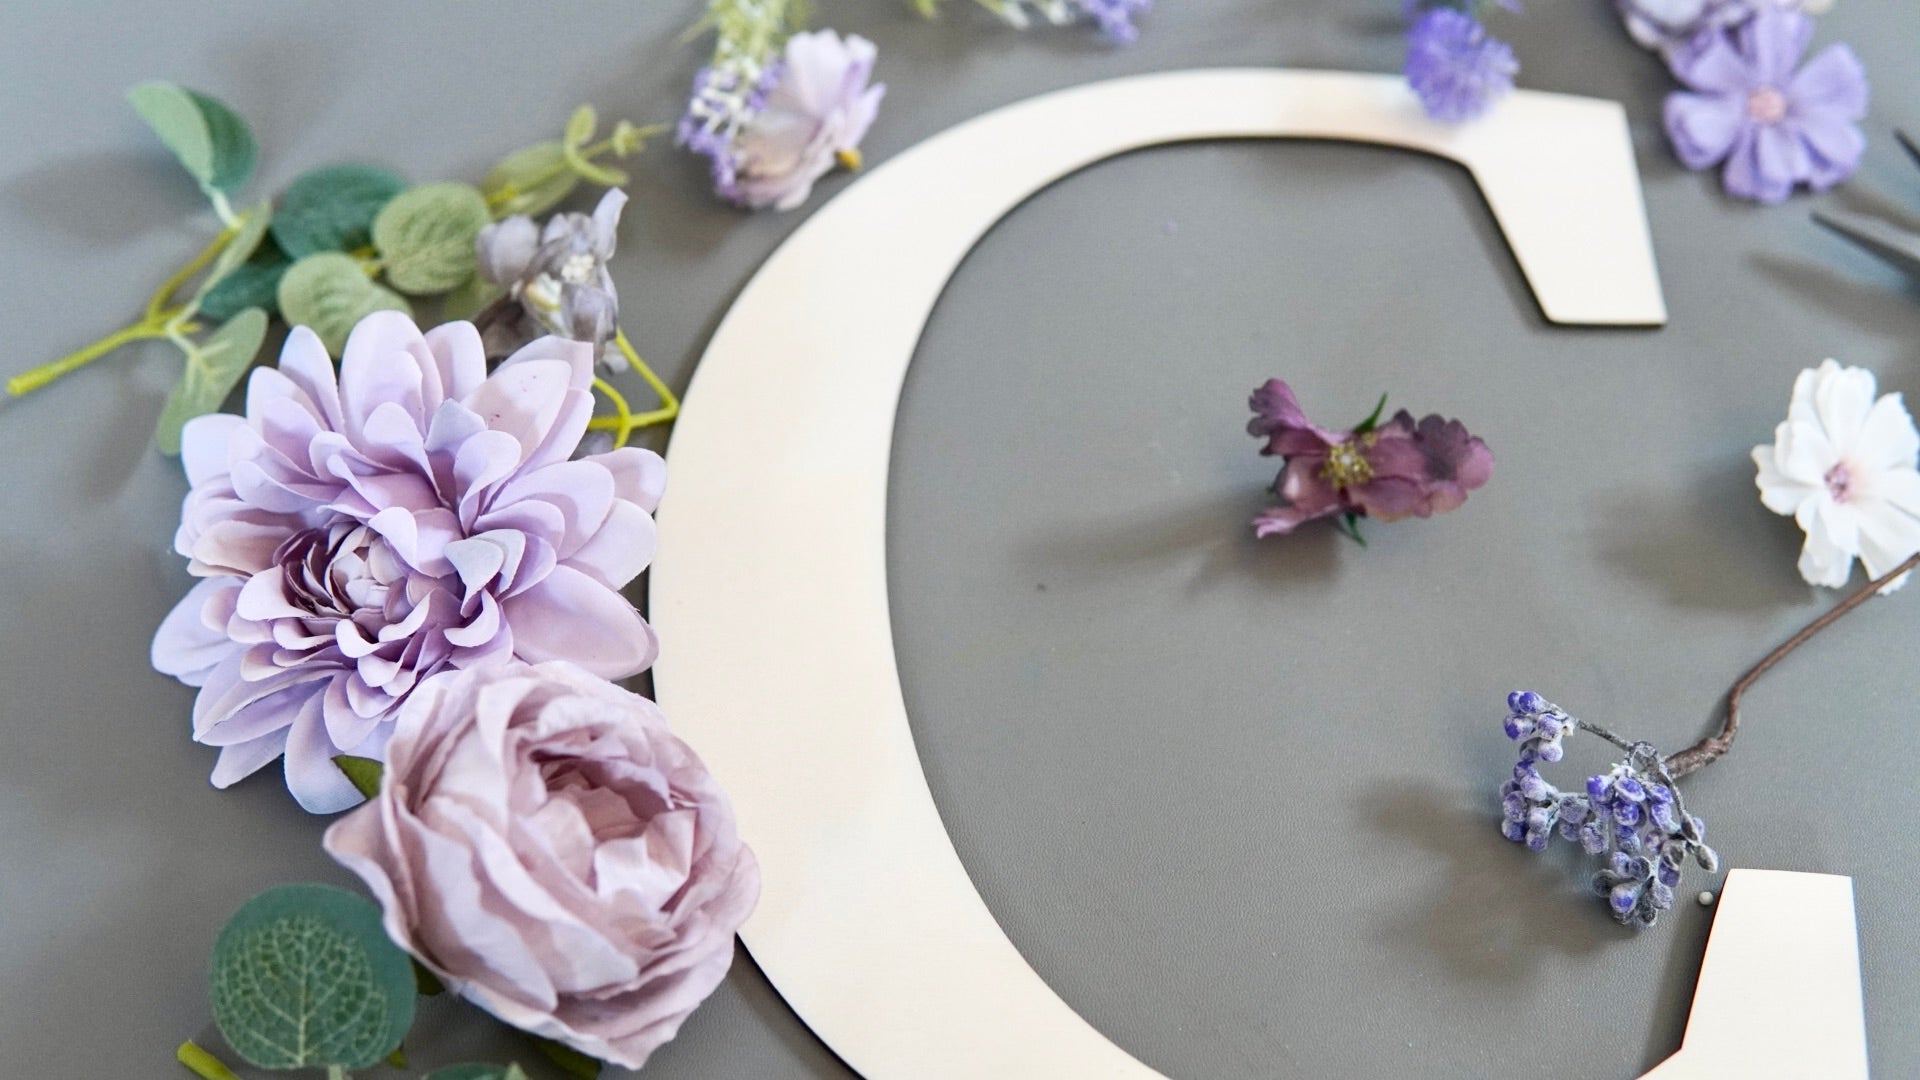
After you have lasered all the letters, you can start gluing the flowers onto the wooden letters. First, remove all the stems as close to the bottom of the flowers as possible. Scissors are usually enough, but you may need side cutters.

Tip: Before you start gluing, I would roughly arrange the individual flowers on the letters in order to have an overview and to know whether the overall picture is harmonious in the end.
If you like that, gradually glue the flowers onto the letter.
To do this, apply the hot glue to the ends of the flowers and press them onto the wood. As soon as the hot glue has cooled, the flower is fixed. Depending on how tightly you glue the flowers to the wooden letters, you will need to hold them in place until the glue dries so that they don't get pushed to the side.
So that at the end you can still see the letter among all the flowers, stick the larger flowers on the wider parts of the letters and smaller flowers where the letters are a little thinner. There should be a good mix so that different and evenly distributed flowers can be seen on the letter.
Little by little, your self-made flower letters will be created according to your wishes.
I hope you have fun imitating and admiring your own DIY flower letters!
Your Rina