You certainly know them, because they can be found in almost every household: fridge magnets.
Often they are just decorative items on a refrigerator, magnetic board or other magnetic surface. Or practical helpers for storing and organizing notes, lists, photos or other information.
We used to have a built-in fridge and organized information and our shopping list on a magnetic board. But that has now had its day, because the new fridge is here and there is also plenty of space for fridge magnets.
It's a bit chaotic with kids sometimes. Today with a friend and then a swimming course, tomorrow with grandma and grandpa. Who is where when, who takes them there, and who picks up the children when and where... what's up for the weekend?
In order to organize this better and, above all, to make it visible to everyone, I am now making fridge magnets for us. And do you know the Kudo system? Maybe from the professional environment? I find that a “thank you” is too often lost too quickly. Of course, you often think “Oh great that that was done!”, but then the person is not there at the moment or your mind is on something else too quickly. I think that's so important! That's why there are now two Kudo magnets here.
"Kudo" is a term derived from Japanese and used in the English-speaking world. It is often used as an expression of appreciation or appreciation, similar to "applause" or "thumbs up".
In the business world, "Kudo" is often used as a synonym for "praise" or "recognition". In the form of Kudo cards, for example, appreciative communication at the workplace is then promoted in order to improve the working atmosphere. - because everyone likes to hear and read praise!
Material for your crafted fridge magnets

- 3 mm birch plywood
- Wood glue, for example Ponal Express
- Force
- Contact adhesive all-purpose glue
- Permanent marker pen permanent spray in different colors
- Magnets that are 3 mm thick
- 1 mm felt of a colour of your choice
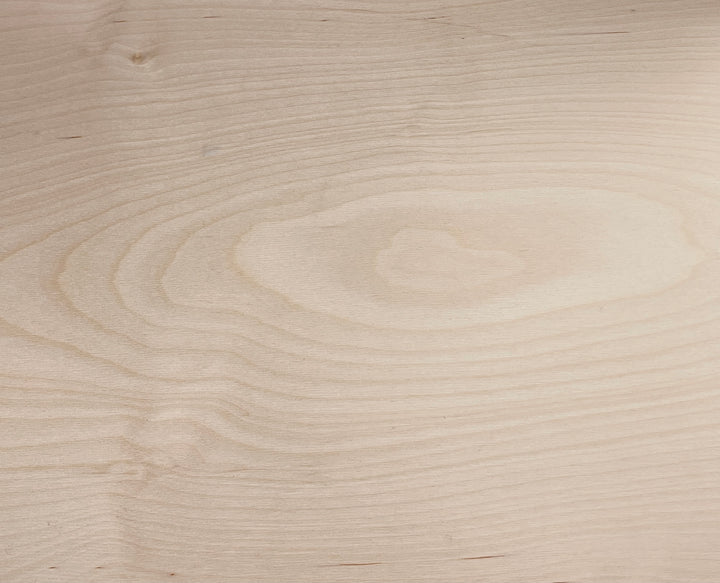
Plywood birch 5 pack
Sale price
£41.00 GBP
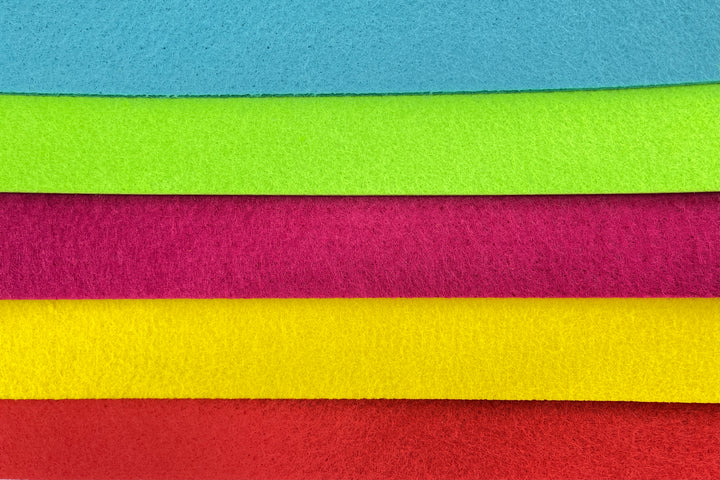
Mr Beam Acrylic felt, 3mm, A3, 5 Pack, neon colours
Sale price
From £14.00 GBP
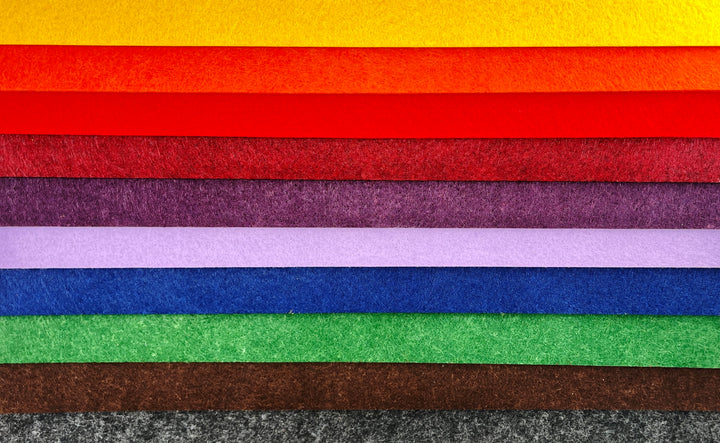
Mr Beam trial pack felt box
Sale price
£35.00 GBP
Design your DIY fridge magnets
Depending on what you need, you choose a suitable font and create your lettering in your graphics program.
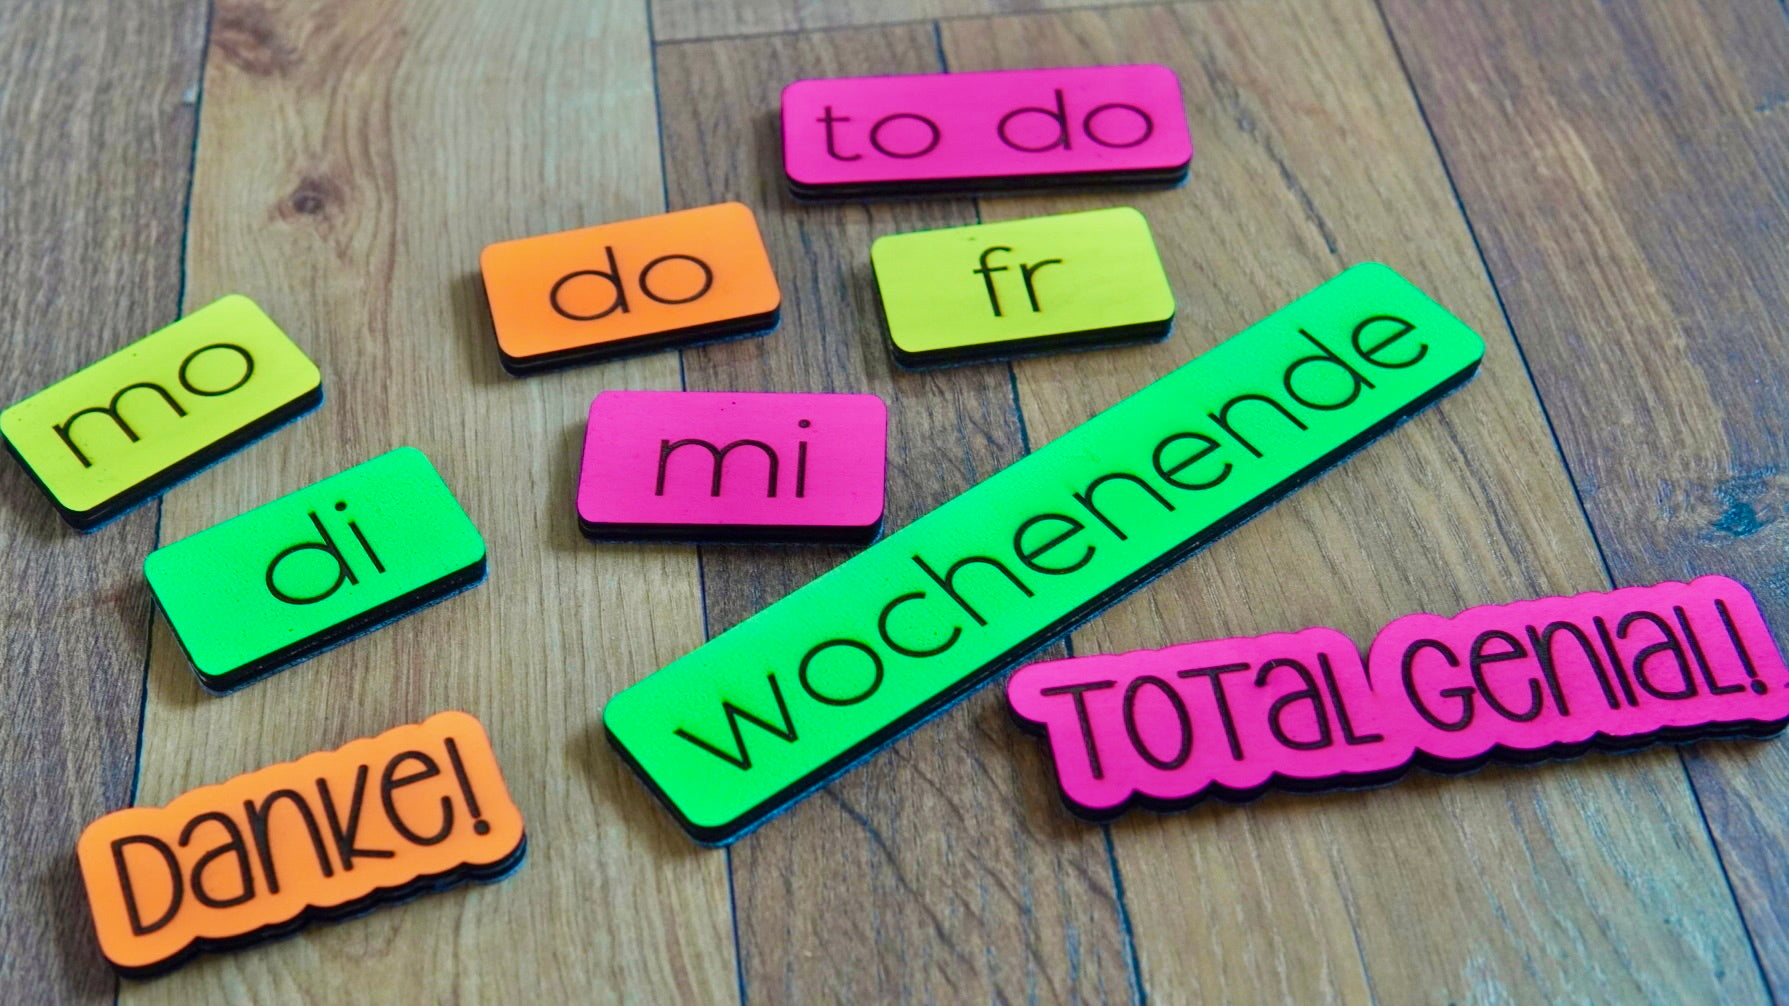
We need the individual days of the week and the weekend, plus a "to do" for the week and what was so important to me: a "Totally awesome!" and a “Thank you!” I deliberately chose a cleaner font for the engraving of the weekly plan, and I underlined the uniform appearance of the days by using identical rectangles with rounded corners as the cutting line.
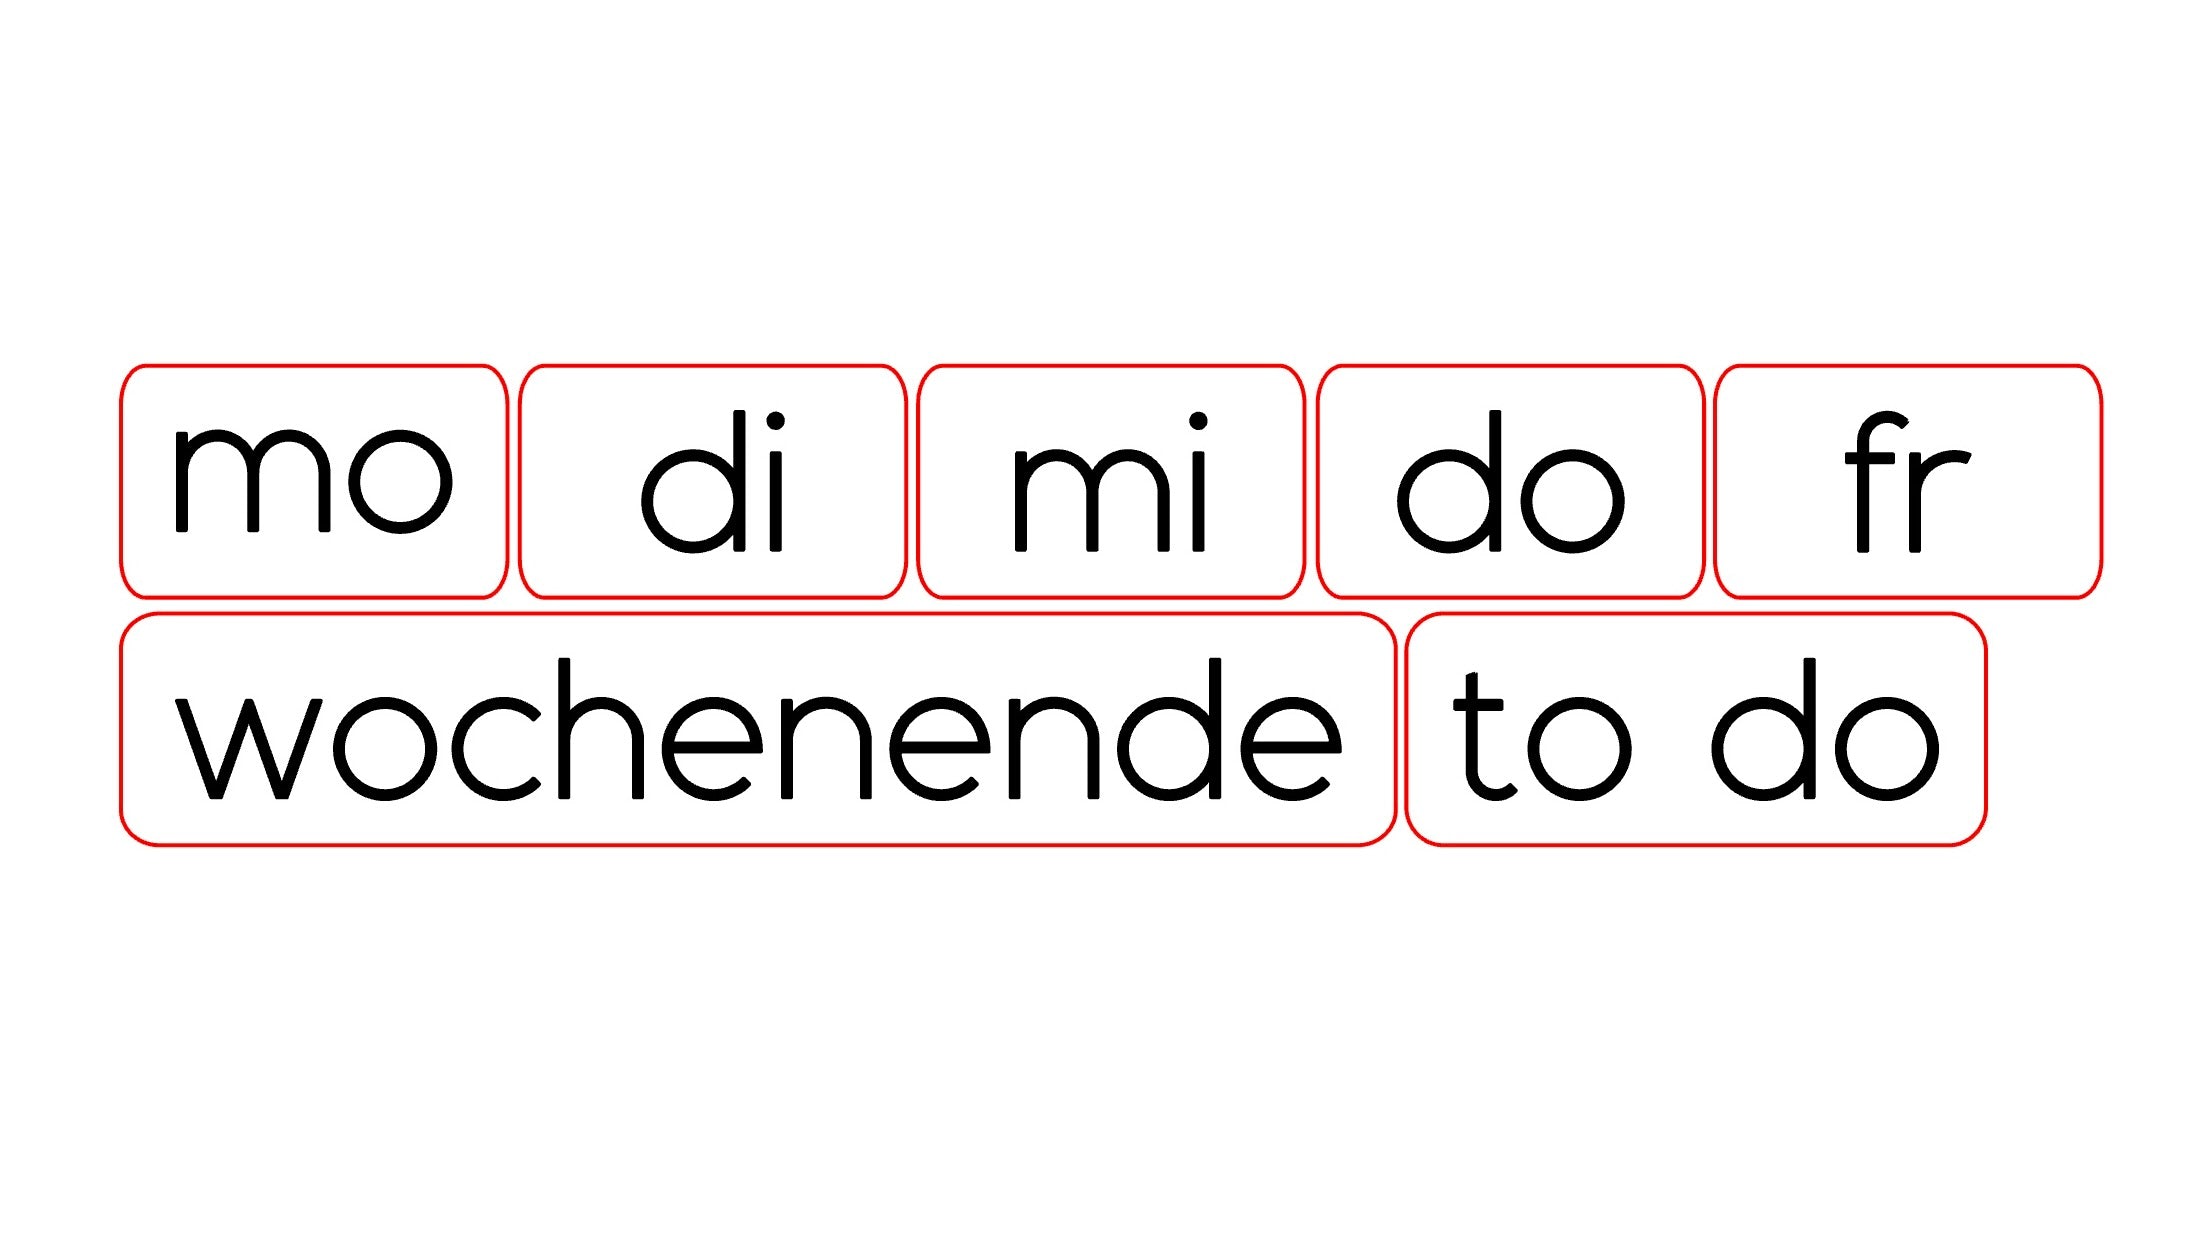
In contrast, the Kudo fridge magnets should look looser, so I used a different font and created the cutting line with an offset.

The writing is engraved. I created another cutting line in blue in my graphics program around the writing, which is then engraved when lasering. In the end, the entire engraving looks very clean and is clearly contoured.

You will also need the red cutting lines for the layer of plywood into which your magnets will be embedded and for the thin felt as scratch protection. To do this, just mark the red cutting lines and duplicate them twice.

Save all outlines for the felt straight away.
And for the second group of outlines, you now create a shape in your graphics program that corresponds to your magnets. In my case, it is a 1.5 cm diameter circle.

Now multiply this circle as often as necessary until there are one or two circles for the magnets in all the red cutting lines for your crafted fridge magnets.
For example, I made two holes for the magnets in “Total genial!” and added to “weekend”. You should now have the cutting lines for the felt, the cutting lines for the engravings and the cutting lines for the outlines and holes as a file.
DIY wooden fridge magnets
It is best to start with the wooden layer for your magnets.
The wood just needs to be cut. Drag and drop your file into your workspace in BeamOS. Place your birch plywood in your Mr Beam and then use the camera image to align the file on your wood to save space.

As always, don't forget to focus!
The settings for 3 mm birch plywood are already stored in BeamOS. So you can start the laser job directly.
Make fridge magnets in bright neon colours
Next, you varnish the birch plywood from which you want to laser the lettering.
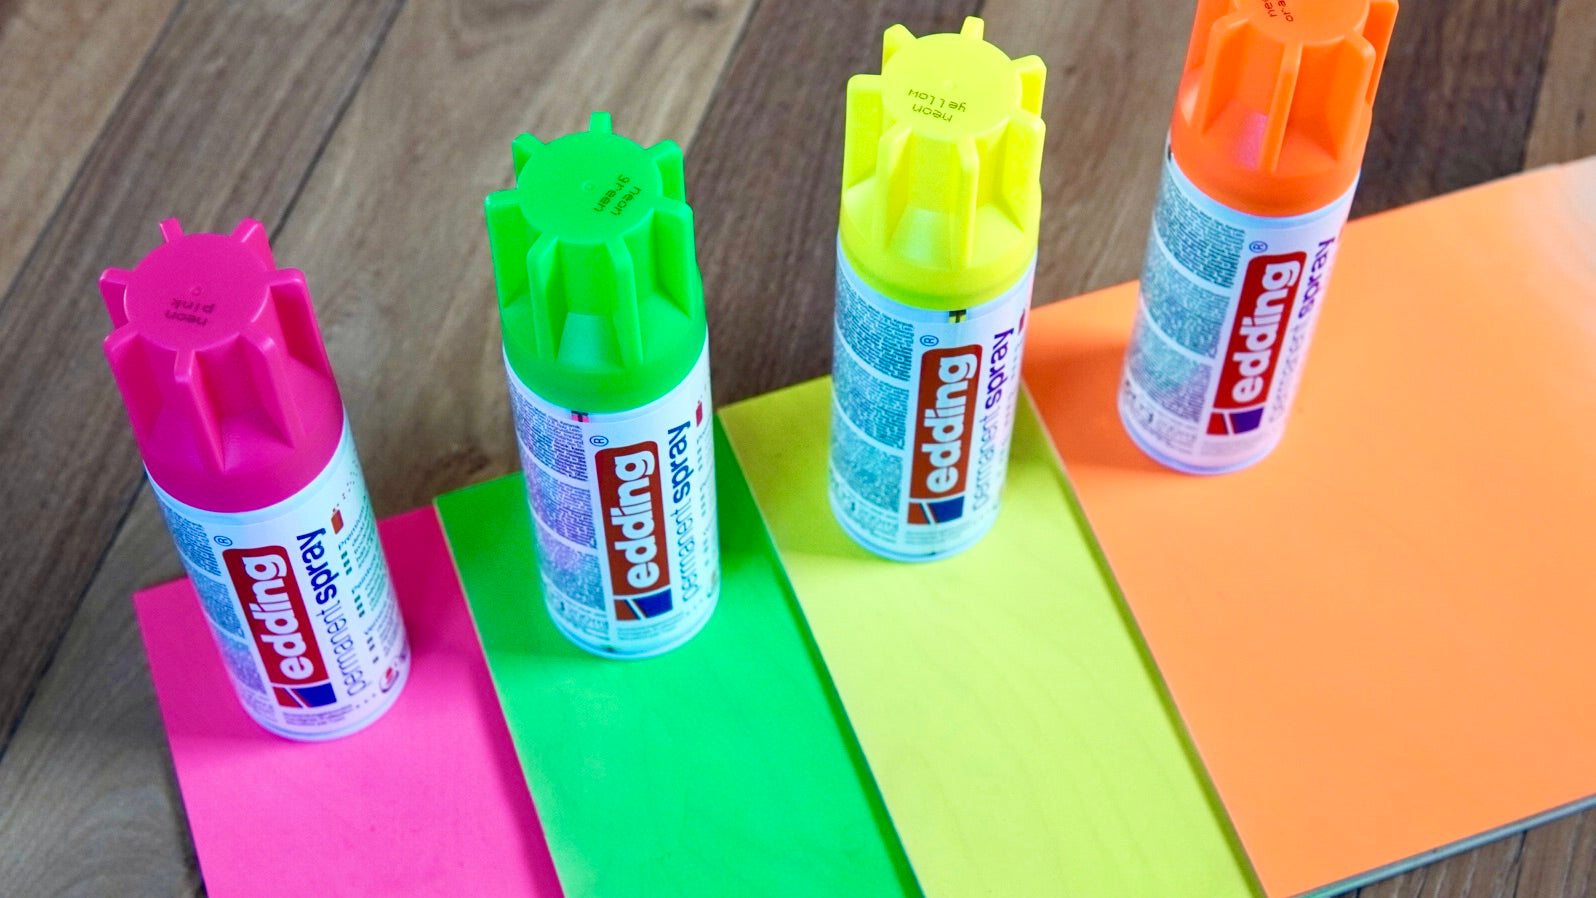
For painting, I used the permanent marker acrylic paints for spraying again. They dry quickly and there is a huge range of colours to choose from. Our fridge magnets should shine in neon colours.
I prepared the spray cans according to the instructions and then painted them in a spray booth I made out of cardboard outside in a sheltered place in bright sunshine. With spray paints, a thin layer is usually sufficient, as the colours are very opaque.
When the paint has dried you can place the wood in the Mr Beam and start lasering. Choose two to three elements per color and place them on your wood with the camera image.
I have slightly adjusted the stored laser settings for birch plywood.
Drag the icon with the blue lines into the "Engrave" field. I always reduce the intensity of the engraving a bit on wood , so it's set to 60% here. And of course I reduce the line spacing to 0.1 mm.

Your Mr Beam can now gradually cut and engrave all lacquered birch plywood panels.
Make fridge magnets with felt as scratch protection
Then your thin felt is used. Put it in your Mr Beam, load the file into the workspace and refocus the laser head. Since the felt is only 1 mm thick, you should reduce the number of passes on the felt cutting settings accordingly.

Make your fridge magnets together
You now need the wood glue, contact adhesive, the magnets and the clamps.
First, you glue the two layers of wood together. Apply the glue, I like to use Ponal Express, place the two wooden elements on top of each other and fix them with the clamps to set the glue.

Apply contact adhesive all-purpose adhesive to the holes for the magnets and press one magnet into each. This should now result in a relatively flat surface. You can also fix the felt with contact adhesive. Apply glue to the entire surface and press the felt in place.

Now your crafted fridge magnets still have to dry and are finally ready for use!
Have fun tinkering - and always diligently hang something on the Kudo magnets !
Your Rina