
Brrrr it got cold! In the morning everything is covered with a layer of frost, and maybe you even have snow?! It's high time to make the table decorations wintry, too.
In this tutorial, I'll show you how you can even make an individual felt table runner thanks to your Mr Beam. And how you can perfectly complement your table decoration for the winter with a frosty lantern and a few natural materials.
Material for your winter table decoration:
- A roll of felt in light gray with a width of approx. 30 - 40 cm, depending on the size of the table.
- A tree slice
- an old jam jar
- Hairspray, spray adhesive or clear coat.
- Artificial snow
- white spray paint if needed
- jute cord
- a tea light
- natural materials, for example pine cones, some moss, dried branches with berries and a small pot of heather
A table runner made of felt for your table decoration in winter
For me, felt is actually THE material for cosy winter decorations on the table. It looks comfortable, soft and is still firm and versatile.
And as a table runner, it also has the great feature that it is easy to clean. Simply wipe with a damp cloth and, if necessary, some washing-up liquid and then rub dry.
For stubborn stains, your table runner can even be put in the washing machine. Please note the washing instructions for your felt.
Snowflakes as a symbol for your winter table decoration
You can find various files with snowflakes for your winter table decorations on the Internet. You should only make sure that all elements are connected.
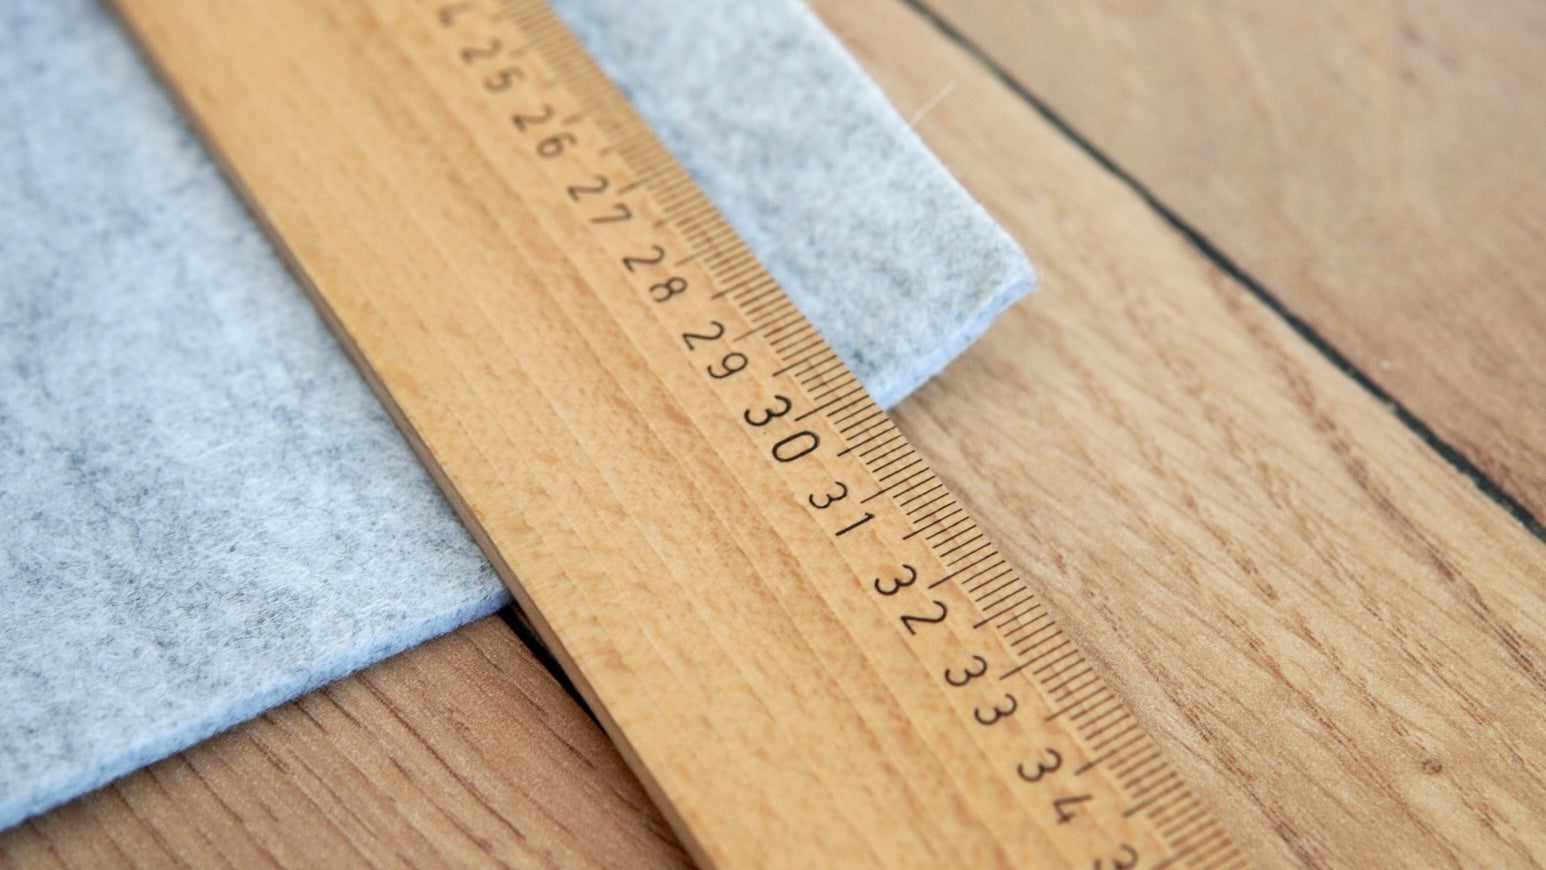
Likewise, you need four snowflakes in total, but they can all be the same, as mine. Once you have chosen your snowflake, measure the width of your felt roll and adjust one of the snowflakes to that exact size.
Now you have to halve it in your graphics program, such as Adobe Illustrator, because it will be the end of your table runner at the ends.

Start your Mr Beam now to be able to prepare the laser job in the BeamOS workspace. Now load the prepared, halved snowflake and three smaller snowflakes into your design library in BeamOS and then into the workspace.
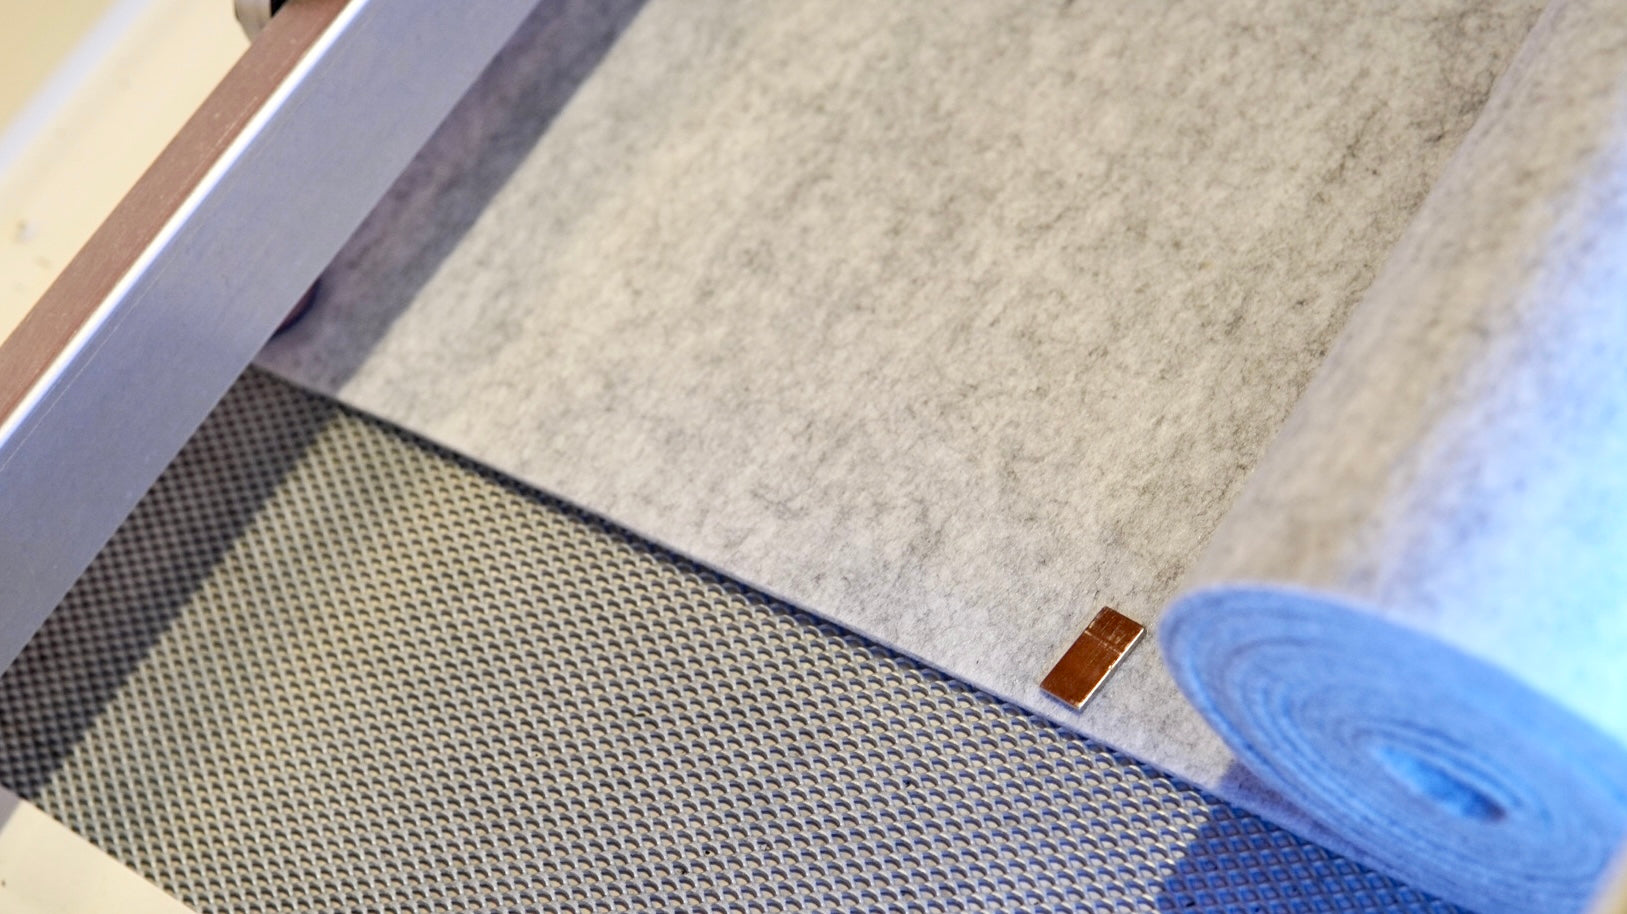
A whole roll of felt in Mr Beam - with a little trick you can do that too!
The working surface of the Mr Beam is 500 mm × 390 mm × 38 mm, so a whole roll of felt doesn't fit in there - unless you roll it up!
Here are a few things to keep in mind:
- Place the end of your felt roll, from which half the snowflake is to be cut out, on the back end of your work surface in the Mr Beam and fix it with strong magnets.
- Unroll your felt as far as possible and fix the remaining roll to the grid with magnets as well.
- Your felt roll MUST be parallel to the guide rail of the laser head ! Otherwise, your Mr Beam could be seriously damaged.
Now, you can use the "Preview" function in the work area to zoom in so far that you can perfectly align your half snowflake with your felt.

You can arrange the other three snowflakes on your felt however and where you like. To break up the picture a bit, make them different sizes and rotate them all a bit, so the spikes are always pointing in different directions.
"Mr Beam can't cut light gray felt" - it can!
Well, I'll admit, it did take a few passes to cut through the felt, but it's possible. For the laser parameters, I chose the brightest colour and lowered the speed to 350. I initially increased the passes to 4 and then repeated the laser job again until it was cut through.

When your Mr Beam is ready, get out your roll of felt. Carefully remove the three snowflakes from your table runner, as they will also be used to decorate your winter table.
A frosted lantern to match the winter table decoration
First, remove any labels or writing from your jam jar.
You can soak jars with paper labels in water. Then the labels can usually be easily removed. You can rub off any adhesive residue.
If the glass is printed with white writing, you can remove it with a universal scraper. By the way, upcycling is a big DIY trend in 2023.

After that, you clean your glass with alcohol to degrease it.
Put the artificial snow in a large bowl. It should be big enough and filled with artificial snow so high that you can easily roll your glass in it.

Now you spray your glass completely with hairspray, spray adhesive or clear coat.
You quickly press the freshly sprayed glass into the artificial snow and turn it until it is completely covered. Now let it dry.

If you still have vacancies afterwards, or you would like to cover it a little more thickly with artificial snow, you can either give your lantern another layer of artificial snow or spray a thin layer of white spray paint over it.
Wrap a jute cord around the upper edge of your lantern.
Now your table will be decorated for winter
Place your tree disc with decoration on your felt table runner for your winter table decoration. You put the heather on a small plate to be able to water it. To integrate it into the natural look, wrap some jute around it or put it in a cotton bag.
You can find enough moss and pine cones for your table decorations in winter on a nice walk or even in your garden.
I showed how you can preserve moss yourself so that it stays green in the tutorial on spring decoration for the house entrance.
Distribute your wintry decorative elements on the tree disc.
You put heather and lantern next to each other. Cut the moss to size and place in front of it. Distribute the felt snowflakes on the moss. A few pine cones and dried twigs with berries complete your winter decoration and bring other natural colours into play in addition to the heather and moss.
I wish you a lot of fun imitating!
Sending winter greetings
Your Rina


