
We have already introduced you to Katrin from Klötzchenmann in our #beamies article. She told us there that she often makes embossing stencils with the Mr Beam. Now she was so kind again and took the time to write us a little tutorial on the subject of embossing stencils.
Creating an embossing template - the start

First, in my case, I opened my Silhouette Studio plotter program and created the embossing stencils, which fit as a topper and measured 9.5 cm x 9.5 cm and 10 cm x 14.3 cm.
In other words, here for cards in the format of 10 cm x 10 cm and 10.5 cm x 14.8 cm.
Why as a whole section and fitting as a measurement?
In short, if I take one design at a time and have it cut out with an offset, I always end up with prints in the middle of the overlay, which I don't like at all. I always like the final display to be a little smaller so that you can still see something of the main card.
Prepare laser job

Now start the Mr Beam and insert the shield material.
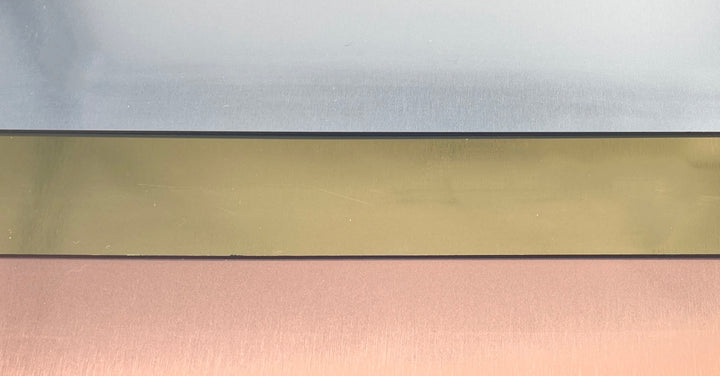
Mr Beam Signs Material
Sale price
From CHF 29.00

Signs Material Acrylic Set of 3 (Gold / Silver / Copper)
Sale price
CHF 79.00
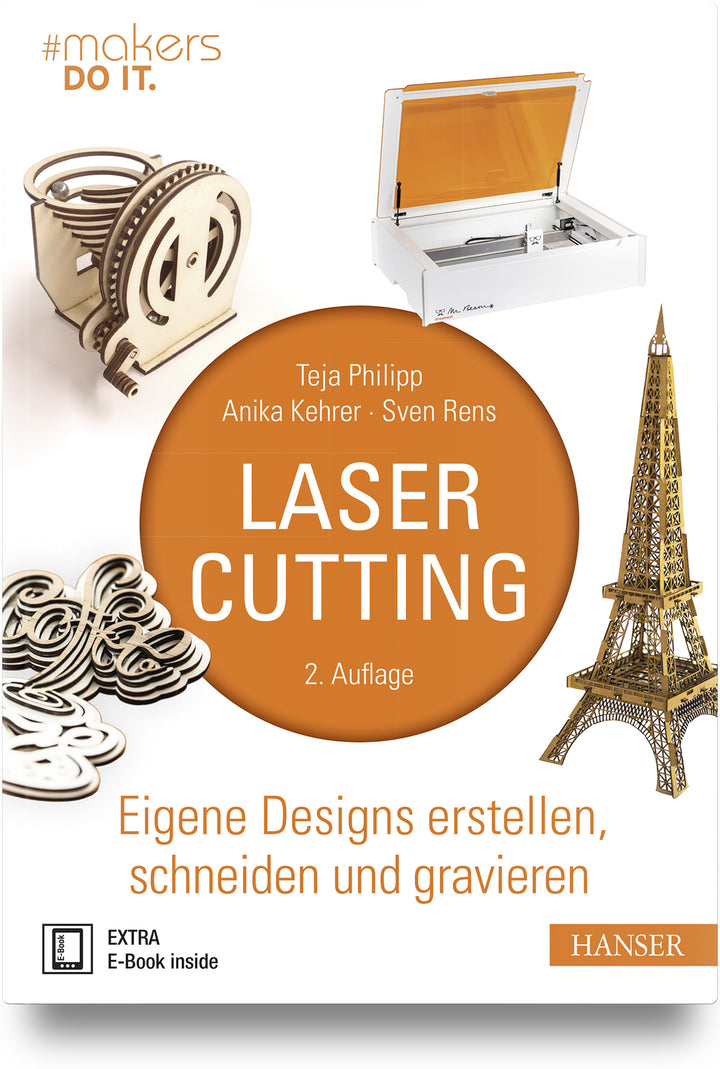
Book: Laser cutting - create, cut and engrave your own designs
Sale price
CHF 39.99
Laser settings for the embossing template

Now open the BeamOS software and set the correct working height. In my case it is 1.6 mm. Then go to the design library and load your saved file into the software.
Position laser file

You can already see your embossing template(s) in the work area, position it where you want Mr Beam to engrave and cut it out for you.
Never forget: focus the laser head!

Now it's time to focus. To do this, first use the focus tool to achieve the correct height. Gently pull it out from under your laser head, but the laser head isn't screwed back on yet. Once you have carefully removed the focus tool from under your laser head, go slightly deeper with the laser head and screw it tight.
Optimal setting for the embossing template

Here I'll show you where the laser head is at the end. The reason for this is that setting it deeper also engraves your engraving deeper into the material. So in the end you will achieve, which is important for embossing, a better, raised design.
Adjust engraving settings for embossing

Once you have done this with the laser head, go back to your BeamOs software. There you then click on laser, and you will get to all the saved materials. Now choose the sign material and then choose your colour. When it came to the settings, I left everything as it was laid out, except for the engraving. Here, I have set the line spacing to 0.1 mm.
Default cutting settings

As already written, the settings for cutting remain the same. For me, both stencils are now displayed as 2 red lines, because I dragged them individually into the work area. So it can stay that way since both need the same settings.
The Mr Beam is now taking over the work

Once you have started your Mr Beam, he will work diligently on his assignment. Here I'll show you a little interim status.
The embossing template is lasered ready

After less than 30 minutes, here is the finished result. Looks a bit strange at first. But these are only the traces of the removed material.
Clean the embossing template afterwards

But cleaning goes very quickly. I like to use the Ultra Grime scarves from the Mr Beam Shop. It works wonderfully with these.
The result is impressive

Once cleaned with the cloths, the whole thing looks great. As a tip: you can also clean the material very well under warm water with a brush. I deliberately didn't do it at first and will show you what it looks like when you "just" clean it with cloths.
It's time to emboss with the new template

But now let's go. In the end, we want to design 2 great cards with wonderful, embossed toppers. For this, I took out my Big Shot Foaldaway (punching and embossing machine).
Preparation for embossing

I suspect the majority of you will know how this machine works. But briefly mentioned again, I put the bottom plate on. Then a piece of paper, then the paper that is to be embossed. Then, of course, put your self-made embossing template on the paper and again a piece of paper on top.
Don't forget paper

Only now am I putting on the second record. I deliberately insert the papers between the plates and the stencil because my plates have already suffered a lot and I have noticed that otherwise all the previous embossings would leave too much of an impression on my new stencil. So this is how I protect my new stencil, so I can use it again and again. Because the shield material is softer and also slightly flexible. Otherwise, it's too bad for me. This means my stencil can be used again and again.
Another tip I would like to add. You definitely need good pressure to get such a beautiful result.
Don't neglect cleaning the embossing template!

After cranking everything through the Big Shot, here is my first result. Oh, God!! You're probably thinking that now. But I would like to show you this consciously, because this is what the result looks like if you “only” clean the material with cloths, because you can’t get deep enough into the material with the cloths and that’s why it’s better if you clean the material additionally Clean with a brush under warm water. However, if you only want to do it with cloths, it's best to first take the same paper and emboss it a few times. This means you crank it through your machine several times. Little by little, everything “black” disappears.

In the end I got the best result with 180 grams of paper, but that's a matter of taste, and you'll definitely find your own perfect result. Now I have everything I need ready for my finished cards.
The result is worth it

And this is what my finished cards look like now, and I'm really excited that my idea works so well with the Mr Beam and the shield material. Here, “just do it, it could be good” has been confirmed once again.
Your Katrin


