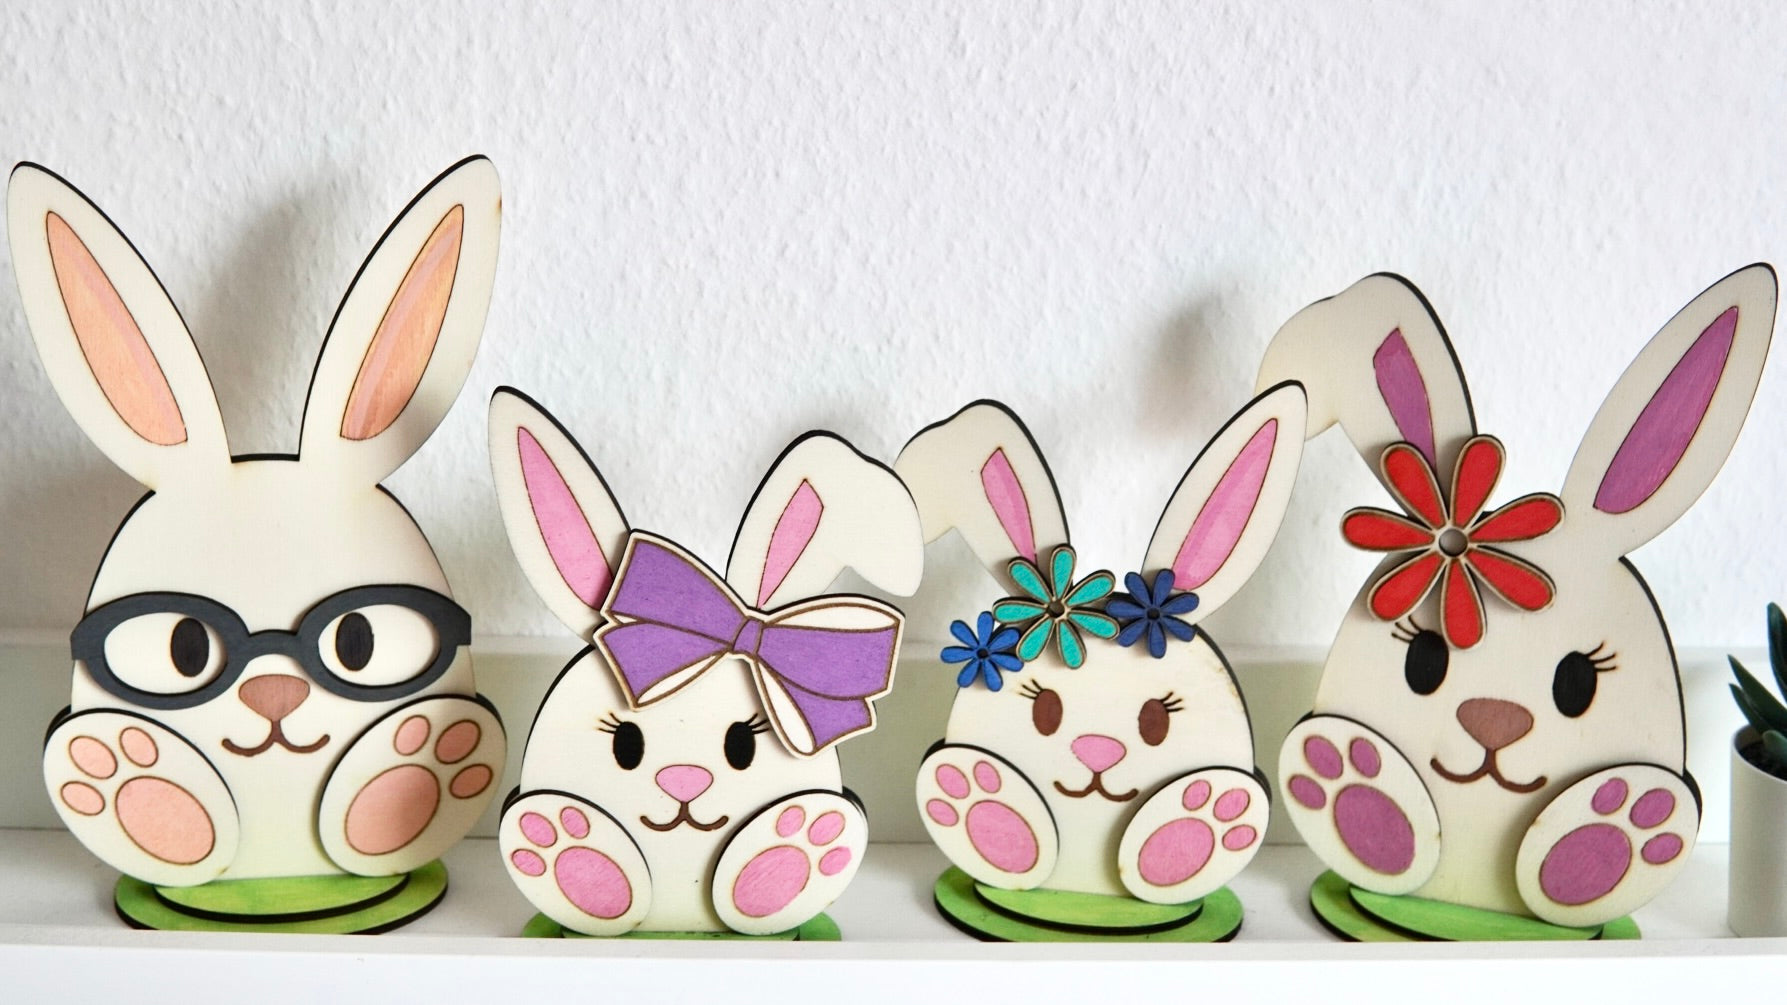
As an Easter decoration on the table, the windowsill or the shelf - it doesn't really matter where you put it, this sweet family of bunnies looks good everywhere and puts a smile on everyone's face.
In this tutorial, I'll show you how you can make such a cute bunny family yourself as an Easter decoration. And it's really super easy and super quick thanks to your Mr Beam.
List of materials for your bunny family as wooden Easter decorations
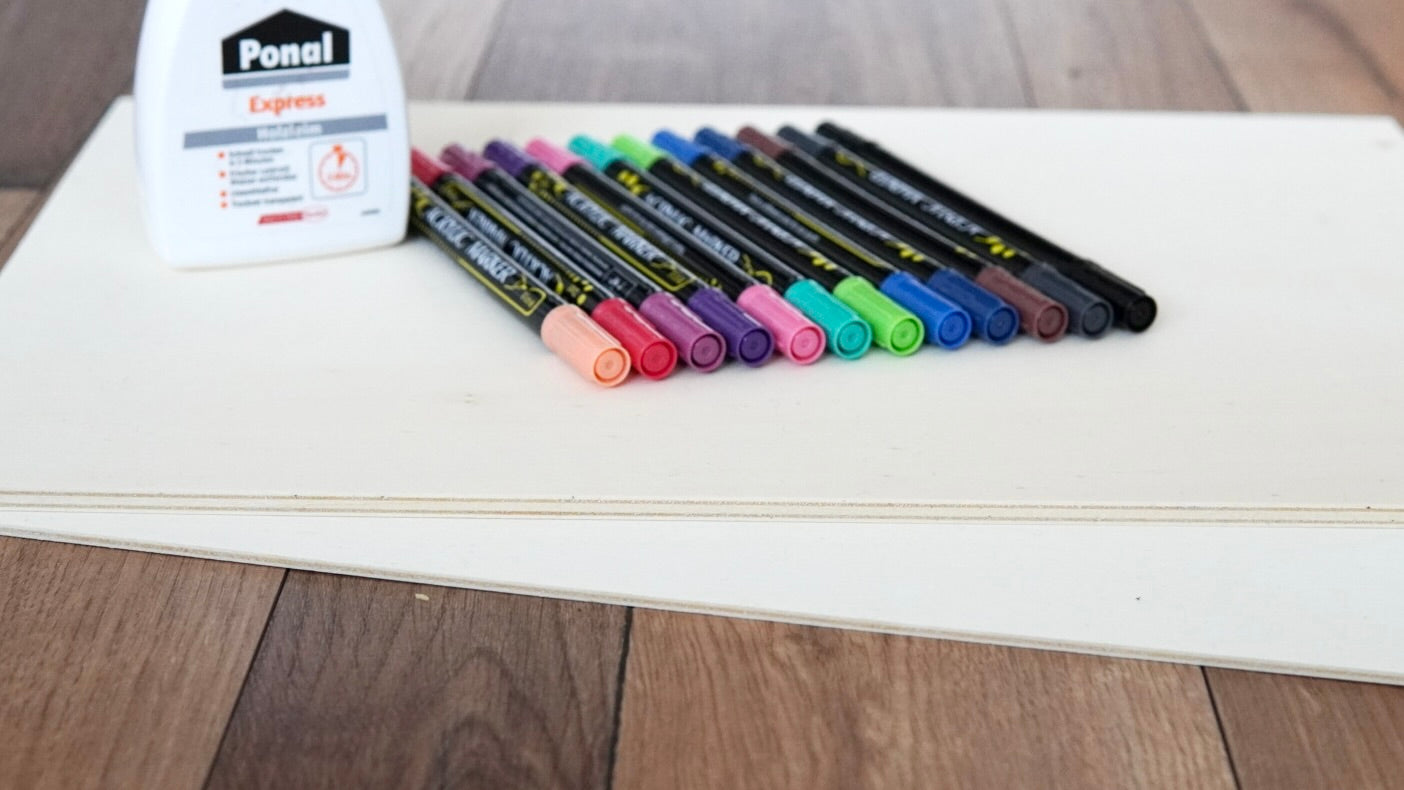
You actually don't need much to make your own wooden bunny family.
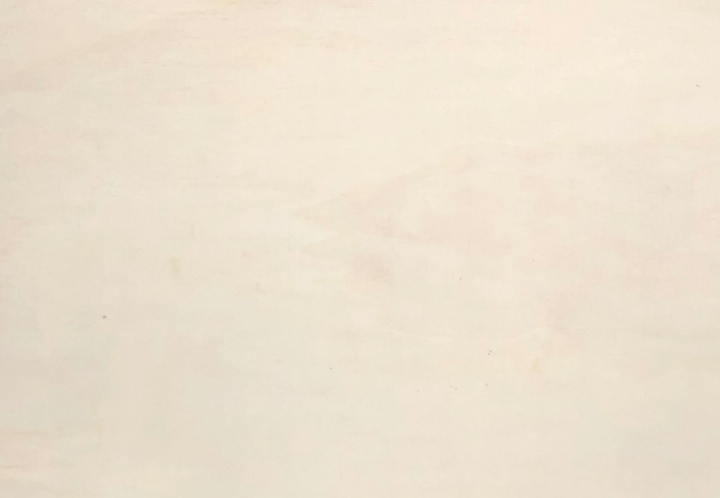
Only poplar plywood in two different thicknesses. Once 6 mm and once 3 mm.
The 6 mm thick plywood makes the bunnies nice and stable and can withstand a lot.
To add some colour to your bunny family, you will need acrylic pens. And finally, wood glue.
Plywood Pack of 5
Sale price
From CHF 30.00

Mr Beam Poplar plywood suitable for [x], 6mm, A3
Sale price
From CHF 45.00
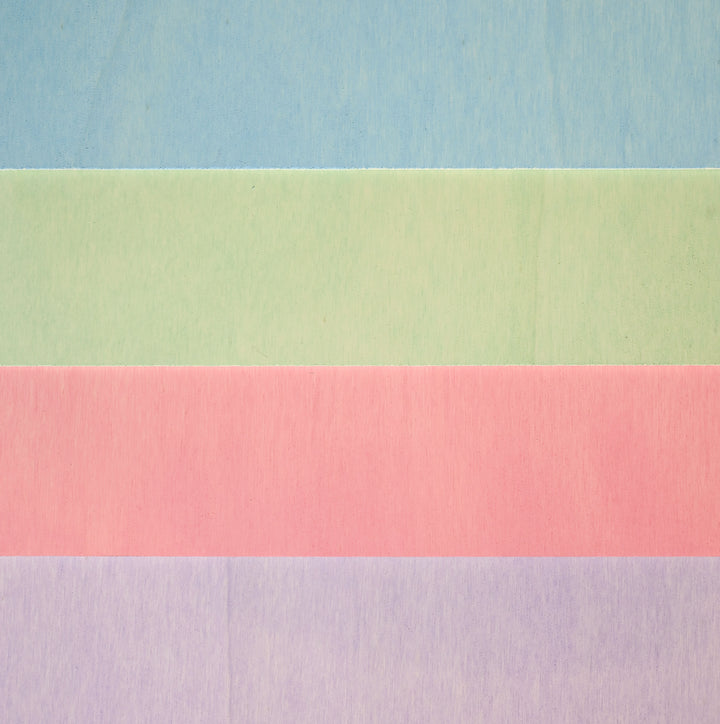
Mr Beam poplar plywood 3mm, pastel, A3, economy pack (4 colors)
Sale price
CHF 62.00
A construction kit file to make your Easter decorations out of wood
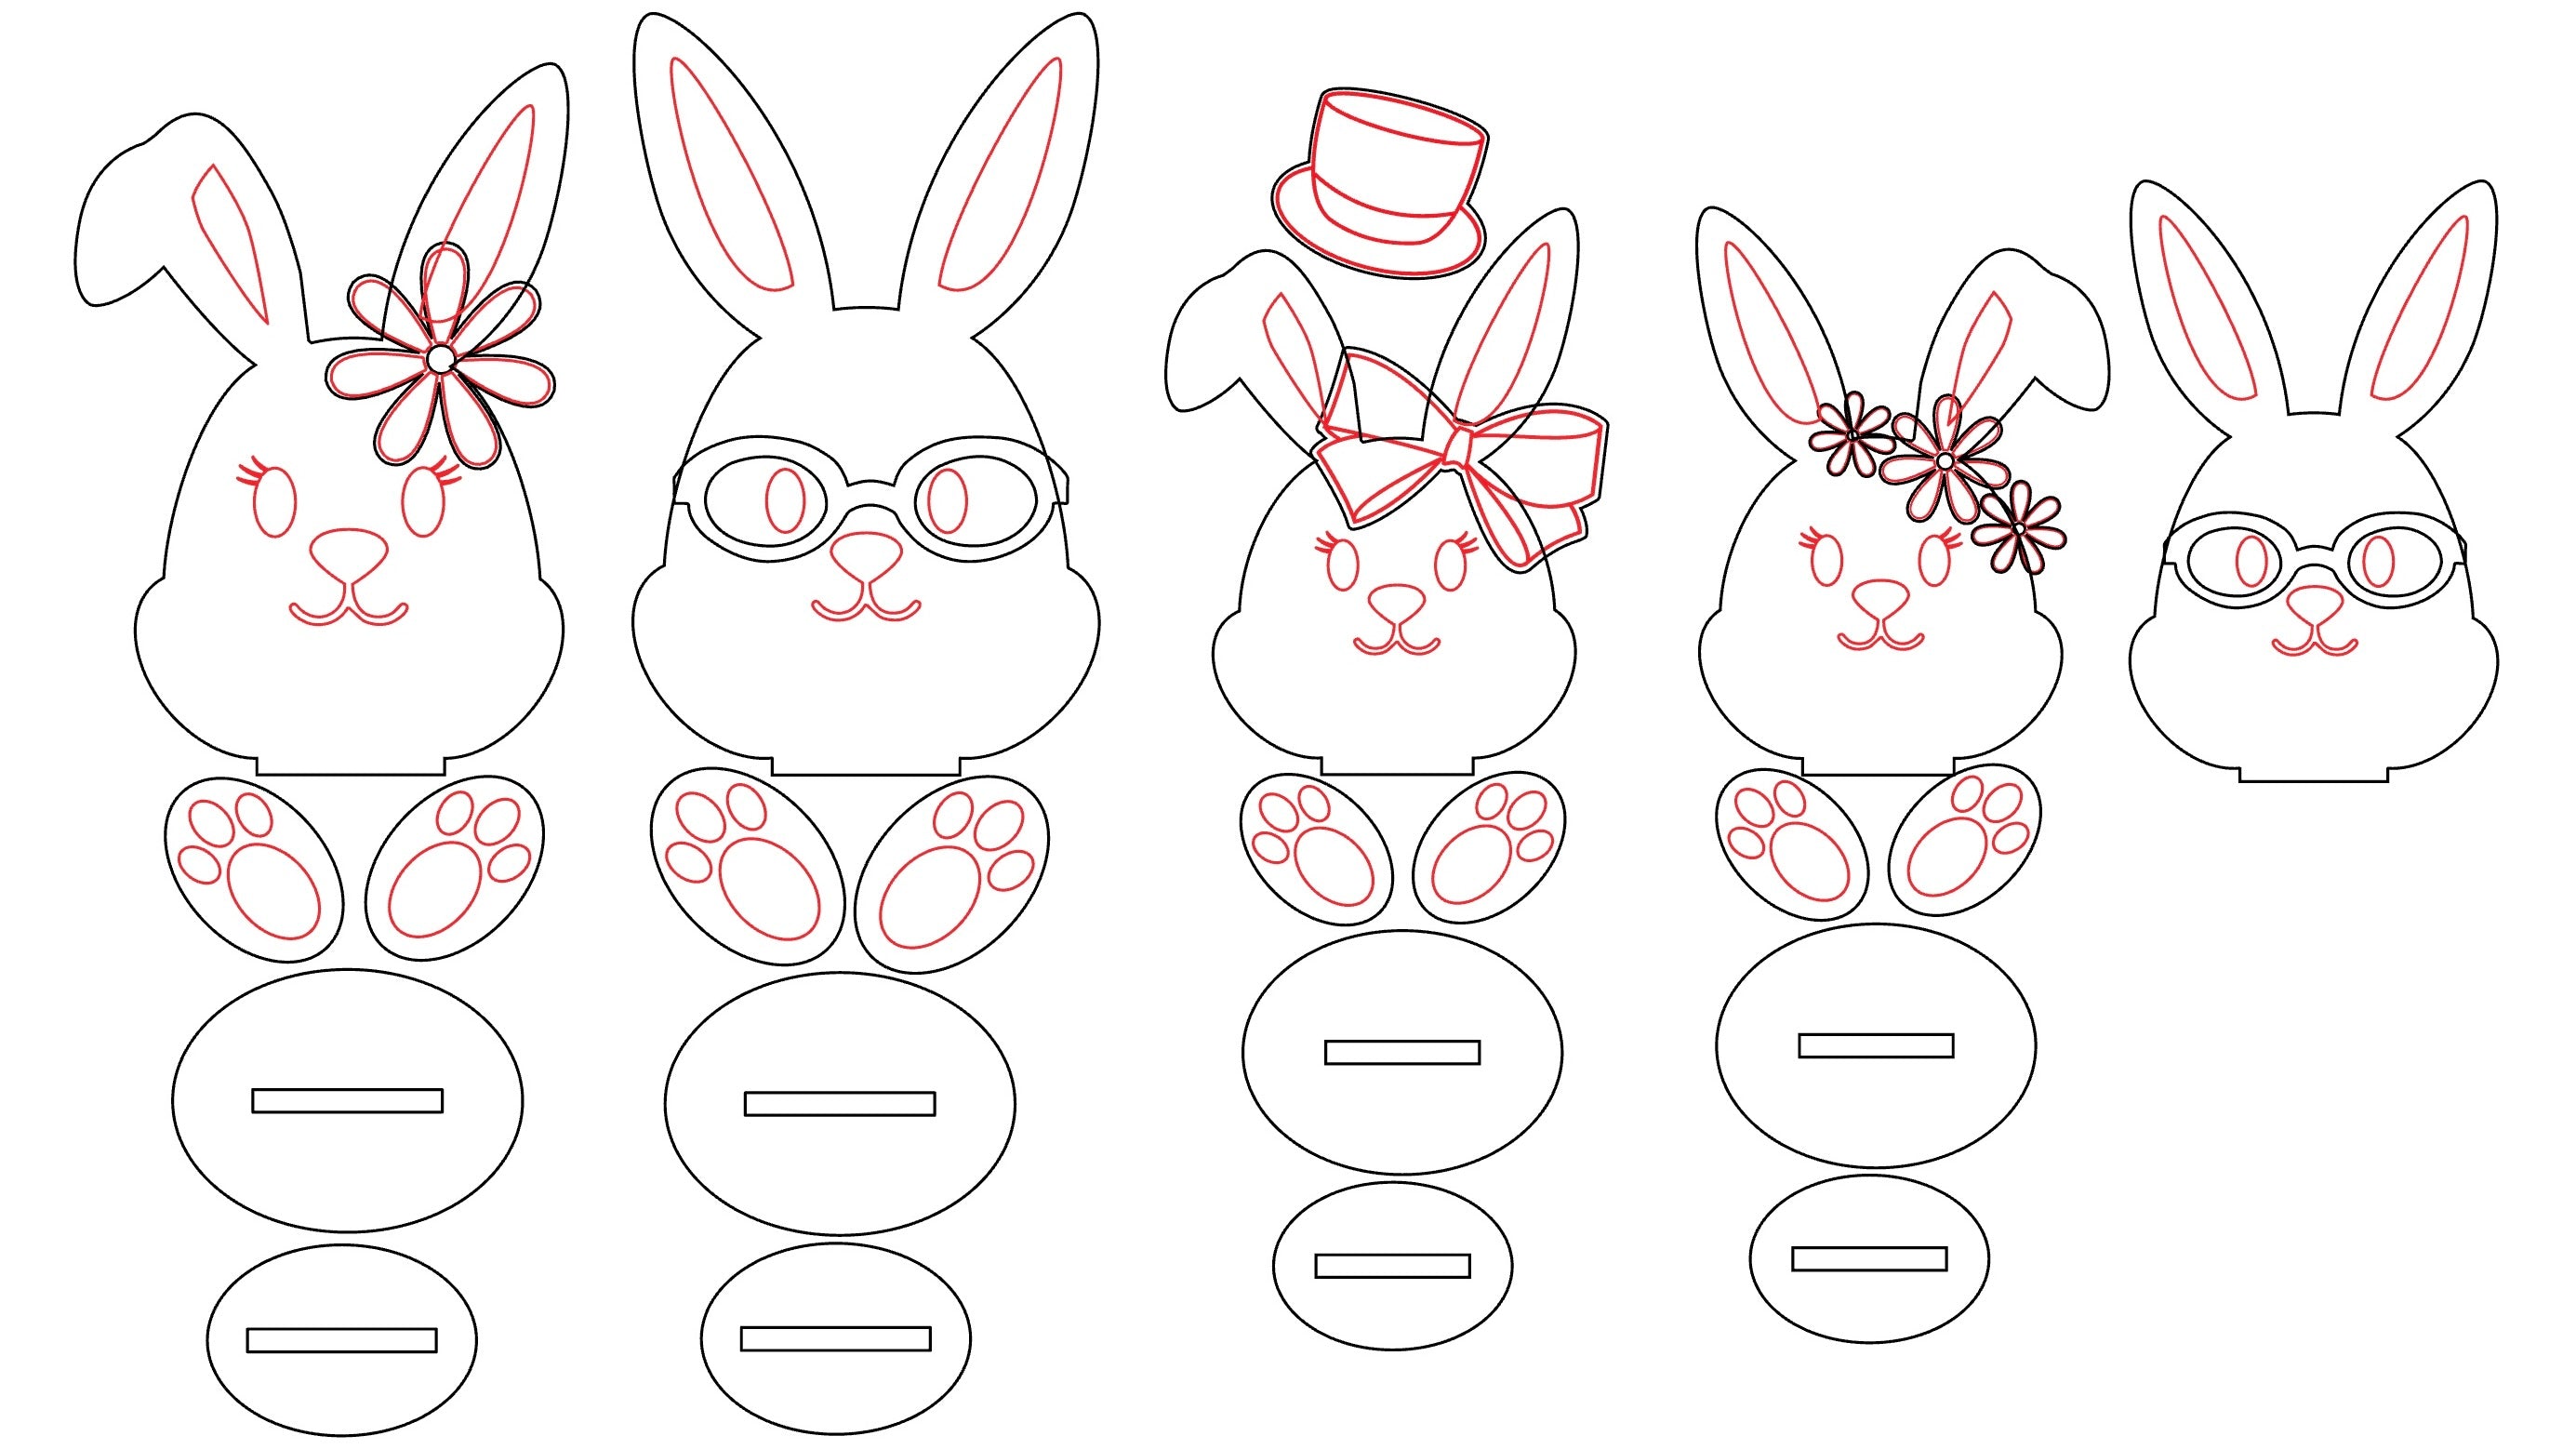
I found a suitable file on Etsy. A building block file to create your own bunny family. I always think construction kit files are very nice because in this case you can give each member of the bunny family their own look as Easter decorations and give them a very personal touch.
The bunnies in this kit are available with or without a bent ear, there are faces with eyelashes on the eyes, a bow, flowers and a top hat as a headdress and there are also glasses for young and old.
In the Mr Beam software or your graphics program, such as Adobe Illustrator, you can adapt the kit file to your wishes before lasering. There are no limits to your imagination here. Simply create your very own wooden Easter decoration using the different elements.
Making my (bunny) family as Easter decorations
I adapted the individual members of the bunny family for my family's wooden Easter decorations. My husband wears glasses, so daddy bunny got glasses, I - as mommy bunny - got a flower and the two bunny girls got a bow and flowers as headdresses.
Laser the Easter decorations out of wood
The rabbits' heads are laser cut from 6mm thick poplar plywood, the decorative elements such as the feet, the stands, the glasses and the headdress are made from 3mm thick poplar plywood.
Tip: If you have prepared the building block file for your rabbit family in your graphics program, it is a good idea to save the rabbit heads as a separate file.
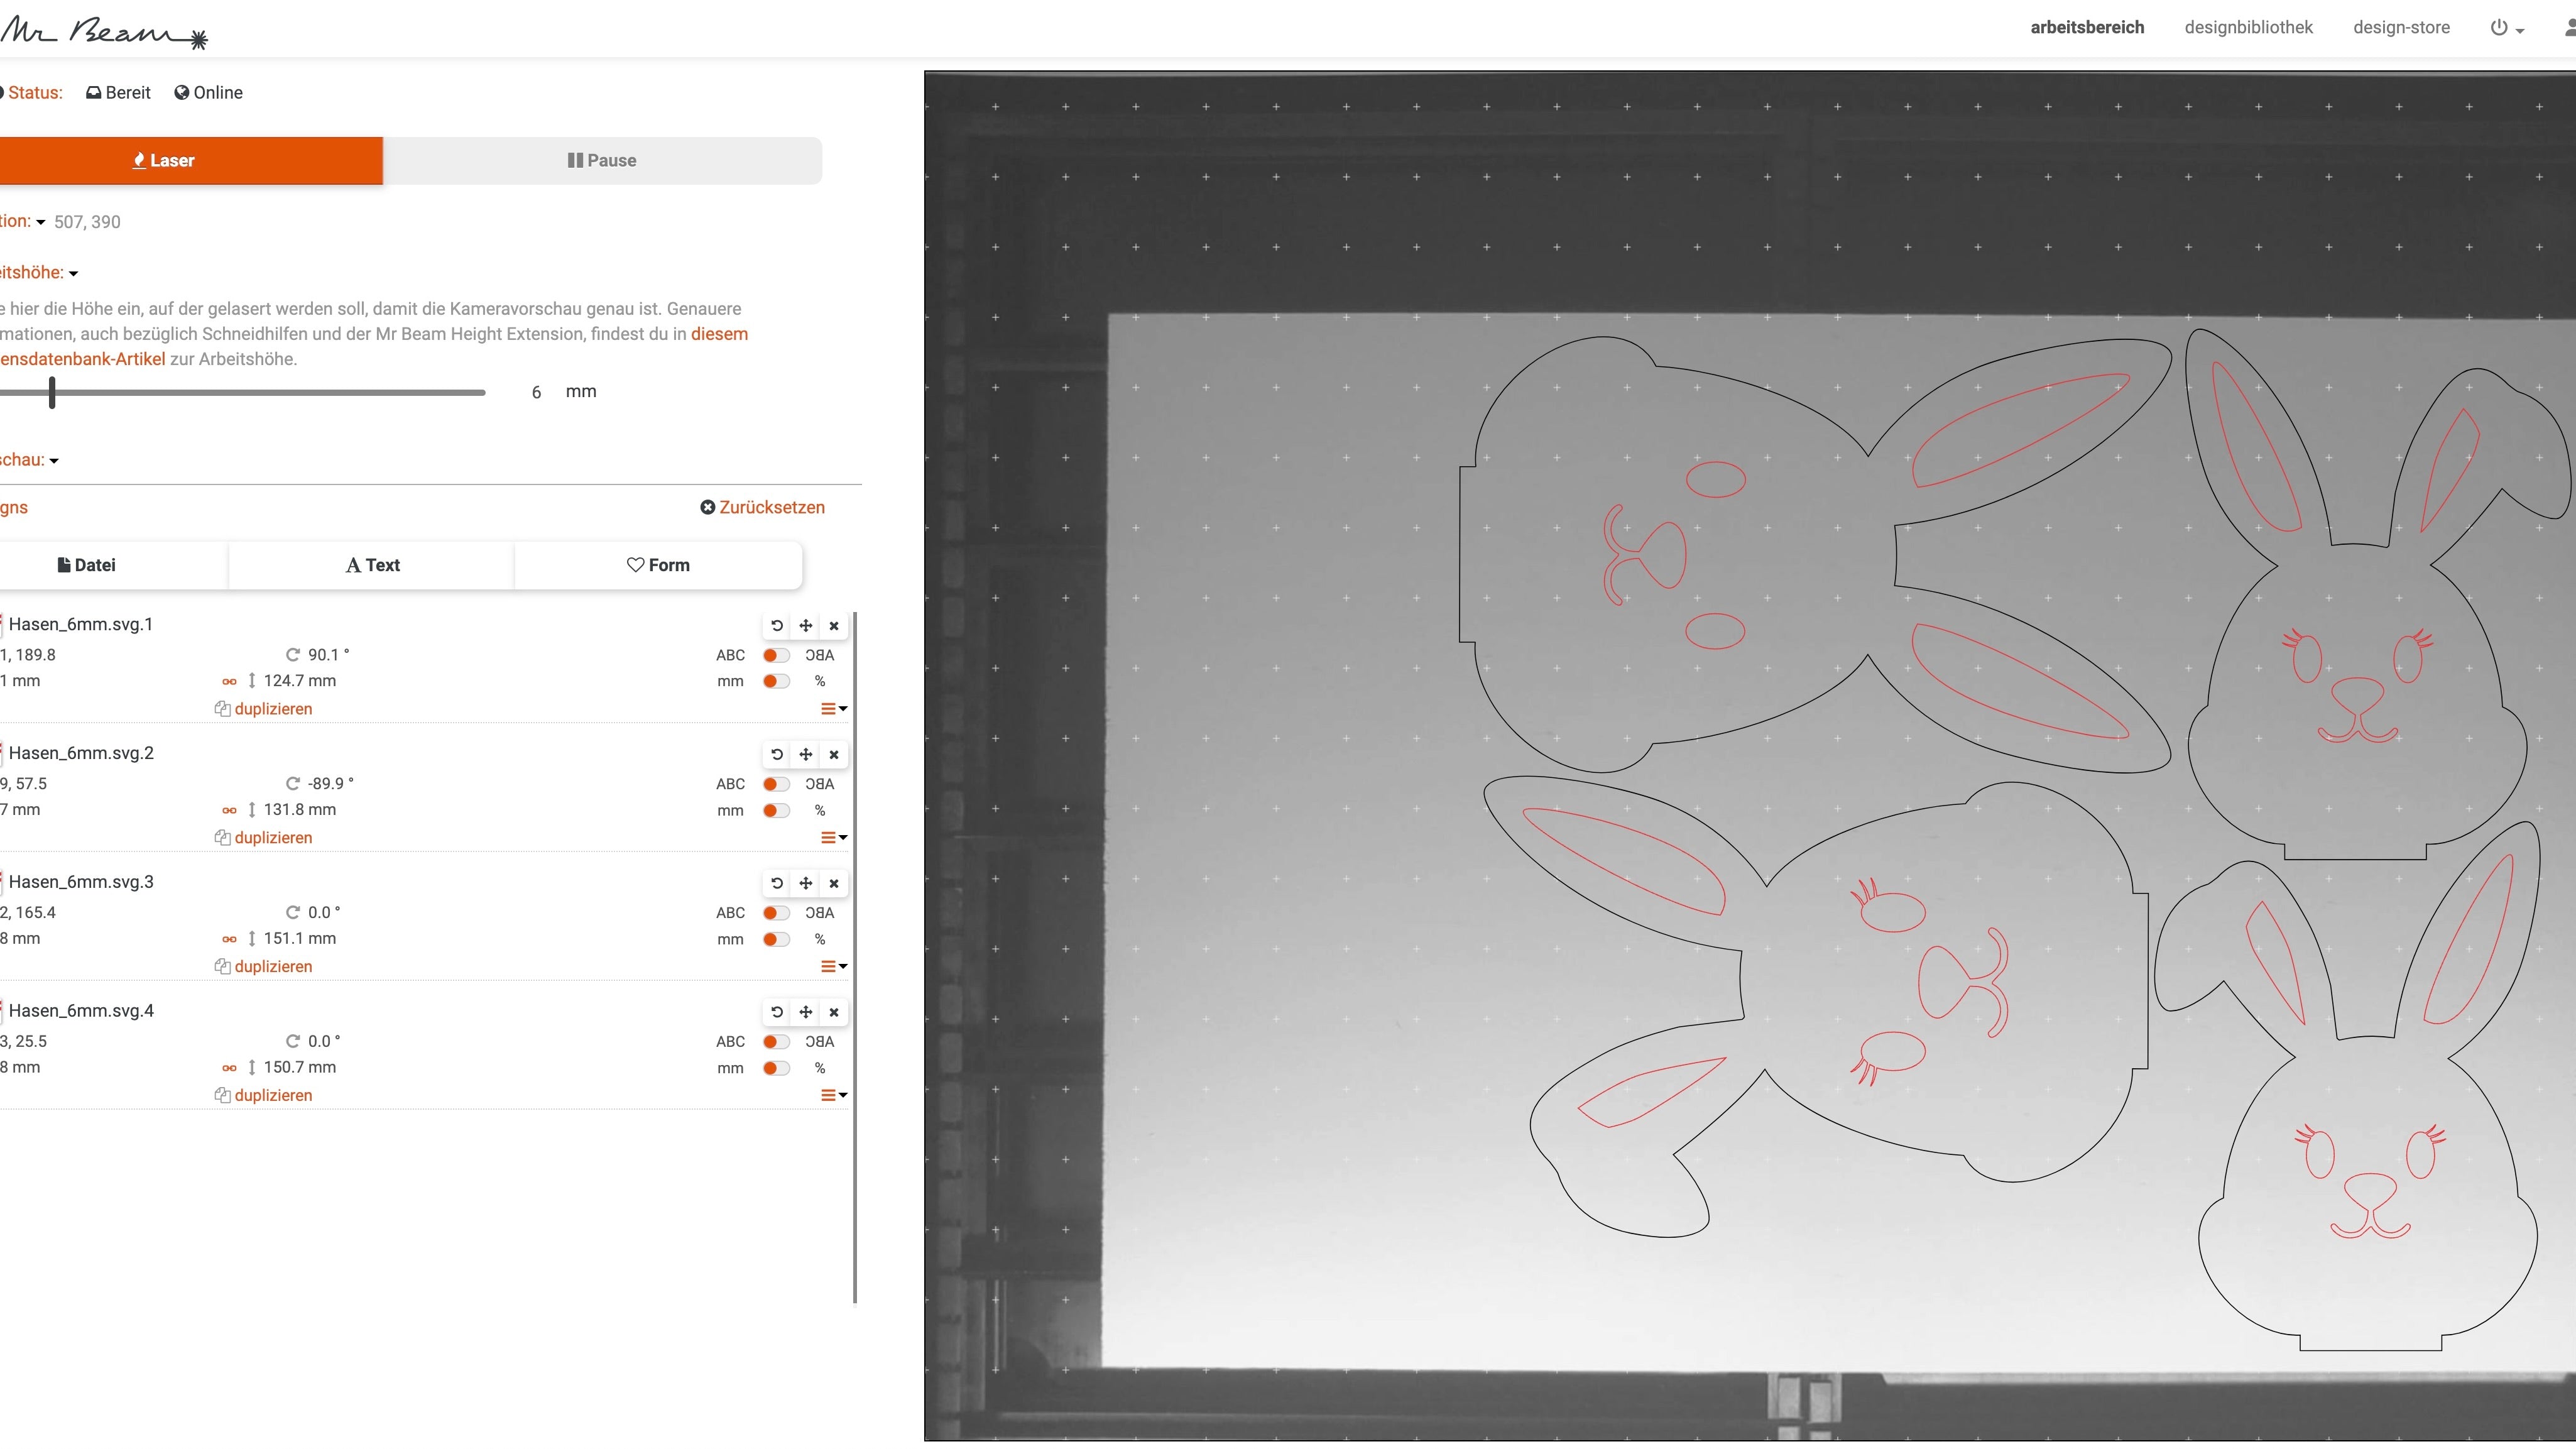
To start lasering, start your Mr Beam and place the poplar plywood into it.
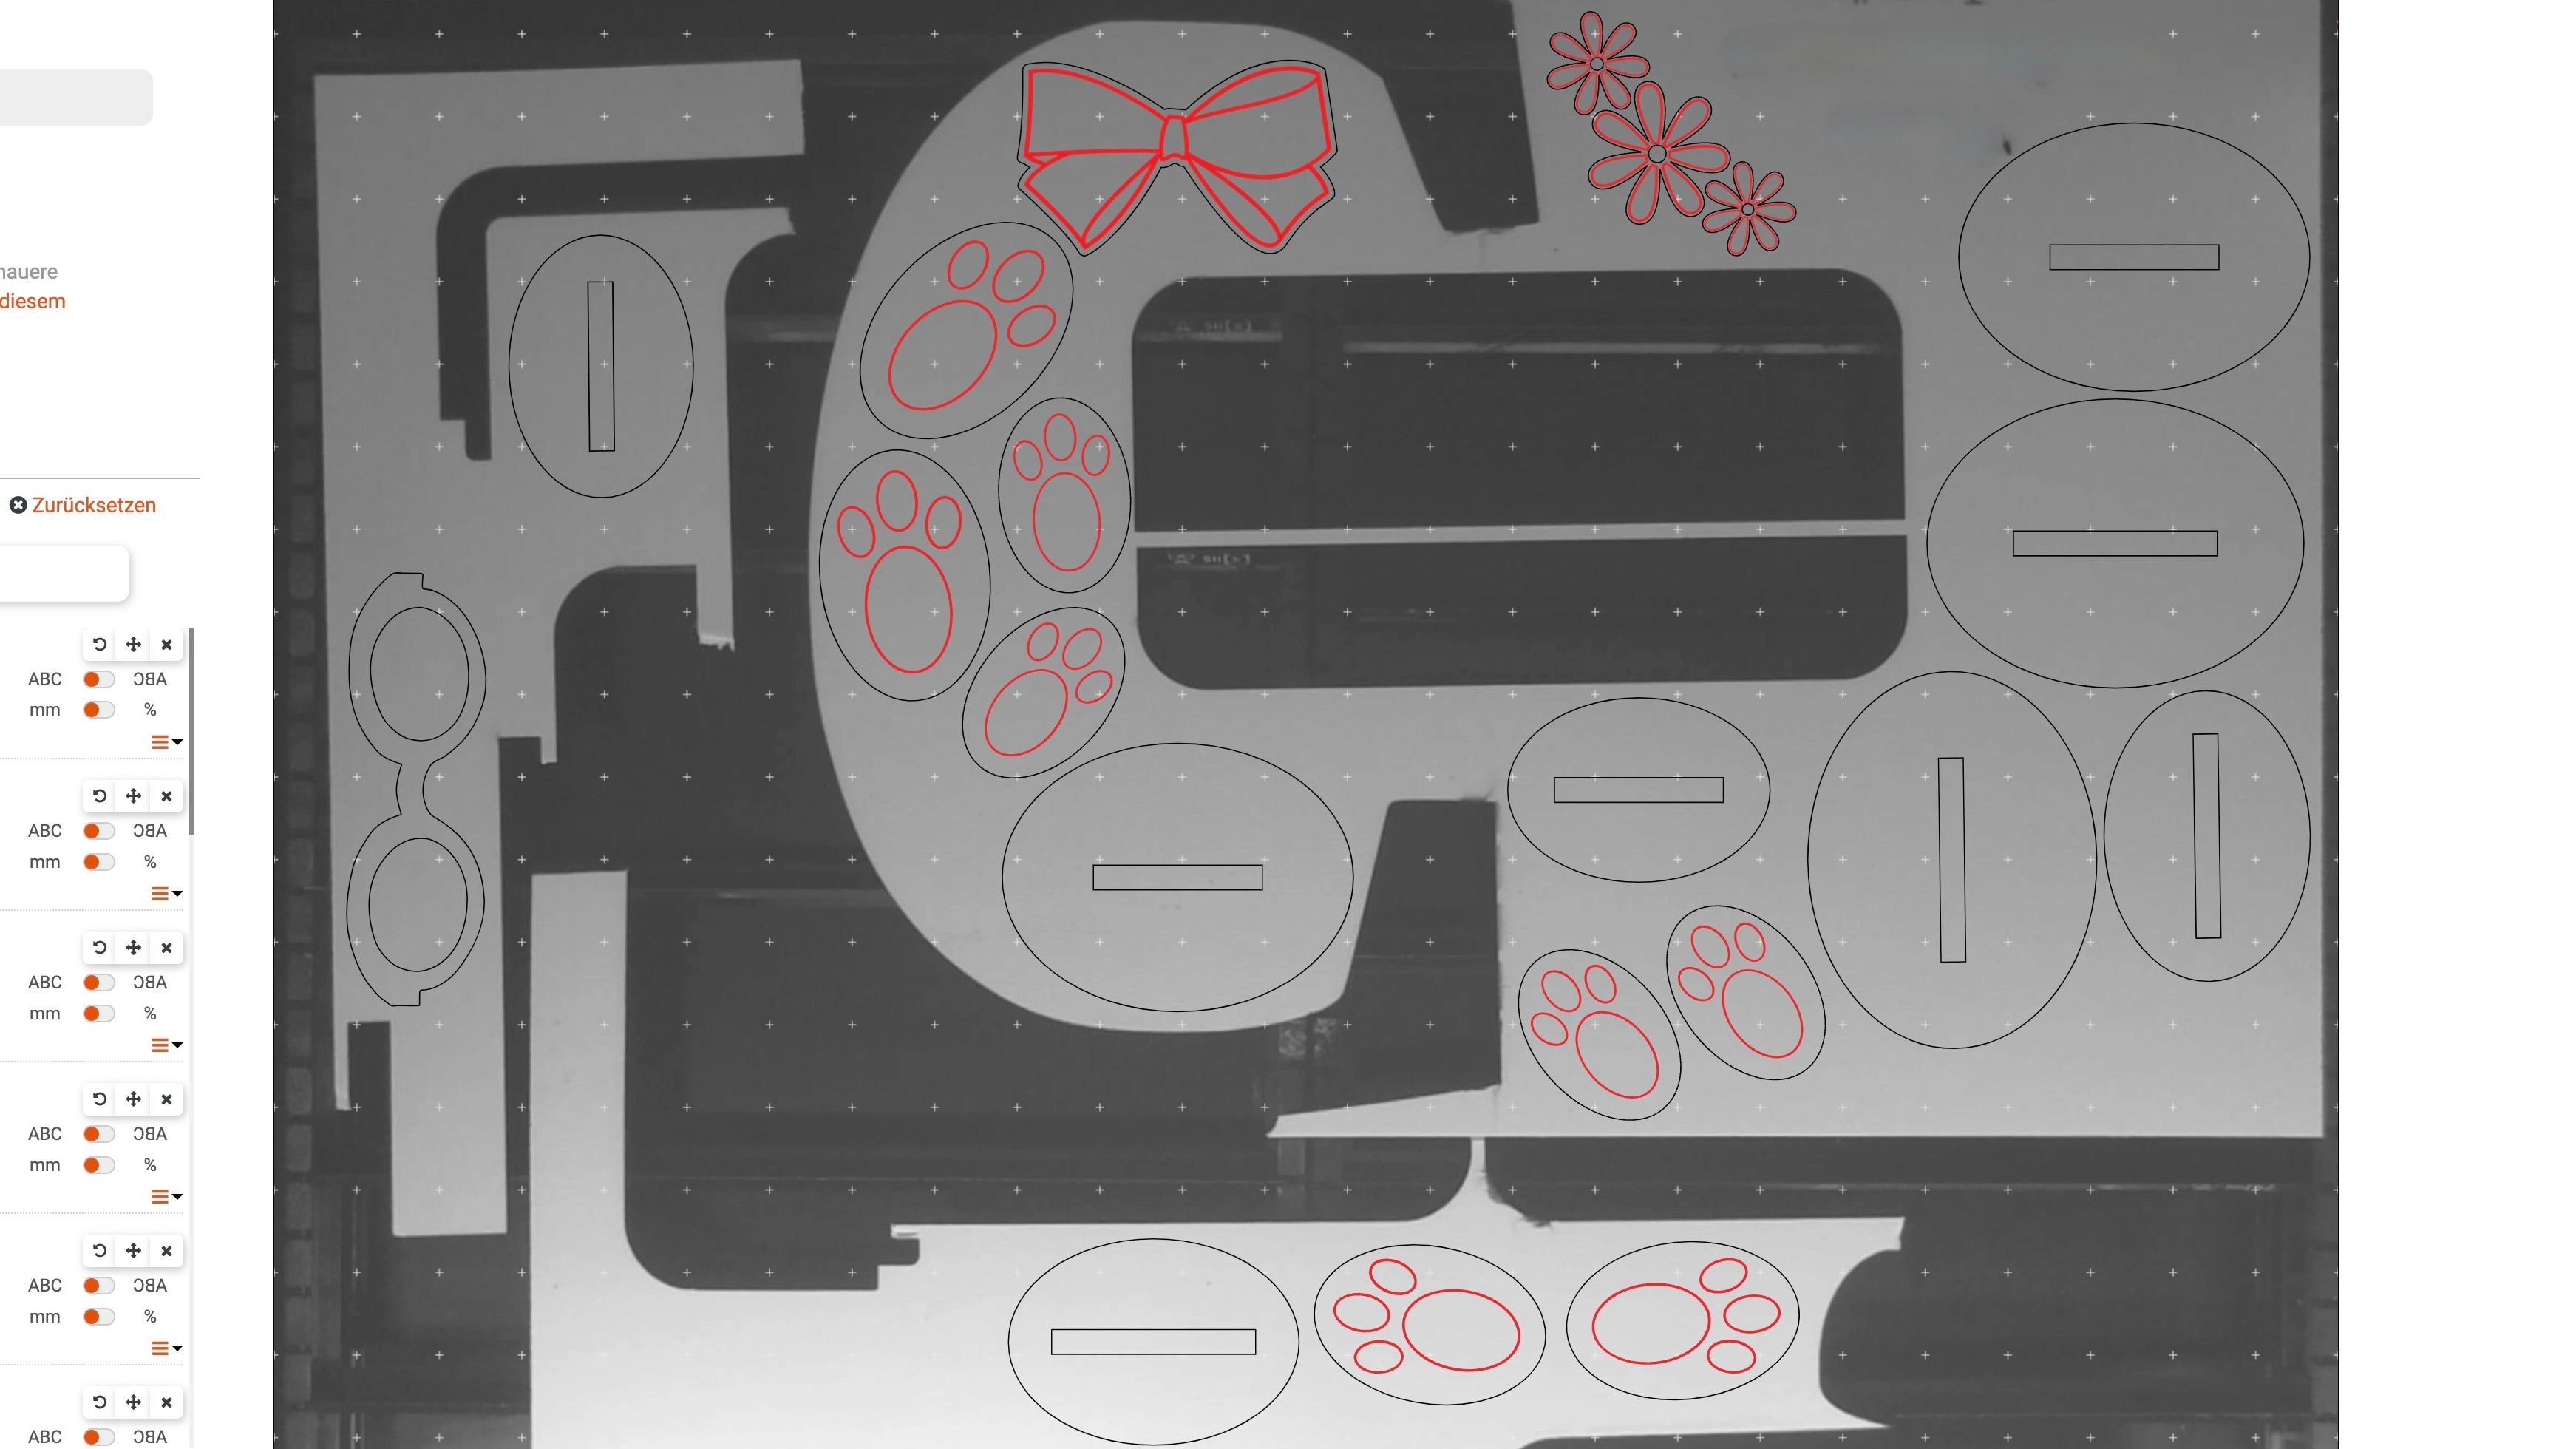
Then, you align the rabbits' heads on your wood using the camera preview - important: For the most accurate preview possible, you should set the material height (here 6 mm). The parameters for lasering poplar plywood are already saved in the Mr Beam software.
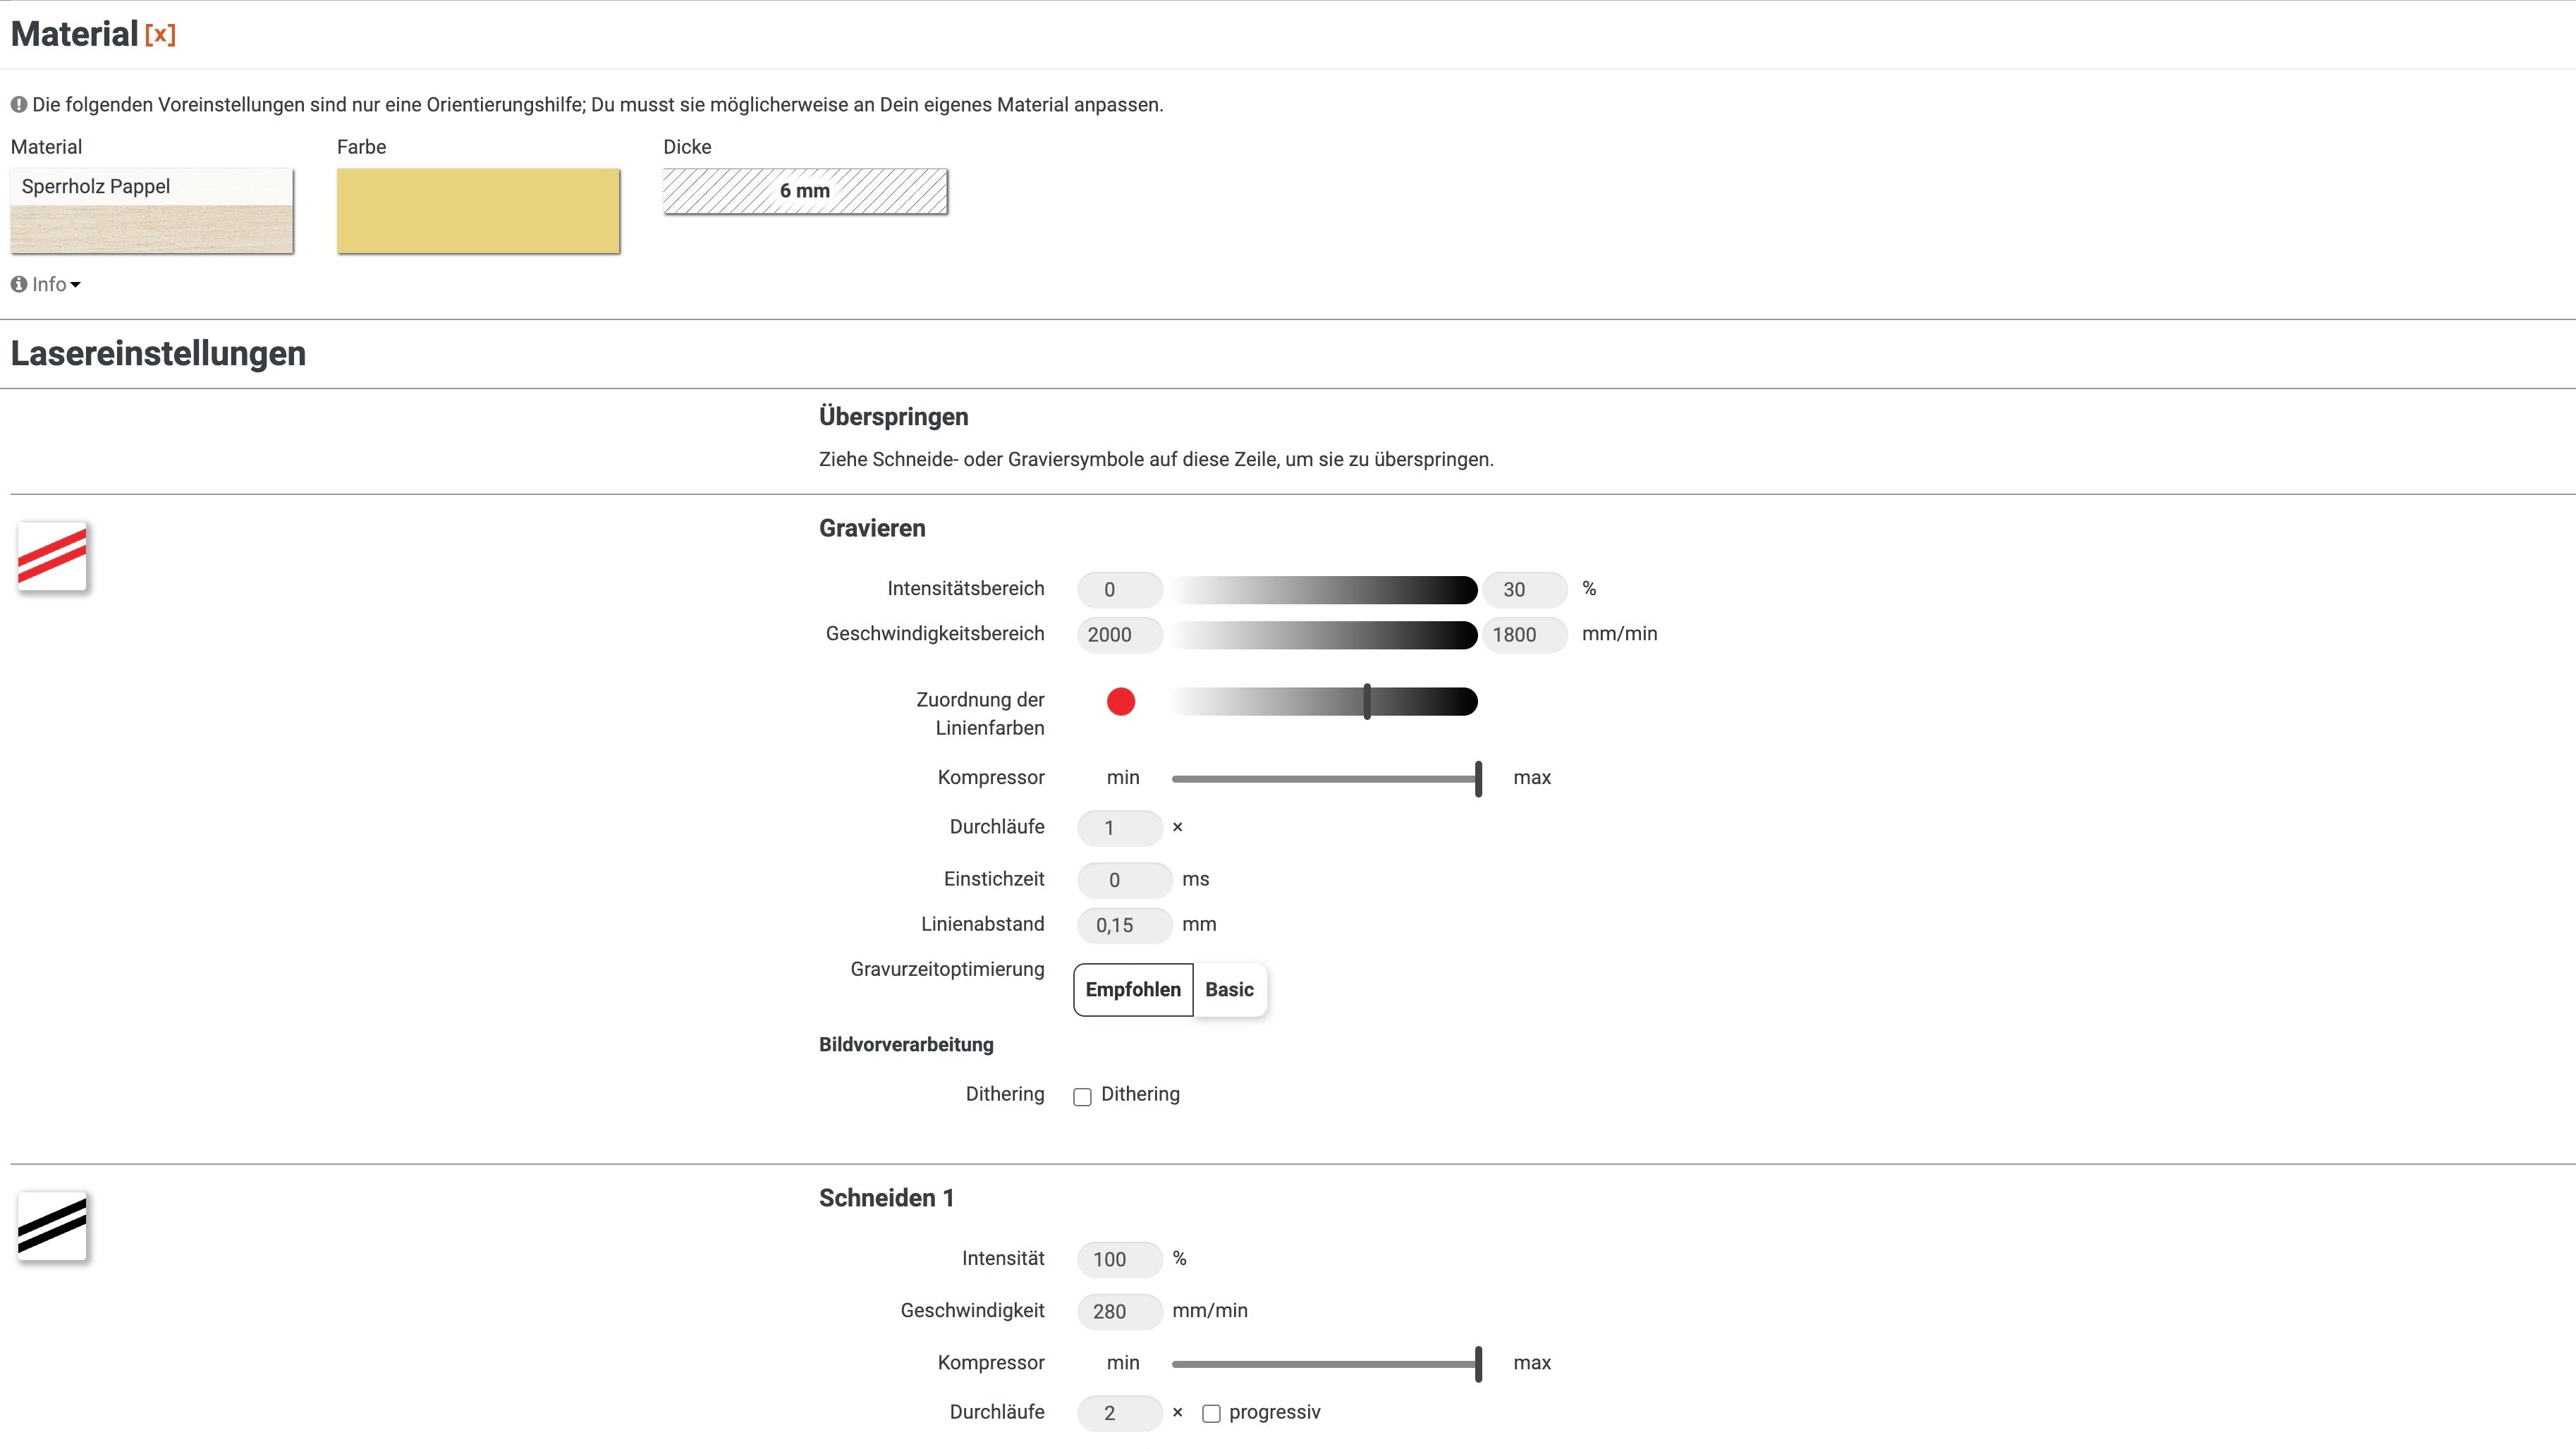
Select the material and thickness and drag the red lines into the “Engrave” field, because this engraving will serve as a colouring template if you give your bunny family its individual look with colour.
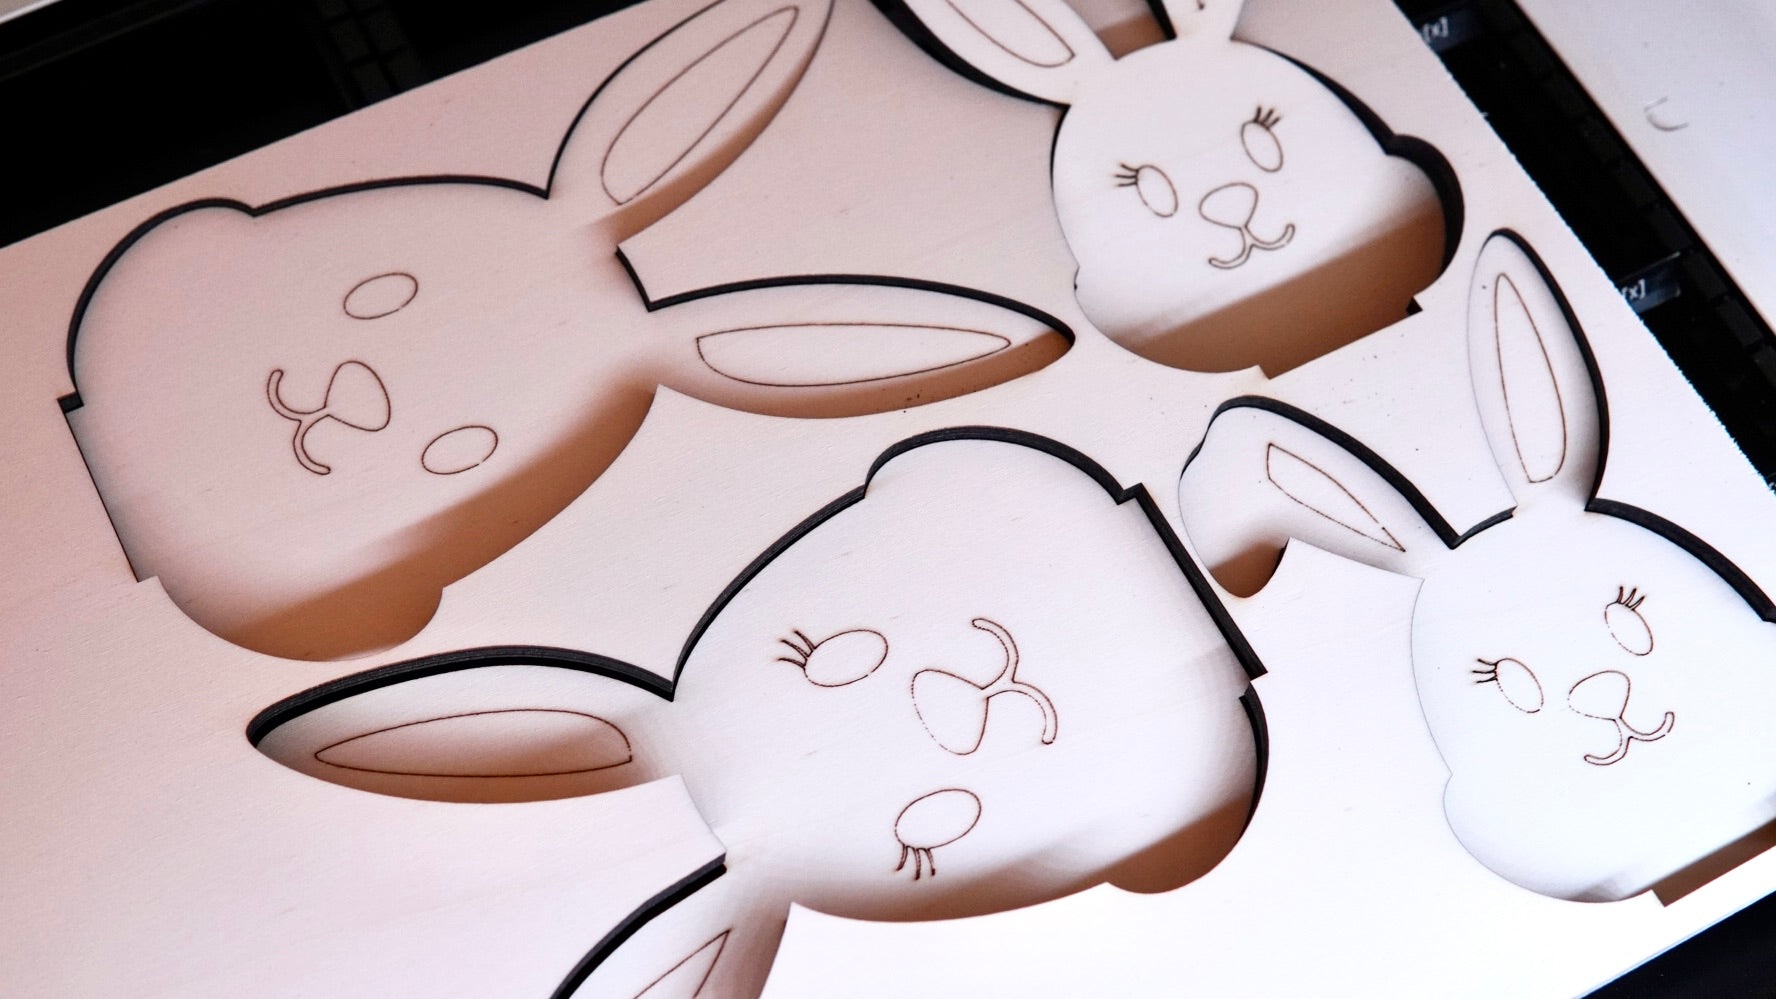
After lasering, take the rabbit heads out of the Mr Beam and place the 3mm thick poplar plywood inside. From there, you laser cut the remaining parts to make your wooden Easter decorations.
Leftover pieces are ideal for this, as the individual decorative elements of your rabbit family are not that big. After the Mr Beam is finished, you have already lasered everything for your wooden Easter decoration and the crafting can begin.
Make the bunny family as an Easter decoration out of wood
After lasering, you will need acrylic pens. You can use this to paint your bunny family colourfully and personalize it even more if you want.
With your favourite colours? Or just as colourful as possible? Or in pastel tones? Here you can have fun making your Easter decorations out of wood.
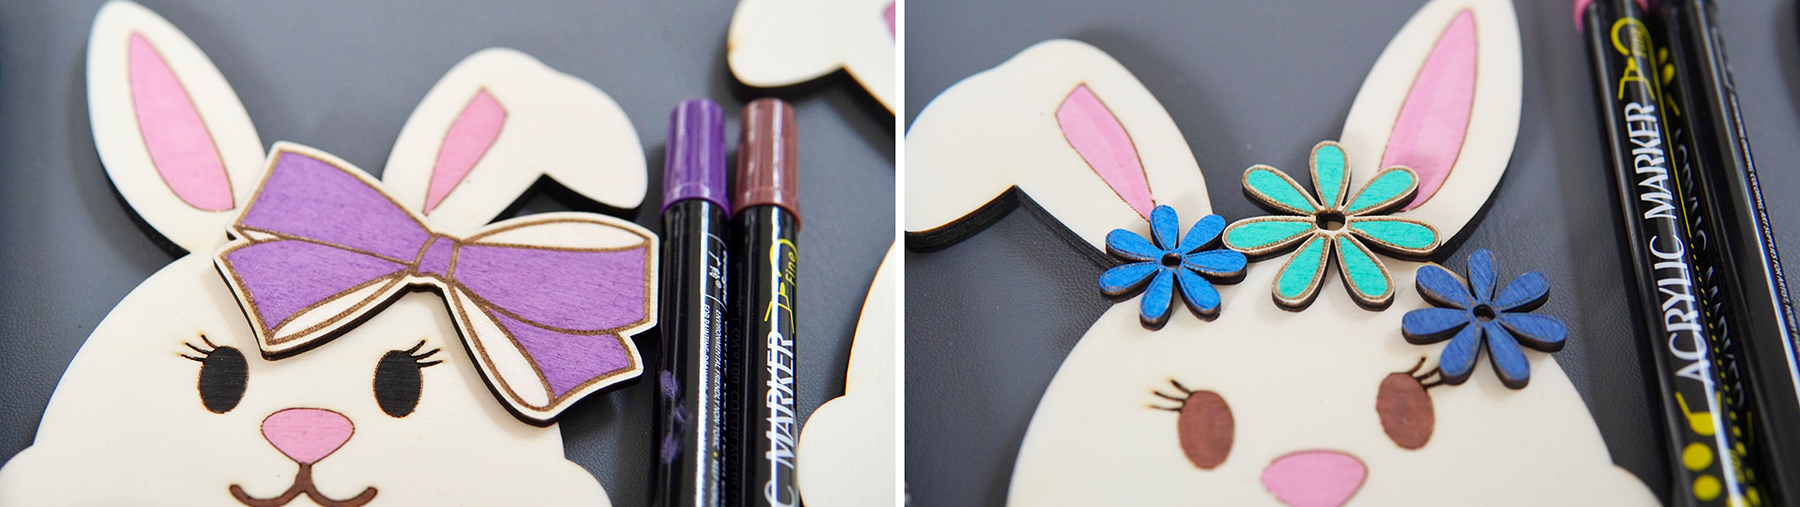
The engravings serve as a painting template and at the same time prevent the acrylic paint from running on the poplar plywood.
You can now use wood glue to finish your wooden Easter decorations. Glue the paws onto the designated area in the lower area of the rabbit's heads.
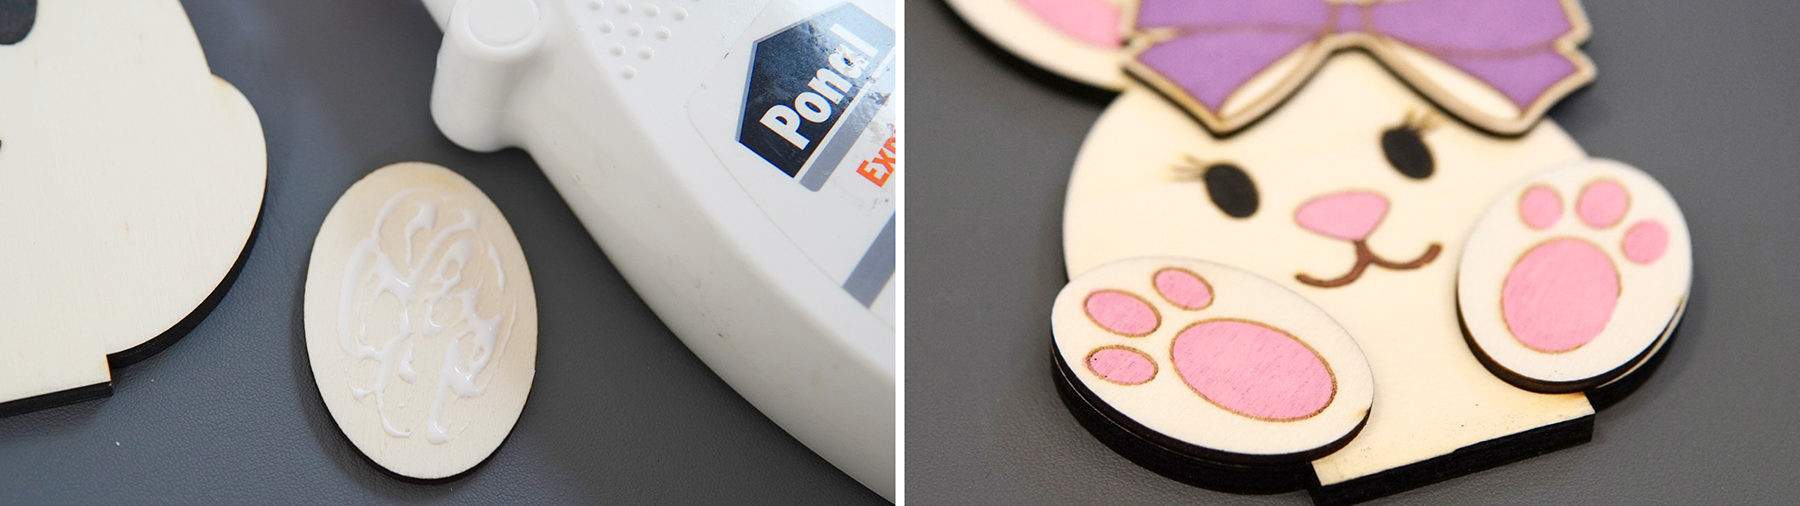
And you glue all the other parts, like the bow, the glasses and the flowers, wherever you like. Finally, the stands are missing, and you have already made your own bunny family as an Easter decoration out of wood. You can also paint the stands before gluing them.

Then you apply the glue and place the two parts with the slots on top of each other precisely. When everything is dry, put the bunny heads in the stands and your wooden Easter decoration is ready.

Tip: I not only use the bunny family as decoration, but will also use it at Easter to assign the hidden Easter baskets directly to a person. This way, everyone knows immediately who owns which Easter basket.
I hope you have fun imitating and especially hiding presents !
Your Rina