
“O'zapft is!” will soon be the motto again on Munich's Theresienwiese. And since it is only about a kilometre away from our showroom in Westend, we are of course absolute Oktoberfest fans. What should never be missing at our Oktoberfest are beer mug ribbons, and that's why today I'll show you how you can make the practical pendants yourself with your Mr Beam!
Why a beer mug band at all?
Especially since 2022, beer mug bands have become extremely popular, especially at company Oktoberfests. The employees have a souvenir of the lovely evening with their colleagues. More and more party groups and families also love the colourful ribbons. The big advantage is that no matter how many measures have already been drunk, the jugs are not mixed up. But be careful: the waitresses are very quick to clear things away, so it's best to remove your beer stein strap immediately after the last sip.
Which material is suitable for a beer mug band?

There are several material options to choose from for your beer mug straps. It is important that it is a flexible material that can also get wet. Laser leather and acrylic felt are best suited. Fabrics can also be used. However, you have to keep in mind that you may have to hem the edges so that they don't fray.
- Laser leather or acrylic felt
- Snap fastener set with matching tools or pliers
- if necessary, a hammer
- a graphics software
- your Mr Beam laser cutter
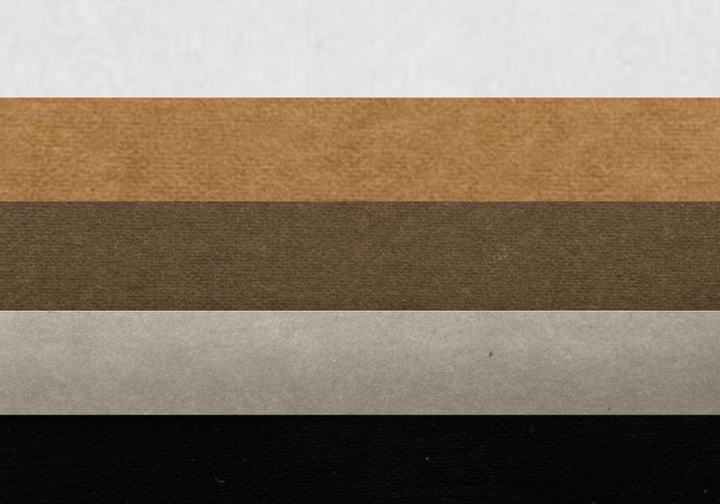
Mr Beam Laser Leather, A3, (dark brown/light brown/black/grey)
Sale price
From CHF 21.00
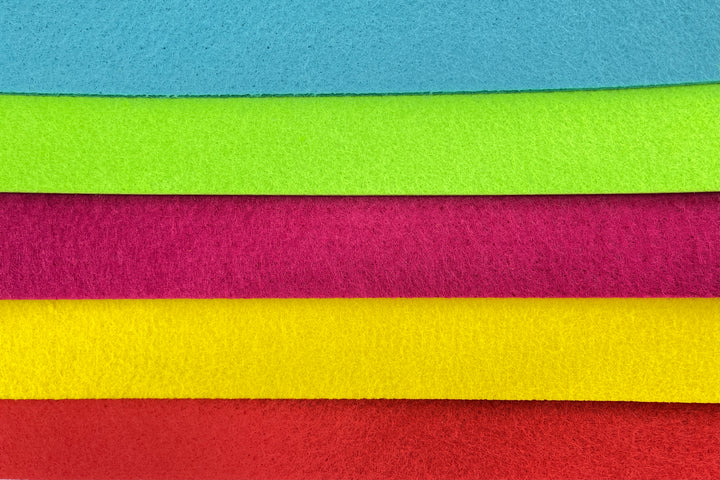
Mr Beam Acrylic felt, 3mm, A3, 5 Pack, neon colours
Sale price
From CHF 16.00
This is how you create your individual beer mug ribbon file
Now I would like to show you step by step how you can create two different stein ribbon files in Adobe Illustrator. Other graphics programs, such as InkScape, work similarly. Here, the tools just have different names.
Create basic shape
We start with a new document. I like working with A3 surfaces, as most of the materials in the Mr Beam Shop come in these dimensions. For the simpler design, select the Rectangle tool and create a 17cm x 2cm rectangle. So that the band can be folded easily, especially with felt, I add a small slit in the middle. To do this, take the line segment tool and make a line with a length of 1 cm and a 90° angle and select “Fill Line”. Placing the small line in the middle of your rectangle is very easy if you know how.

All you need is to select the two individual parts and then use the align tool to center them once horizontally and once vertically. Now we round off the corners for a nicer look. All you have to do is select your rectangle and drag the small circles in the corners slightly towards the center.
Adjust buttonholes correctly
For the head holes, the first thing you need to do is measure your snap fasteners. Here you can proceed with precision. Soft material gives way and your button shouldn't wobble or fray afterwards. In my case, I need a 2mm hole on both sides. You can easily create these using the circle tool.
Getting the holes into the perfect position works similarly to the small line, but you have to pay attention to one more step. Bring your circles on the right and left to approximately the correct position where you want them to be later. Pay particular attention to the distance to the short edge. If you want to visualize it, you can also create two circles the size of the overall button and delete them after placing the holes.

If you have selected “Intelligent Guides” under the View tab, everything can be placed very easily in the middle. To make sure it fits 100%, select both small circles, then use the “vertical align” tool to bring them to the right height and group them. If you now mark the group together with everyone else and align it correctly, everything will be perfectly in the middle.
Create fonts for engravings

Now we can personalize the whole thing, for example with the name, Oktoberfest 23, the company logo or a funny nickname. For this we use the text tool. Choose a suitable font and drag it to the right size. You get the text centred in the same way as the previous objects. For the font, I would recommend something squiggly. This always goes well with Oktoberfest. At the end, all you have to do is convert the text into objects and if the letters overlap, connect all the surfaces with the Pathfinder tool. Then your engraving is already finished.
Wave version
As an alternative to the classic design, I'll also show you how you can make a wave version. Here you start with a 17 cm long line. To create the waveform, go to Distort and Transform Filters in the Object tab and select Zigzag. In the window that now appears, you can determine the size of your waves, the quantity and the type. For flowing waves, select transition. To turn the wavy line into a path, go to Convert Appearance under Object. I still wanted my line to stop halfway through a descending wave. However, since there is no anchor point here, I go to Path and Add Anchor Points under Object.

So another one is always inserted between two points. Then delete the unnecessary anchor points and draw the line back to the correct length. So that it fits in size, I pulled down the first draft above as a guideline. To create the bottom line, simply copy the top one by holding alt while dragging it down. Simply place them on the template and then delete them. You can then use the path tool to connect the lines and round off the corners.

And off to the laser!

Before you start lasering, I recommend that you dissolve all groups in the file. This allows Mr Beam to process your file better. Simply select everything and click Ungroup under Object until it no longer works. The file is then saved as an SVG and can be uploaded to BeamOS. This can be done either using the upload button in the design library or conveniently by dragging and dropping onto the workspace. Since I just want to make the wave design out of felt for now, I'll divide the file into shapes. Then focus and click on lasers. I then started the laser process with the standard settings. You then repeat the whole thing if you want both, with the simpler design on laser leather.
The finishing touch

Now that we have both ribbons, we can attach the buttons. For this you need a set of snap fasteners. These sometimes come with matching pliers or, like mine, with tools for hammering. The important thing is to pay attention to where you want the top of your button, and then you can assemble it according to the manufacturer's instructions. Make sure they fit really well so that the buttons don't fall apart again later.
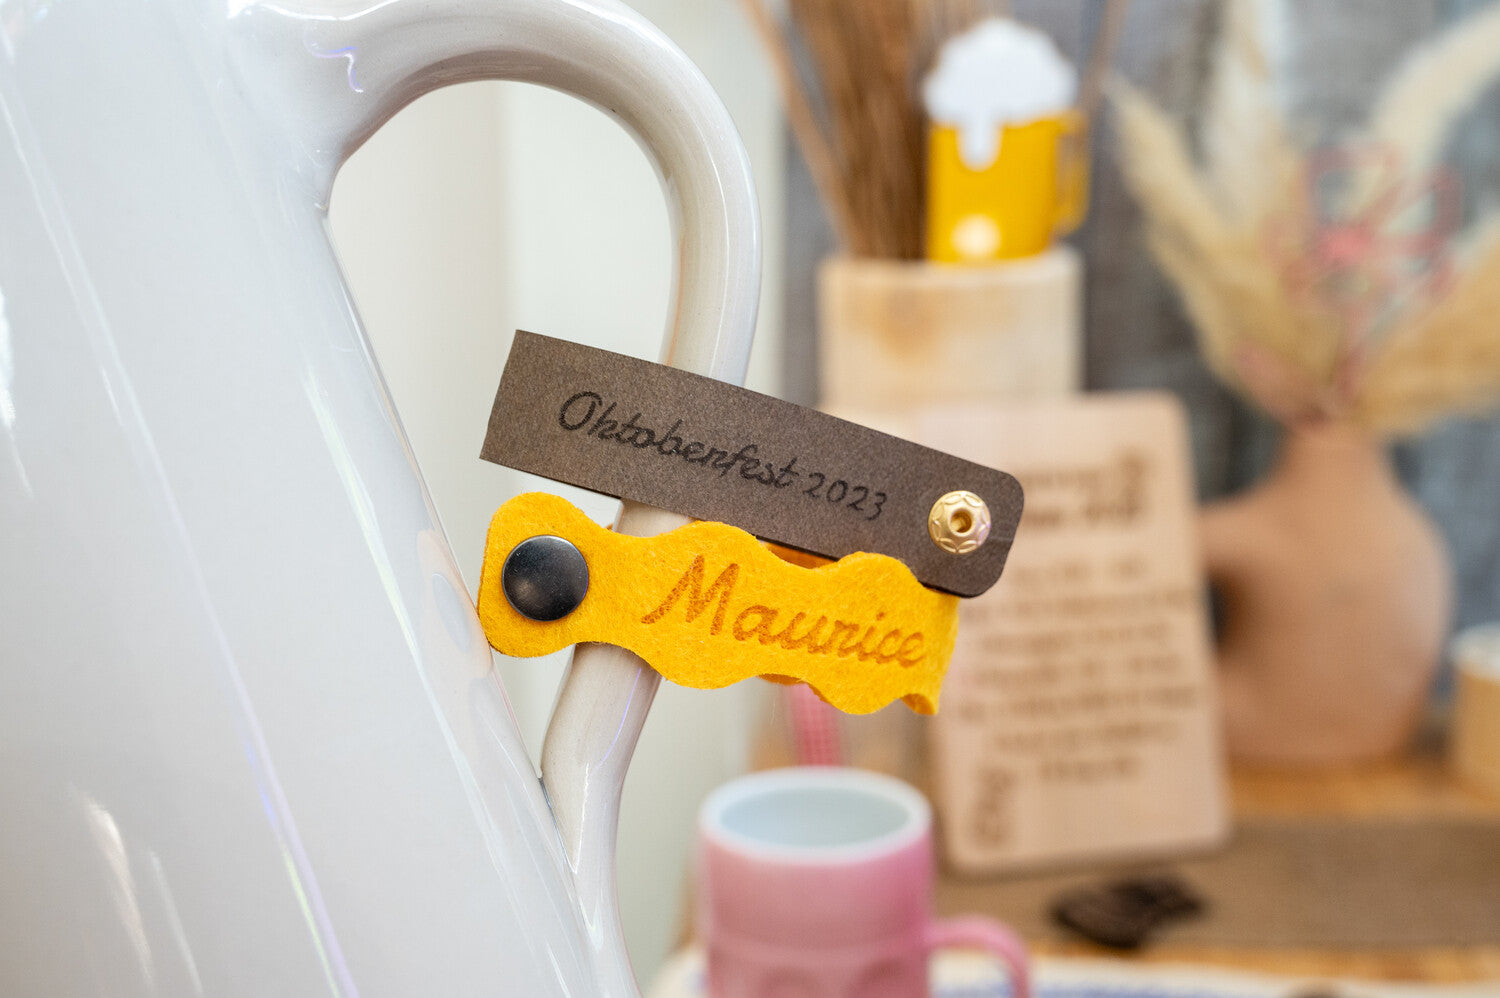
And then they're done. Beer mug ribbons are really a great Oktoberfest souvenir for your friends and colleagues. I hope you are happy with your cute little ribbons. With this in mind: Pack mas! It's time to go to the Oktoberfest!
Your Marie


