
A nice celebration, nice conversations, good music, lots of fun and delicious food - and what's still missing? That's right, great decoration! Whether it's for a garden party, a children's birthday party or a baptism, communion or confirmation - rainbow decorations always look good and spread a good mood with all the bright colours!
And at every celebration you always get the “hunger for sweets” at some point. There is often a small candy bar with cakes, tartlets, sweets and other goodies to nibble on, or simply a set table. You can already find great designs for your candy bar in the Mr Beam Design Store.
And I'll show you in this DIY guide how you can make a beautiful acrylic donut wall for mini donuts in a rainbow design for the birthday table or the candy bar.
Of course, you can also implement this design with 3 mm thick wood. I chose acrylic because of the stability, durability and beautiful pastel tones.
In addition, icing or any grease stains from the donuts are easier to remove from acrylic than from wood.
Material for the rainbow decoration for children's birthday parties
- Pastel Acrylic from the Mr Beam Shop
- Acrylic glue or plastic glue
- your Mr Beam II dreamcut [x]
- and of course mini donuts 🍩😉 - as colourful and delicious as possible
You can find the file for your rainbow themed donut wall in the Mr Beam Design Store.
You can also find the matching rainbow invitation in the Design Store.
Mr Beam Pastel Acrylic, various colours, 3mm, A3
Sale price
From CHF 14.00
Mr Beam Acrylic Bo[x]
Sale price
CHF 168.00
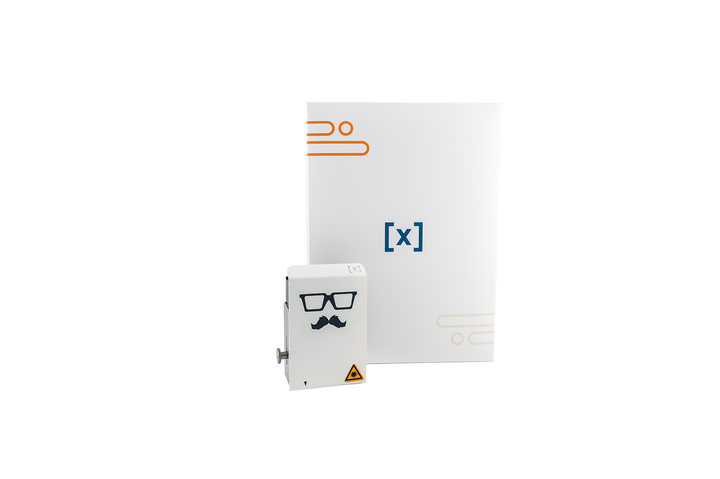
Mr Beam II dreamcut [x] Laser head for retrofitting
Sale price
From CHF 646.00
Making rainbow decorations

After opening the file, you will see that the sticks used to hang the donuts are stuck through both the blue sky and the stripes of the rainbow.
On the one hand, the precise positioning of the rainbow stripes is much easier and, on the other hand, the brackets are very stable in the 6 mm thick acrylic.
Of course, you can let off steam creatively when choosing the colour. Everyone here has different preferences for an individual rainbow.
The rainbow decoration from Mr Beam
The file is prepared in such a way that you can start right after you have decided on a colour combination. All elements that are lasered from the same colour also have the same cutting line colours.
Start your Mr Beam and the BeamOS and put the first colour of the acrylic in your Mr Beam. When lasering acrylic, I recommend removing the protective film only when assembling the donut wall as a rainbow decoration, this way you avoid scratches, traces of smoke and possibly unsightly edges.
Set the appropriate object height for the most accurate preview possible in BeamOS. Now position the first element of your donut wall as a rainbow decoration on your acrylic and start the laser job.
Don't forget to focus. With acrylic in particular, you can avoid the Mr Beam not getting through or unsightly edges occurring at the interface by focusing precisely.

The laser settings for all acrylic paints from the Mr Beam Shop can already be found in BeamOS. So just select the current colour and drag all others that are not to be lasered into the “Skip” field and click “Start”.
The ease with which the Mr Beam cuts the acrylic never ceases to amaze me. Even the small squares for the brackets are precisely lasered.

This is how you proceed with all colours, and gradually the individual rainbow elements for your donut wall as decoration for children's birthday parties are created.
Edit the acrylic of your rainbow decoration for the children's birthday party
If you have black spots on your acrylic from the laser, you can remove them with nail polish remover and a cloth.

The edges of your lasered rainbow elements made of acrylic can be smoothed out with sandpaper. This way you can remove the grooves from the laser or any sharp edges.
Assemble your rainbow themed donut wall
When everything is ready, the moment has finally come when you can remove the protective films. Well, at least look underneath.
First, I would only completely remove the foil of the background. If your glue pulls strings and ends up on your rainbow, you can simply peel them off with the protective film at the end. Wow, look at those beautiful colours!

Which glue for acrylic?
There is a special glue for acrylic, it is called “Acrifix”. It is relatively thin, but can be applied very well. It shimmers a little purple, but later dries completely transparent.

You can also use any other plastic adhesive for acrylic, for example Uhu Hart. You can find a video about this, but also about acrylic in general, on the Mr Beam YouTube channel. Worth watching!
Make rainbow decorations together
Two of the four rainbow stripes have square cut-outs for the donut holders. Glue these two strips to the blue wall first. To do this, apply the glue to the back.

Now place the rainbow stripe precisely on the recesses in the background. To prevent slipping while drying, you can put the donut holders in the holes. After the first two strips of your rainbow donut wall have dried as a decoration for the children's birthday party, you also glue the remaining two strips.

You can also attach the donut holders with acrylic glue.
In order to be able to store the rainbow donut wall in a more space-saving way as a decoration after the children's birthday party, it makes sense not to glue the brackets permanently. I put a drop of hot glue on each side.
This splice can be loosened again by pulling hard, and the hot glue can even be removed without leaving any residue. Now you put your donut wall in the cloud stand and your rainbow decoration for the children's birthday party is ready.
I wish you a lot of fun imitating and a nice celebration!
Your Rina


