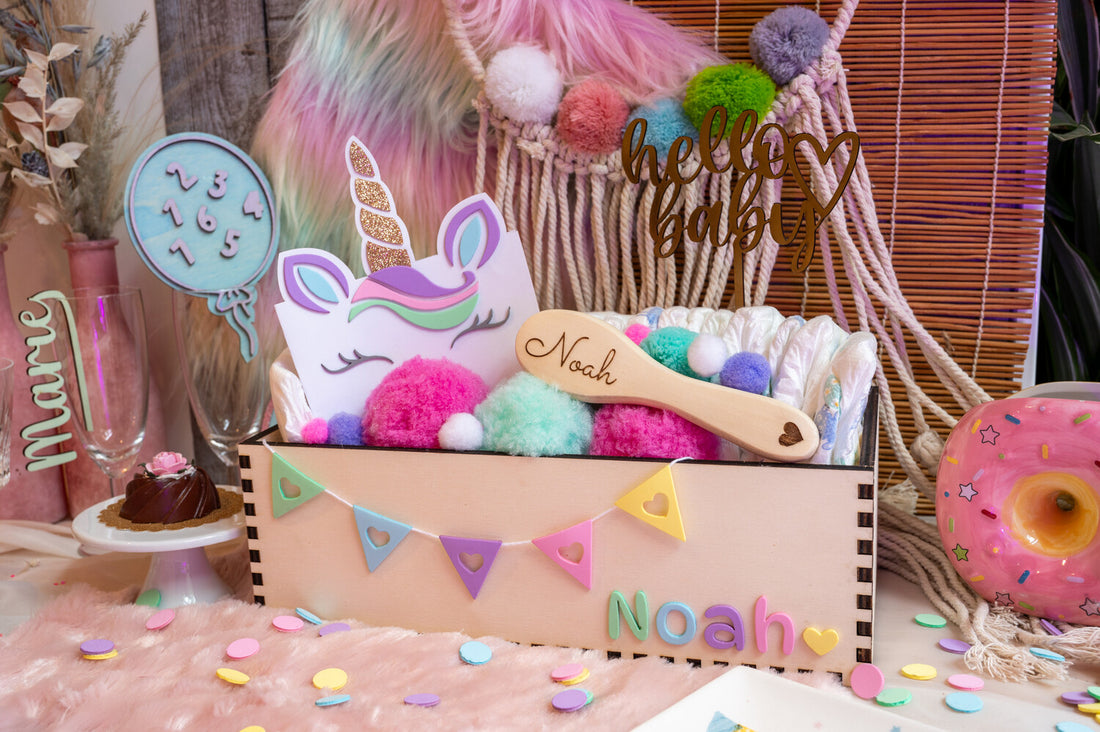
I'm getting to the age where you get invited to more and more baby showers. I recently came across the term diaper cake for the first time, and in the comments of the appropriate tutorials I often heard the desire for alternatives. That's why I sat down to create a beautiful #madewithmrbeam gift basket for the birth, which you can easily make yourself.
Material for your alternative to the diaper cake
- 2 A3 sheets of 6mm poplar plywood
- shield material gold
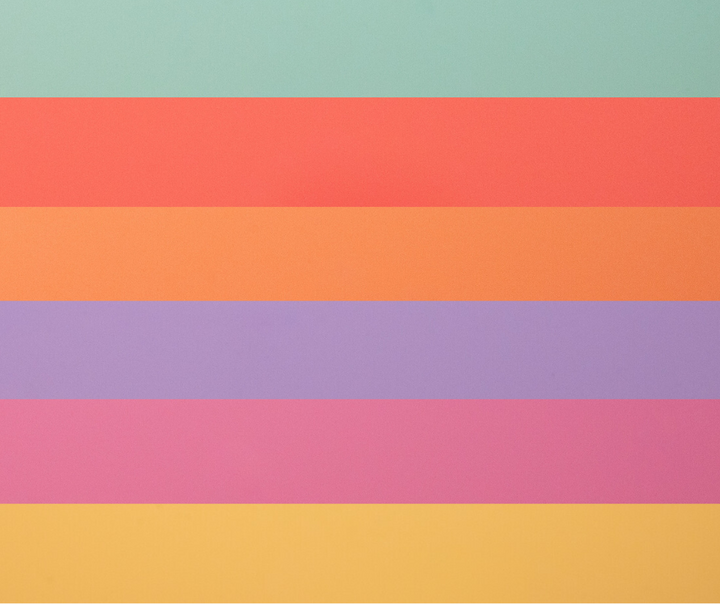
- Pastel and gray foam rubber
- golden glitter felt
- Construction paper white
- thin wool yarn white
- wood glue
- All Purpose Adhesive
- 1 wooden children's hairbrush
- 1 pack of newborn diapers
- Pompoms to fill gaps
- optional: toys or baby clothes
Mr Beam Poplar plywood suitable for [x], 6mm, A3
Sale price
From CHF 45.00
Mr Beam Signs Material
Sale price
From CHF 29.00
Mr Beam Pastel Acrylic, various colours, 3mm, A3
Sale price
From CHF 14.00
Step 1 of making the gift basket
First, let's tackle the easiest part: the "Hello Baby" cake topper. To do this, you simply download the appropriate file from the Mr Beam Design Store , place your sign material in the Mr Beam laser cutter, focus, select the standard settings, press the start button and your Mr Beam cuts in no time and all by itself. Now all you have to do is clean the edges with a damp cloth and put the cake topper aside until you can fill the gift basket.

A stencil can also be used to precisely engrave bulky objects
Then we start engraving the hairbrush. Two problems arise here. The brush has a complicated shape that is difficult to engrave in the centre unless the camera is 100% calibrated. And because of the bristles, it doesn't lie straight.
I easily solve the first problem with a template. To do this, place the object to be engraved on a piece of paper and trace the contour with a pen. Then you take a picture of it with a ruler and load it into graphics software. I used Illustrator. Now all you have to do is stretch the whole thing to the right size, trace the painted contour and place your design in it.

You leave the traced contour in your design, because it will help you later as a guide to place your object. Now it's time for the lasers. To ensure that the laser head is at the correct height and does not shift a millimetre, you should focus it on the height of the brush. Here we also solve problem two: tipping.
To keep the wooden brush upright, I supported it with a small stack of poplar plywood from our craft box. Just look around your home for a flat object that is the right height. You also need a base on which you can laser your engraving template. I like to use leftover pieces of felt for this. When the head is focused, you take everything out of the beam again, apart from the piece of felt. Then you start the laser process, but skip the engraving and only laser the contour on the felt.

Now place the brush in the contour and stabilize it again with your flat object. Make sure that the felt does not slip and that you do not move the file in the software either. Now you can start your wood engraving as usual, and you can look forward to a perfectly centred result. For fine engravings, such as this lettering, I recommend entering a line spacing of 0.1 mm in the advanced settings.

Build sturdy boxes with 6mm poplar plywood and the [x] laser head
Instead of a classic basket, I definitely wanted to build a stable wooden box, since the new X-laser head can now also cut thick poplar plywood with ease. It can also be used as a practical storage box. In this case I chose 6mm thickness and created a matching file which you can also find in the design store. Constructing such a box is always a little brain balancing act for me, but the result is worth it. When creating the cutting file, I also designed the decoration and placed it in the colours I wanted to see if everything was right and the right size.
Cut out your wooden panels and foam rubber details with the laser. For the wood, you can use the default settings from the software. With foam rubber, I would definitely recommend a test cut, as foam can behave very differently depending on how dense the material is and what colour it is. Start with the given parameters and adapt them step by step.

It is best to use wood glue to glue the box. Make sure you rub the correct edges with glue and that the box is fixed to dry, for example by weighing it down with books or clamping it in a screw clamp.
You can easily attach the details with all-purpose glue. So that the garland also swings nicely, I first glued the foam rubber flags to a white piece of wool and then attached them inside so that they dangle nicely at the front. If you want it to be removable afterwards, it's best to use painter's tape.

It's so easy to make a birthday greeting card
For the sweet unicorn card, we need glitter felt and white construction paper in addition to the foam rubber from just now. With the felt, you should definitely make sure that you place it with the glitter side down in the Mr Beam and mirror your design accordingly. This is the best way to cut it.
Lasering white paper can be a real challenge because it is very flammable and quickly develops traces of smoke. That's why you should never drive slower than the default in the software. It is also advisable to fix the paper to the floor with a magnet so that it does not slip due to the air flow from the compressor. Then just glue all the cut-out parts and write a few nice words.

Decorate your baby gift basket
Now that all the individual parts are ready, you can start filling the gift basket. The nappies are great for filling the box well. I used colourful pompoms for the gaps. These are also good for presenting the hairbrush nicely. And the cake topper keeps itself in place when you pinch it between the nappies. If you like, you can buy a few more baby gifts to fill up the box. For example, I got a plush star, a sheep rattle and a small hat.

The perfect alternative to nappy cake
I hope the recipients are happy about this sweet gift basket for the birth. To make it stand out next to all the diaper cakes on the gift table, you can laser confetti out of the rest of the foam rubber. 😉
I wish you a lot of fun tinkering and giving! 🧡
Your Marie


