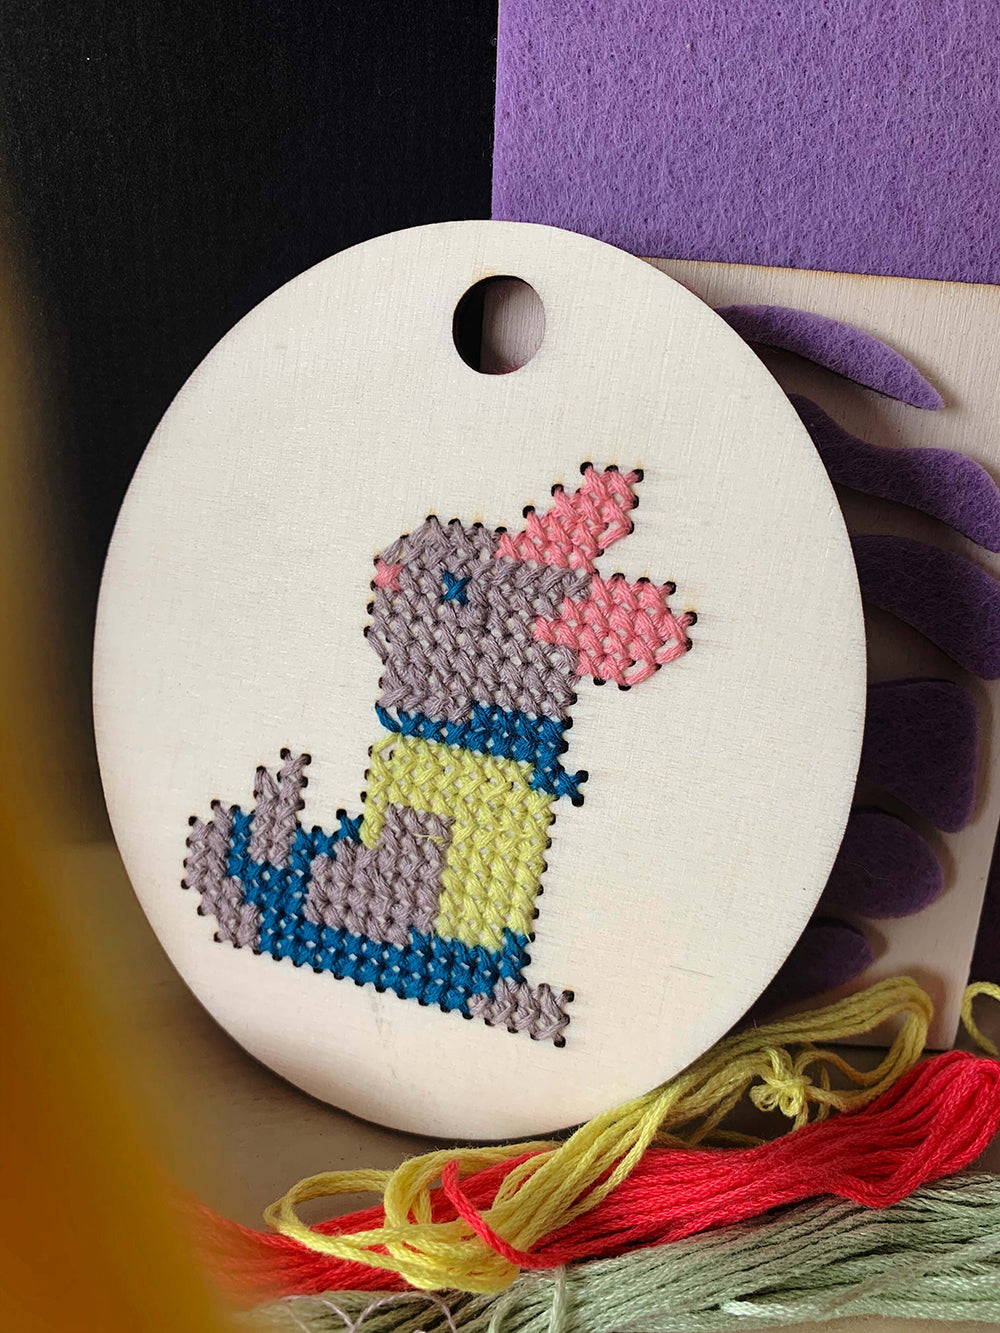
Suitable for the Easter holidays, we want to revive a forgotten craft in a modern style: embroidery. You can create a wide variety of patterns and shapes in all faithful colours. To make your entry easier, we have one Tutorial for a simple one Cross stitch in wood Written. The motive of embroidery is already given by us. - Your finished cross-stitch template!
Let's go with the cross-stitch template!

First, you put all the necessary materials for embroidery. These are:
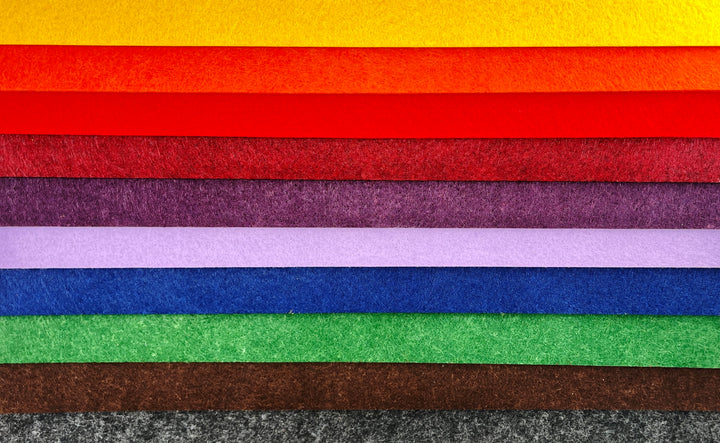
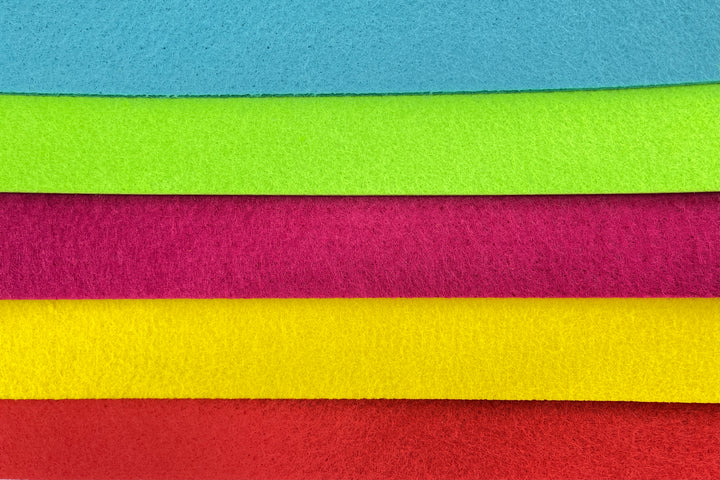
The laser Cross stitch template made of wood and if desired a suitable one Pendant felt to cover the back of the embroidery. Also, different embroidery yarn and a suitable stick needle. Finally, we need wood glue to glue the front and back to the end.
Start with the cross stitch embroidery
Around start with the embroidery, You can cope with a yarn of your election. Think in advance about the size of the area you want to embroider with it. We also advise you not to leave the yarn too long and to use a new one if necessary so that it doesn't get so knotted when you pull it through the holes. Once you have measured out the yarn, thread it onto the needle. To prevent the yarn from fraying, you can dip the front tip of the yarn in water.
How is the cross-stitch?

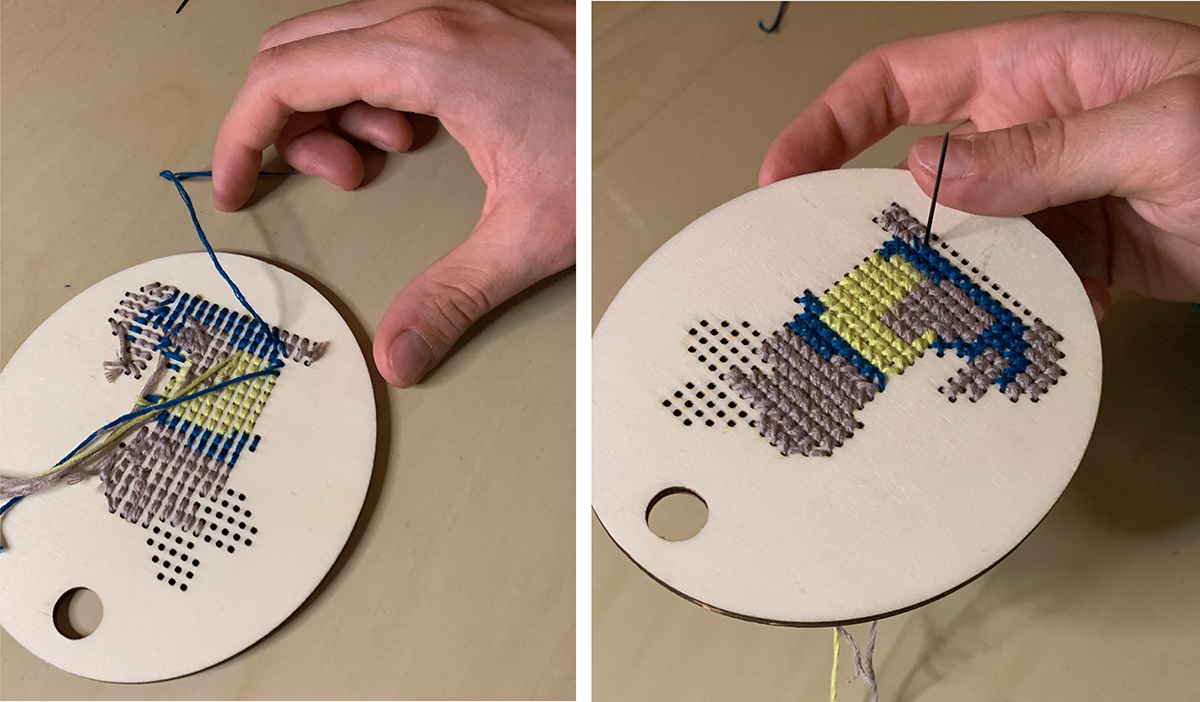
First, you put the needle from behind to the front through the first hole. If you from the right or left starts with the embroidery, It does not matter, important is just up or down to start. However, it is customary in reading direction. At the back, you leave a sufficiently long yarn, so that the yarn will not be pulled through in the beginning and can be linked in the end.
Note the position of the cross stitch!
The Cross stitch is worked on a row. For this, she leads the needle back to the back through the obliquely opposite hole. There stow her straight down, so that parallel lines arise. At the front, you should point parallel obliquely in one direction.

If you have arrived at the end of the series, you have to repeat the same game in the reverse, but the stitches on the front tend to the opposite direction. From behind, the pattern remains the same.

If you now move into the next row, you have to sting twice in each hole. You can not miss a row, otherwise arise Gaps in the embroidery pattern. So you start in the row from the back of the back, which has embroidered her before. And then the process repeats until you want to change the yarn or wants to change.
Complete the cross-stitch template

Finally, you knotted the ends of the different yarns, so that the pattern can not resolve later.

To make your own Cross stitch work, then at an Easter branch or the like
You can present the back with a fluid cover or a material of your choice.
Et Voilá! Done is your cross stitch. It never embroidered so easily! Your result is perfect as a deco for Easter or as a small one present at the Eggs Looking for.

=== Video ===
https://cdn.shopify.com/s/files/1/0140/2221/3686/files/timelapse-video-kreuzstich-stickhase.mp4?v=1648460158
=== Video ===


