Uiuiui my children are already counting the days until Easter. Every morning they ask how often they still have to sleep. But I admit it, in the hustle and bustle of everyday life I forgot the most important thing: We don't have any Easter baskets to put the little presents in!
If you feel the same way, in this tutorial I'll show you how you can quickly make a modern Easter basket yourself and even personalize it using the Mr Beam and the beautiful pastel-coloured plywood from the Mr Beam Shop. Here, the Easter nests are also used as Easter baskets for collecting eggs.
The material list for your modern DIY Easter basket
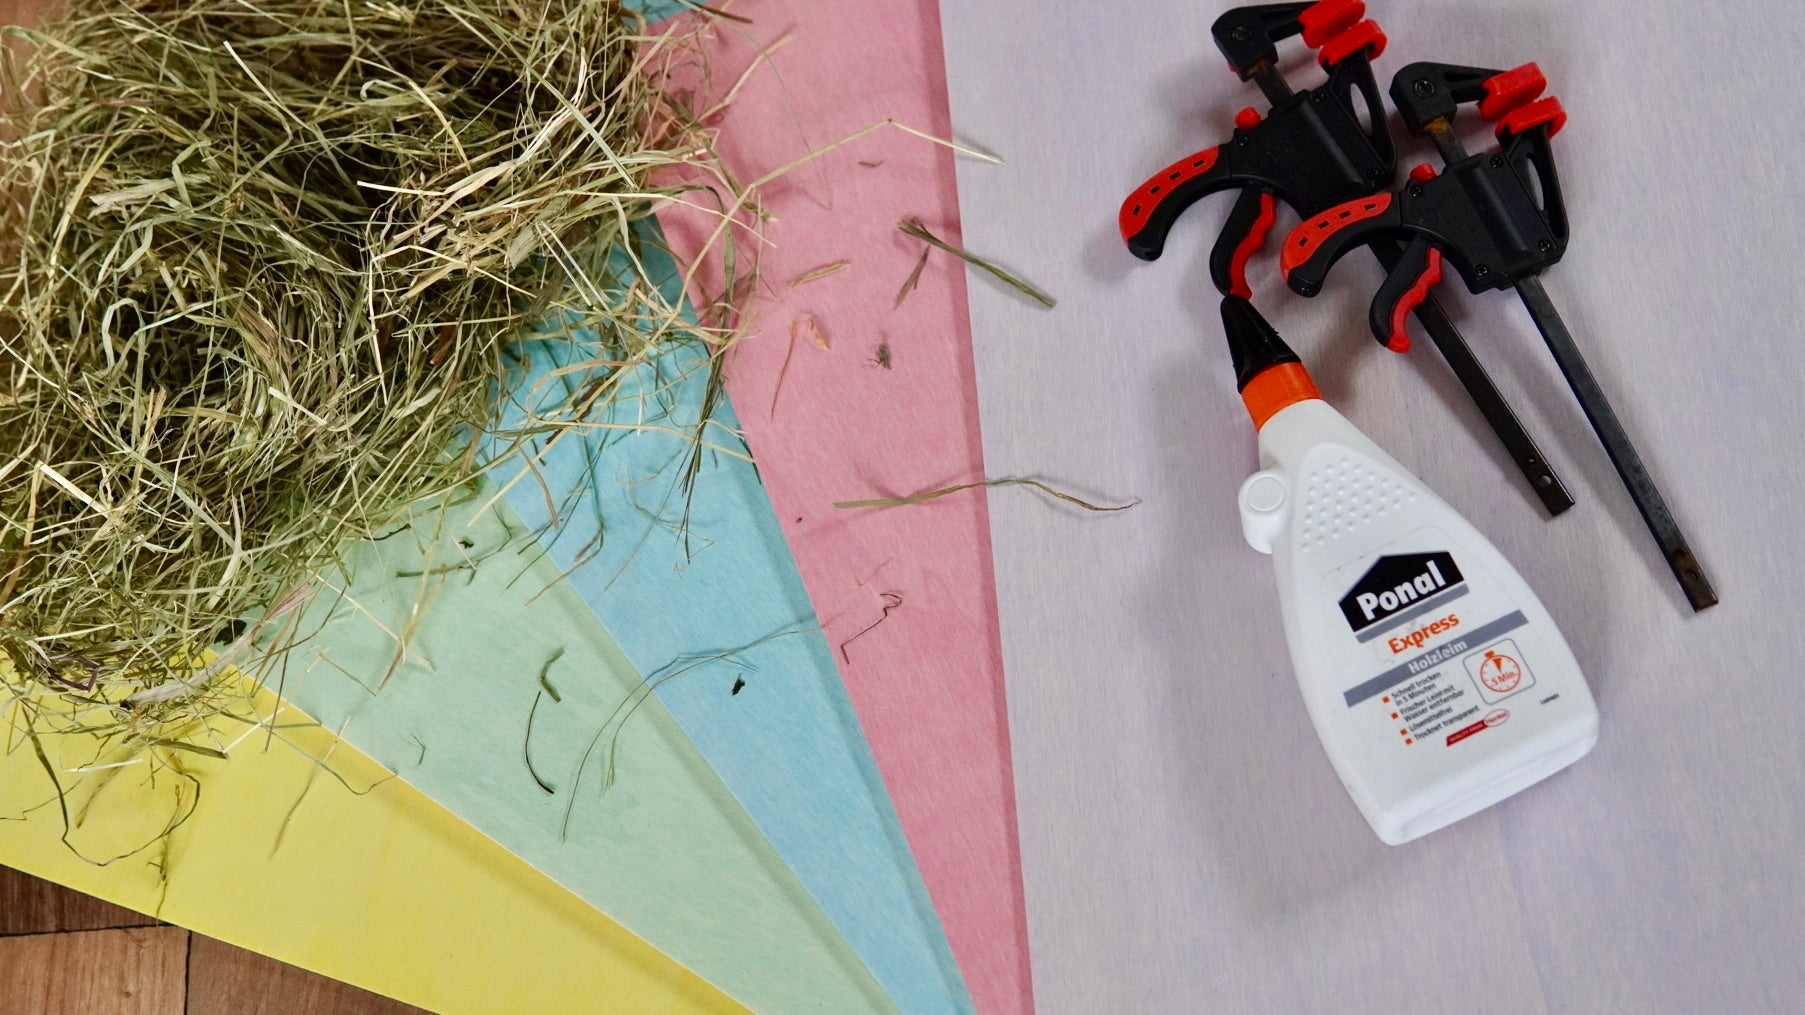
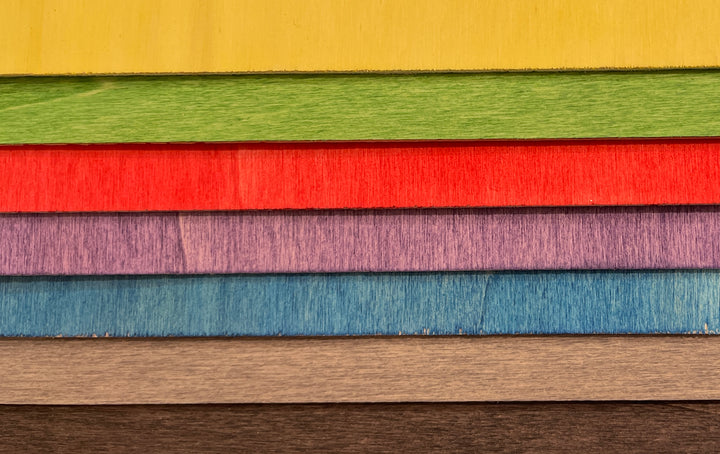
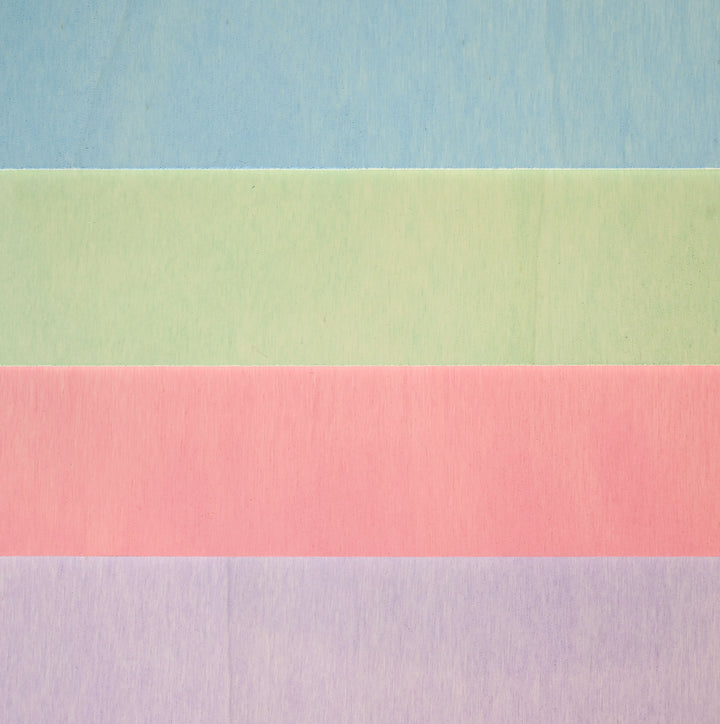
- Mr Beam's pastel poplar plywood in green, blue, pink and purple
- additionally the yellow poplar plywood
- of course wood glue
- your Mr Beam
- some hay to line the Easter basket so that the eggs and chocolate bunnies lie softly and don't break so easily.
- the file from the Design Store
Mr Beam poplar plywood coloured (different colours)
Sale price
From £18.00 GBP

Mr Beam poplar plywood 3mm, pastel, A3, economy pack (4 colors)
Sale price
£54.00 GBP
Mr Beam poplar plywood 3mm, pastel (various colors)
Sale price
From £18.00 GBP
The file for your modern DIY Easter basket
So you start your Mr Beam and open the Mr Beam software in your browser .
In the top bar you will find the “Design Store”. The design for this Easter basket can also be found under the “Easter” category.
Click on the orange Beam Coins to pay for the design and upload it to your workspace. The cutting lines are each in the corresponding colours of the pastel-coloured poplar plywood. This makes it easier to assign the individual parts to the wood colours and at the same time to be able to skip the elements that cannot be lasered in the respective laser job.
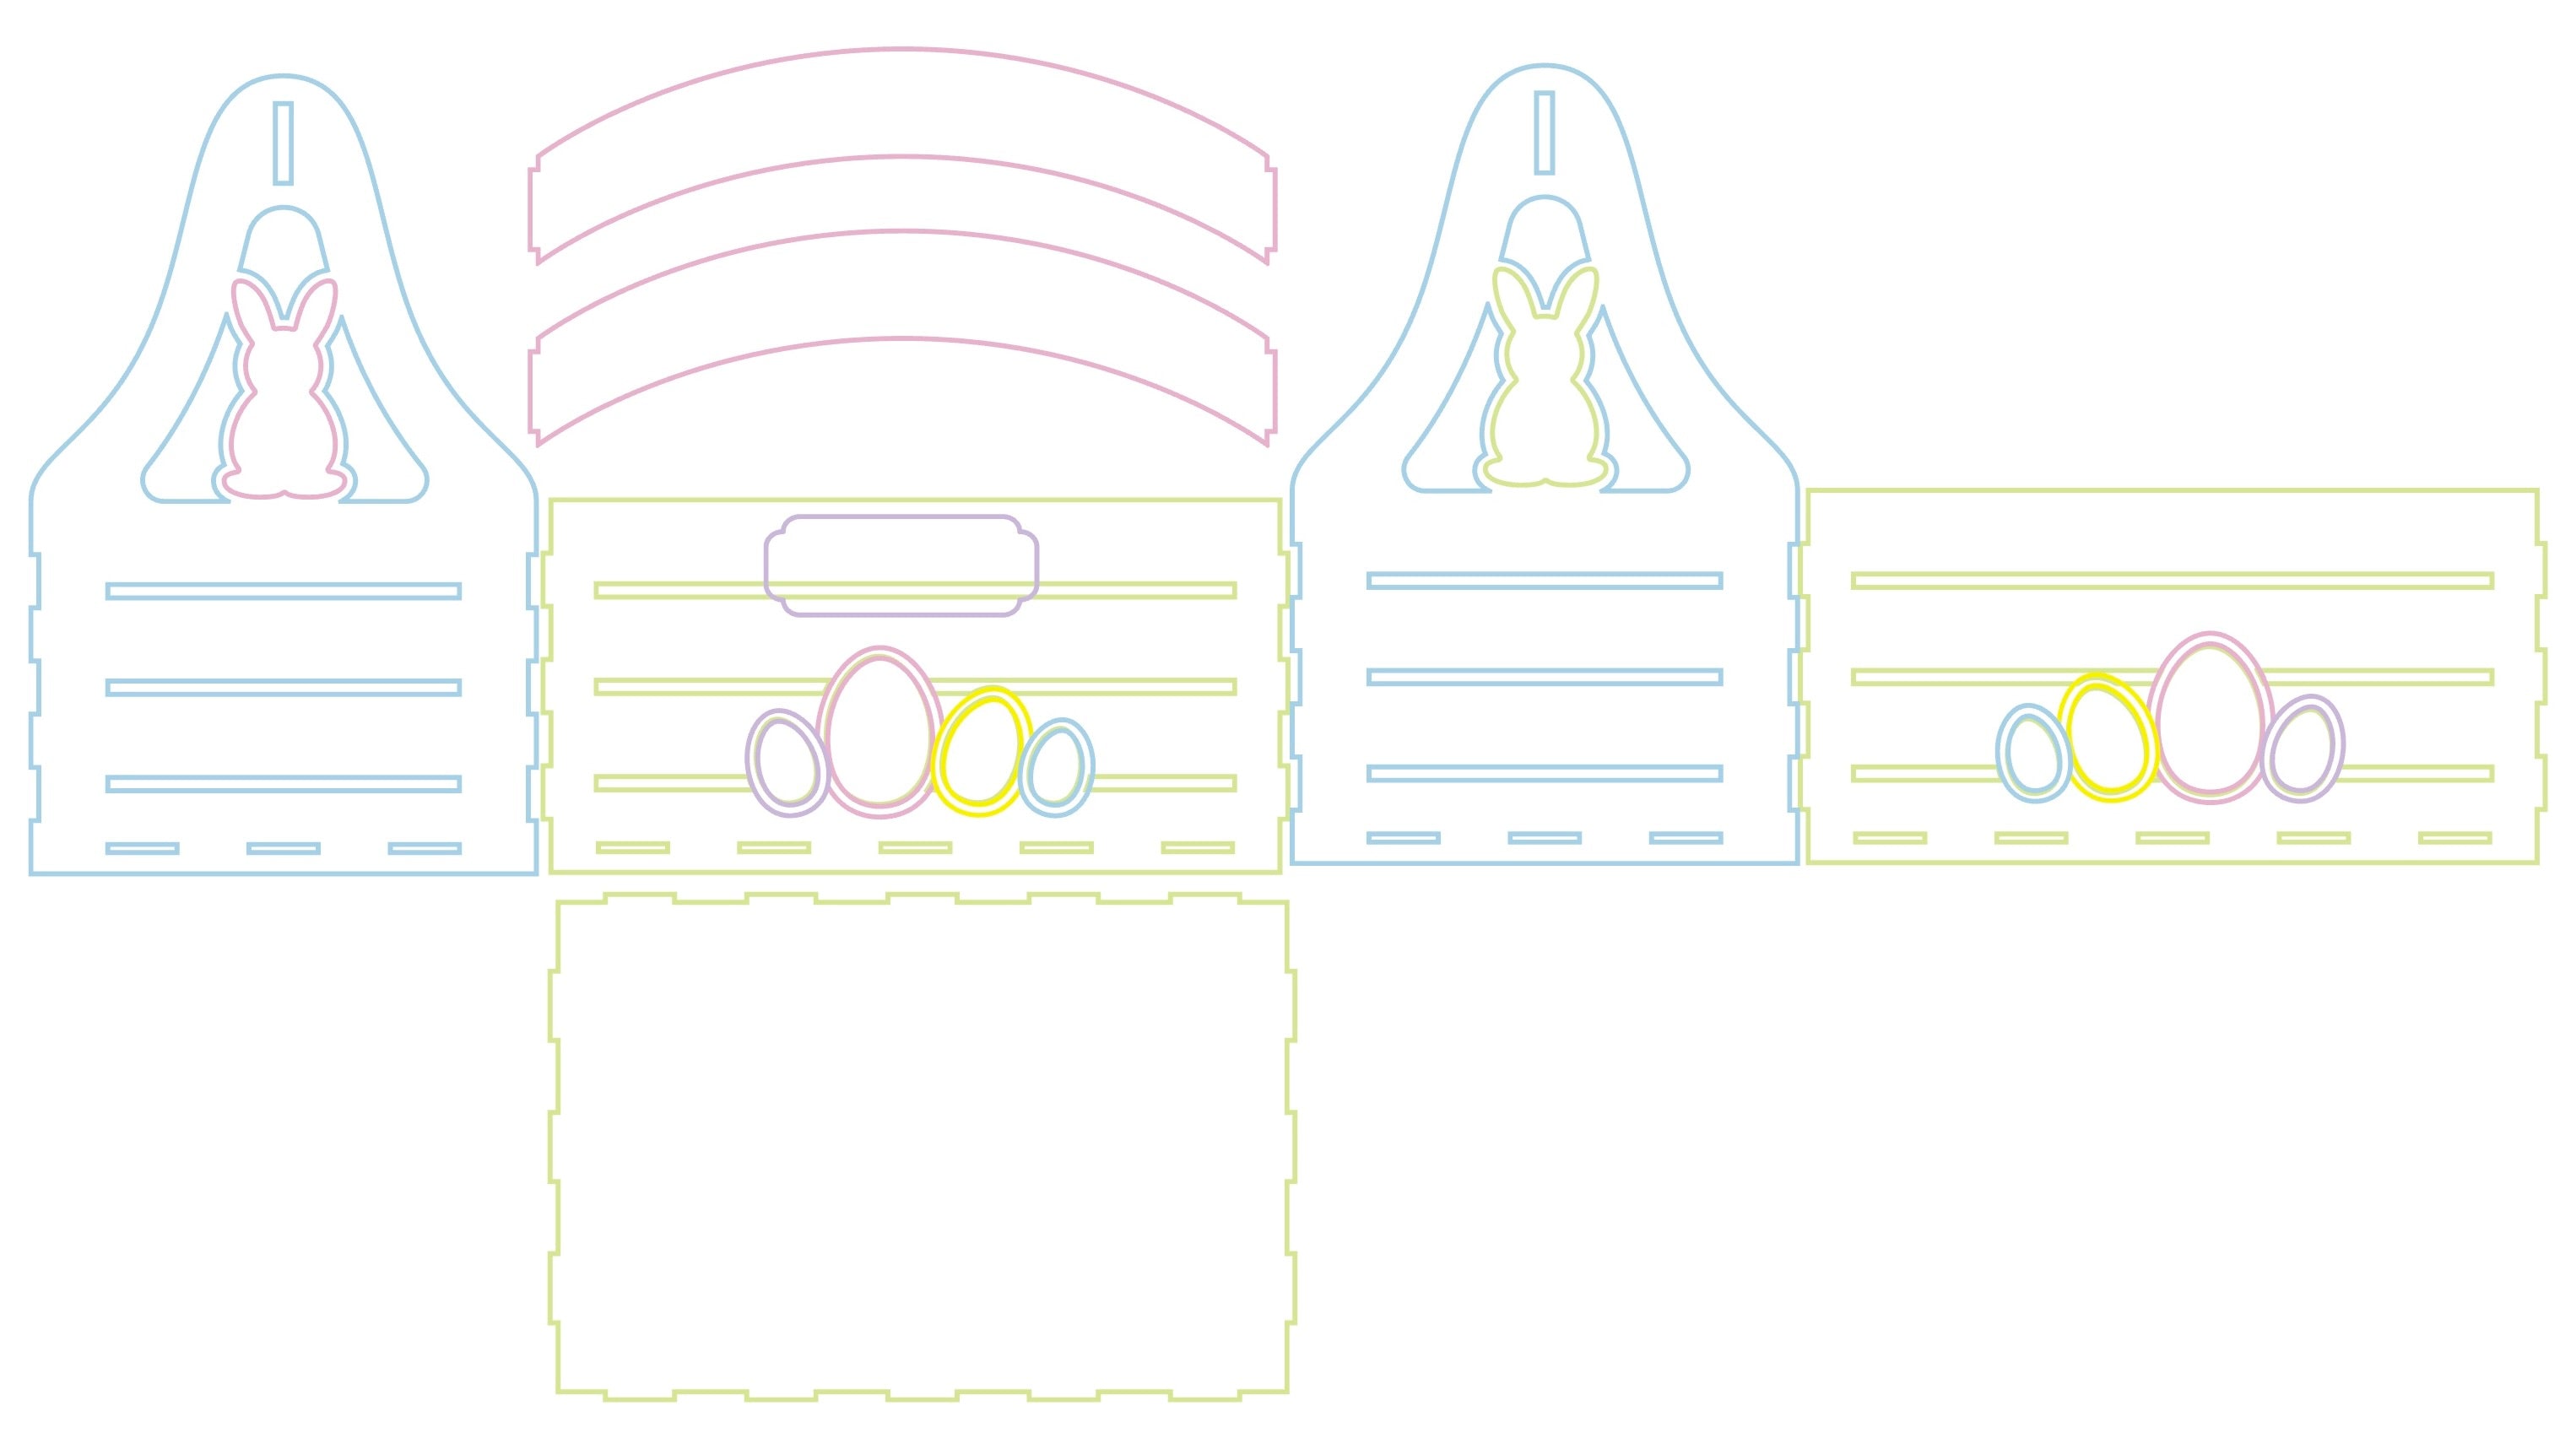
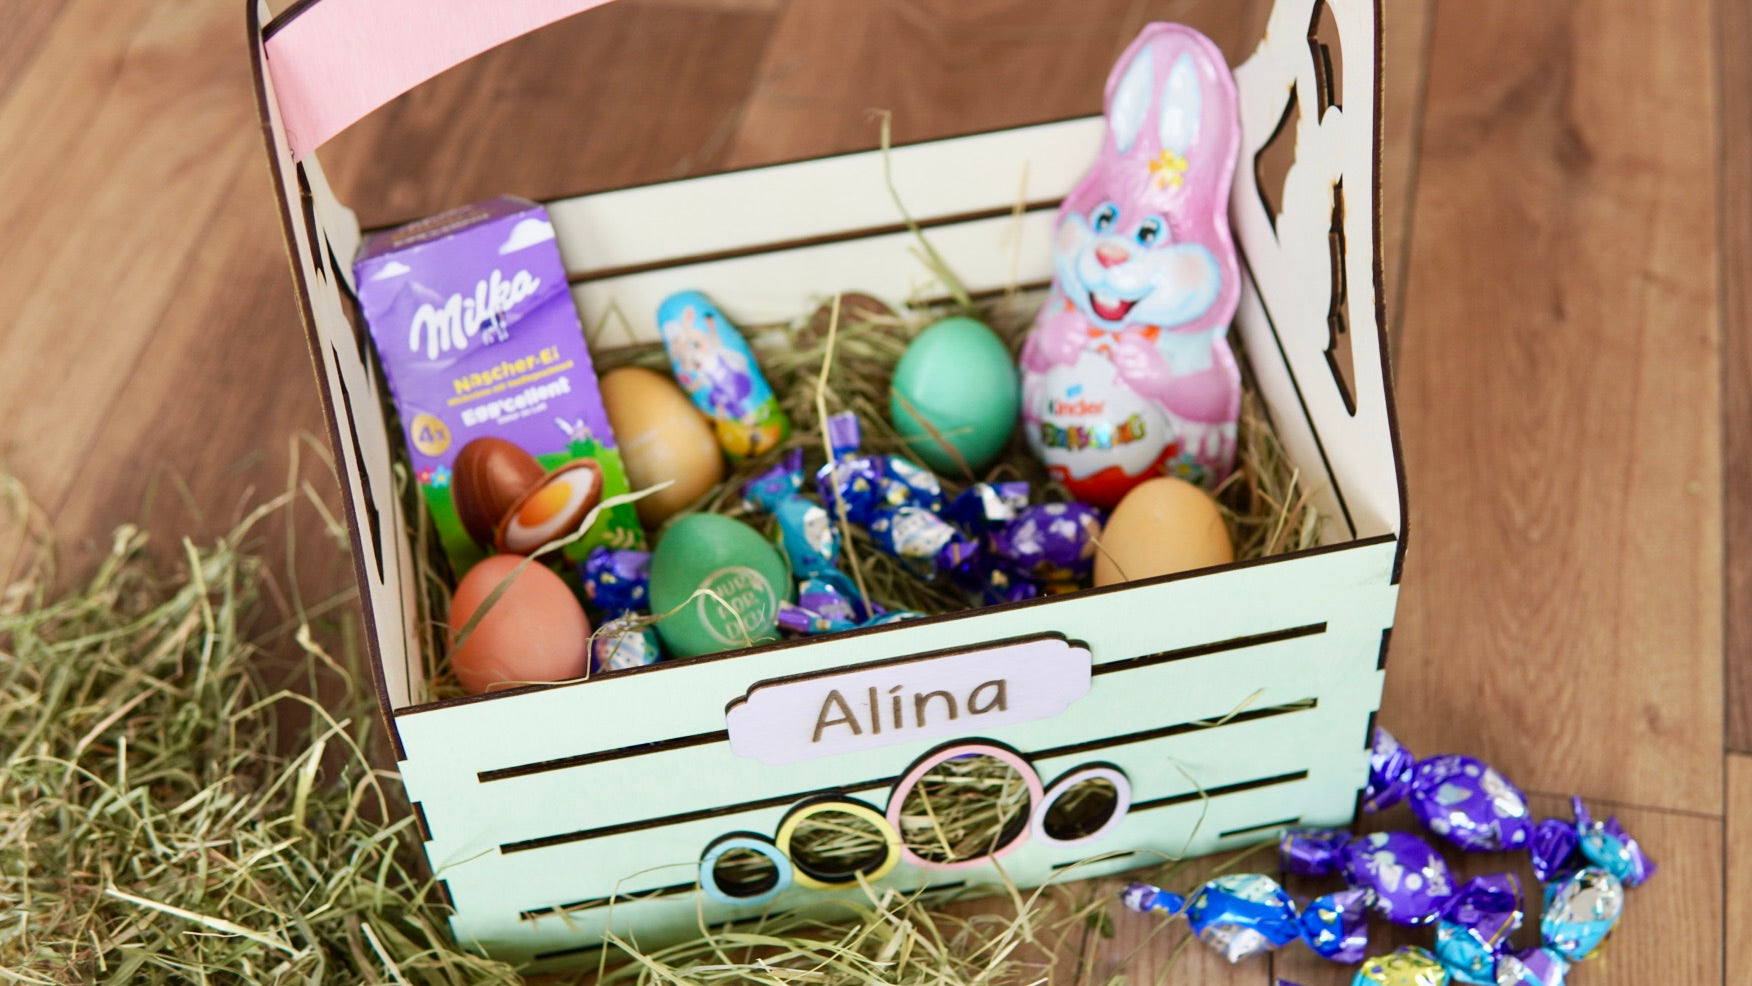
For example, you can use the sign on the side of the Easter nest to personalize it so that there are no mix-ups during the Easter tradition of egg hunts - and afterwards.
Why does the Easter basket look like this?
I thought for a long time about what our Easter basket should look like and what requirements it should meet, and then decided that it definitely had to be big enough so that nothing could fall out when collecting it. At the same time it has to be stable , i.e. no delicate elements that can break quickly and what is actually most important to me now is that the children cannot injure themselves on any corner or edge when putting their prey in and that they can put everything in easily.
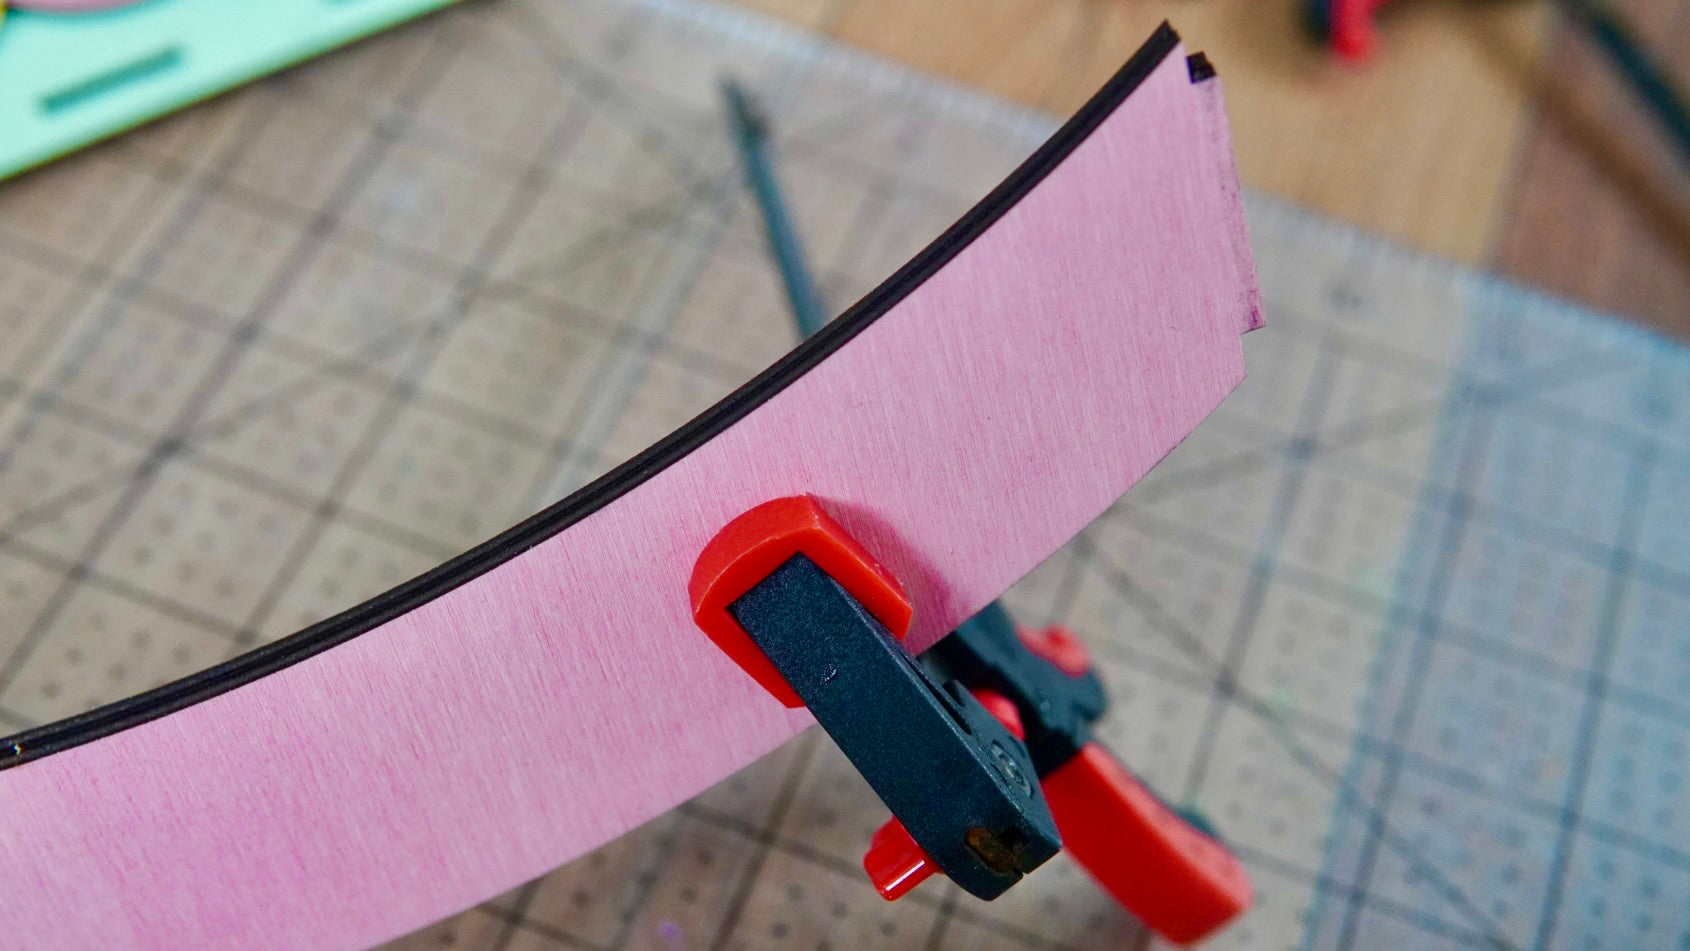
I also reinforced the carrying handle by making it consist of two handles that are glued together, thus achieving a thickness of 6 mm.
That's why the Easter basket turned out the way it is now.
Laser your modern Easter basket
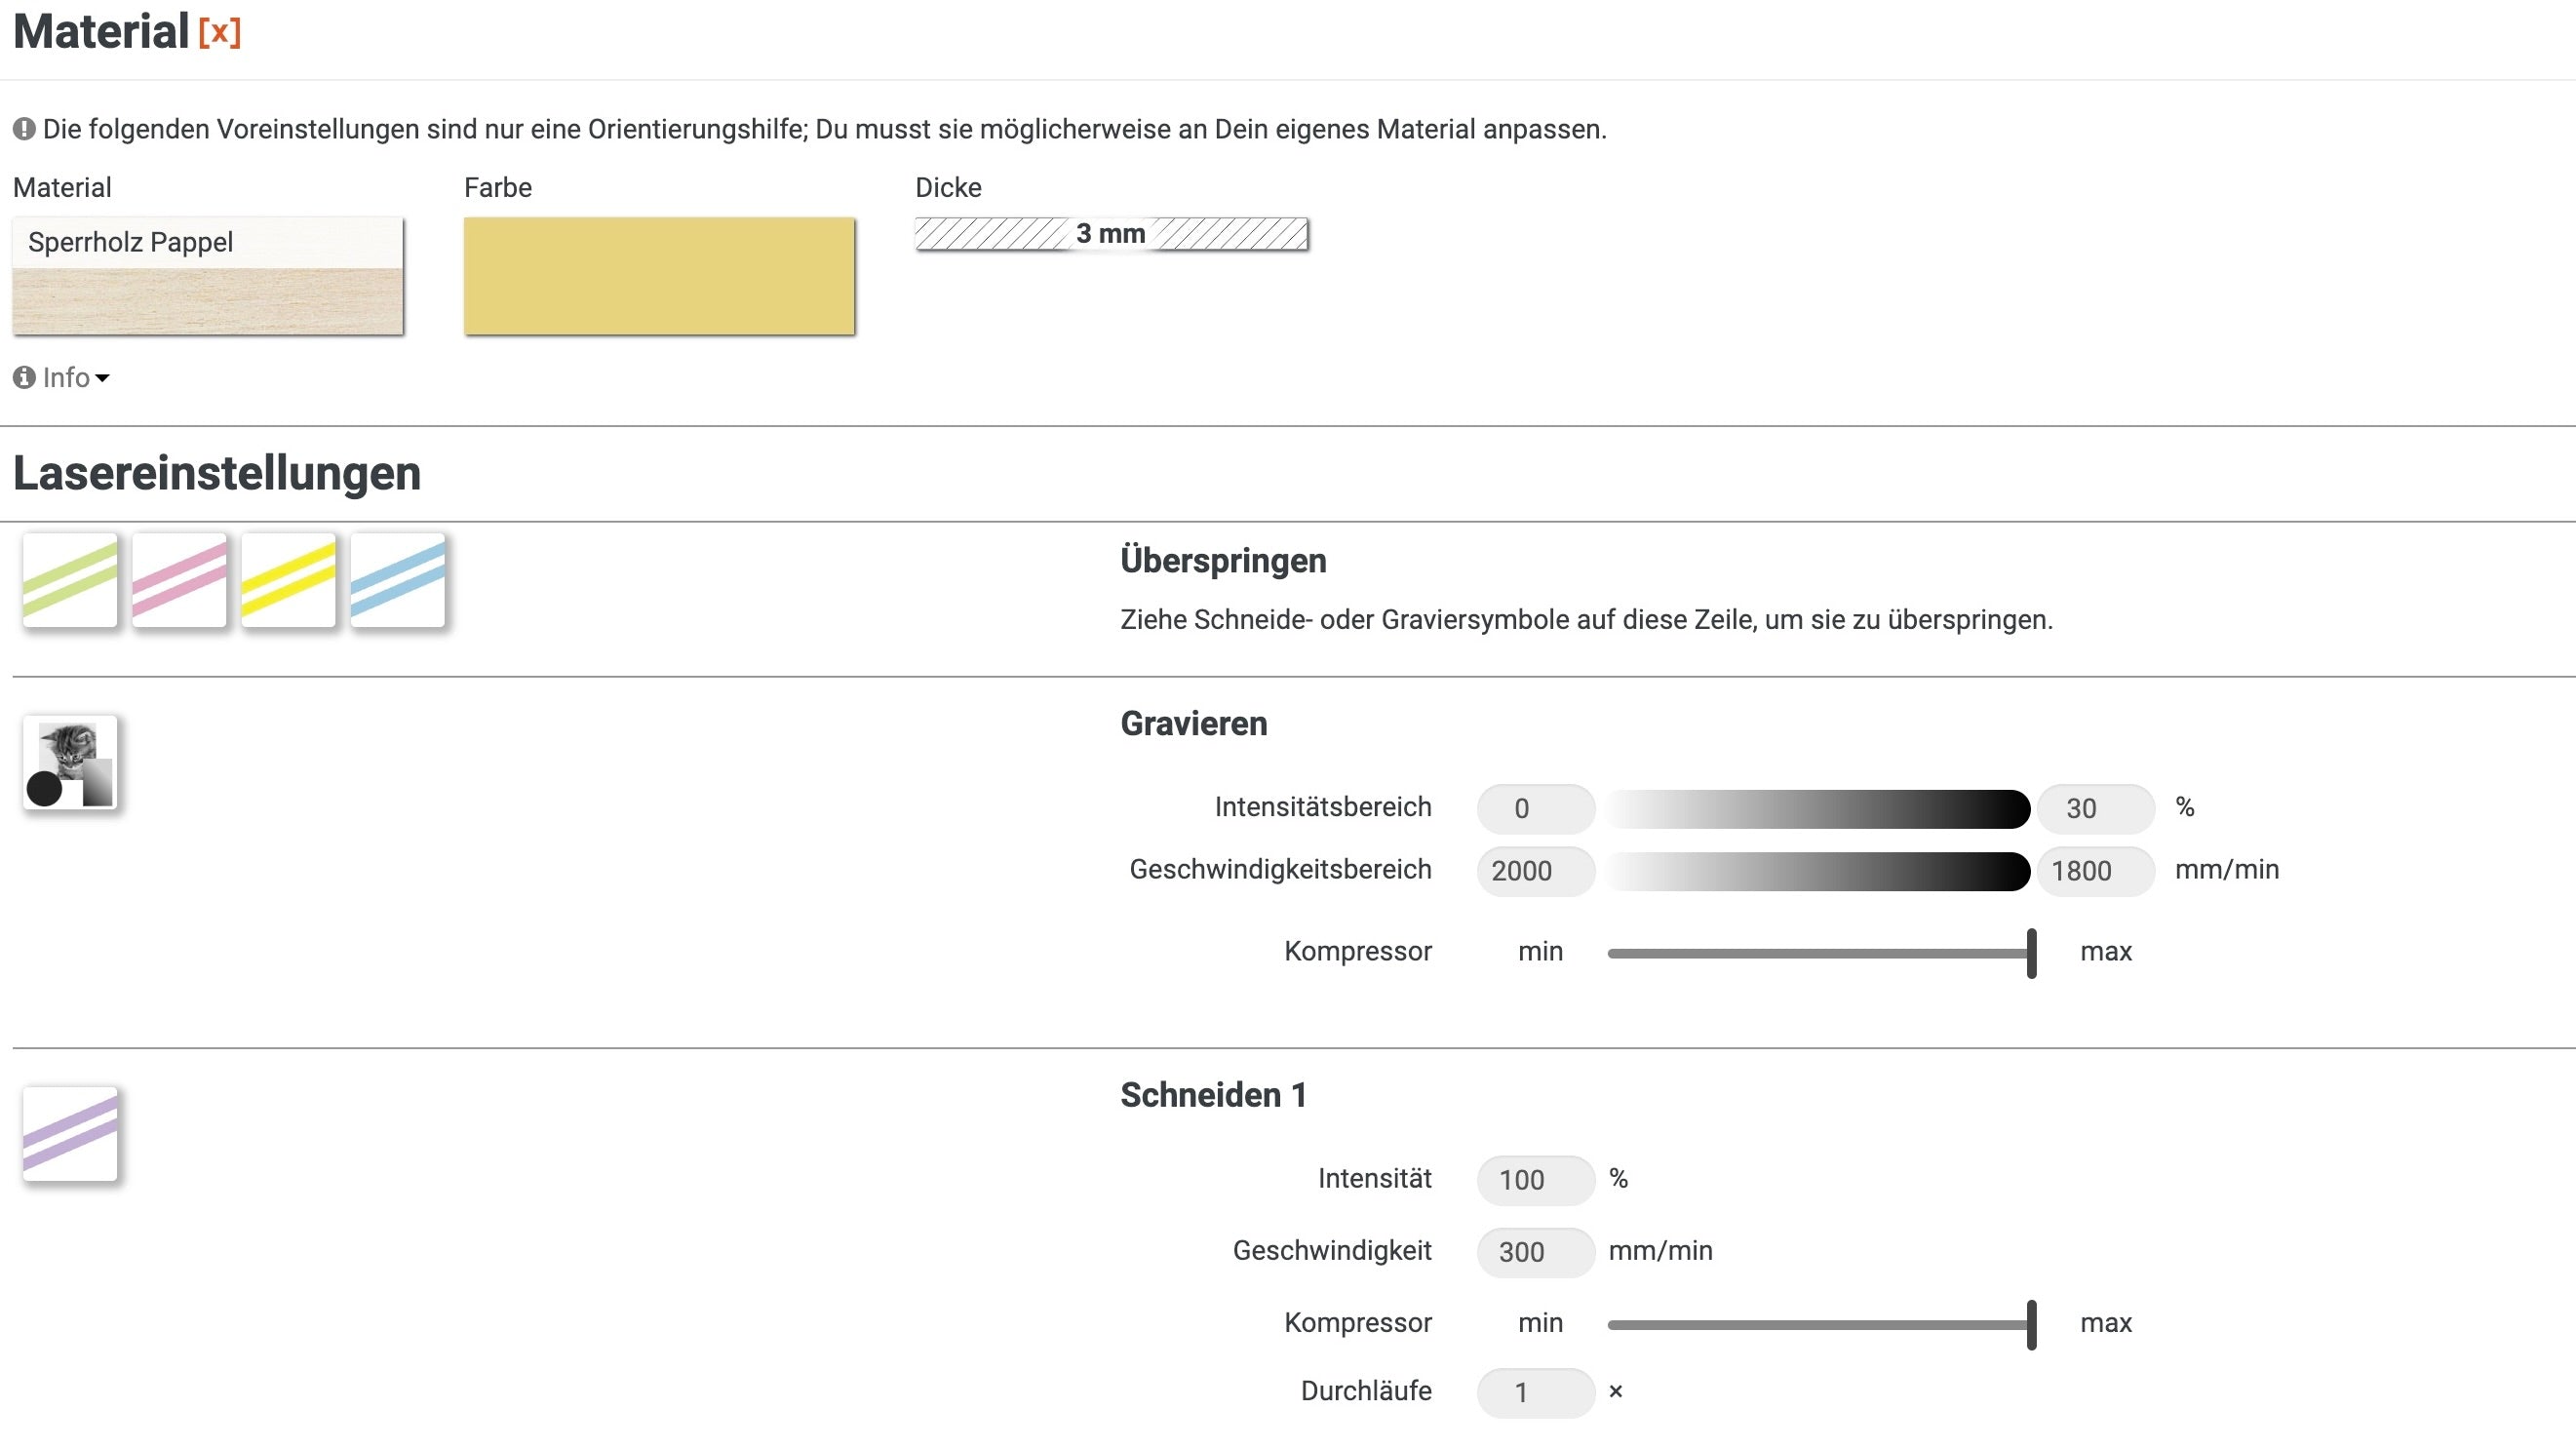
For your Easter basket, you need plywood in the four pastel colours and plywood in yellow.
For each colour of the cutting lines, you now place the corresponding colour of wood in the Mr Beam, focus the laser head and laser the respective parts for your modern DIY Easter basket.
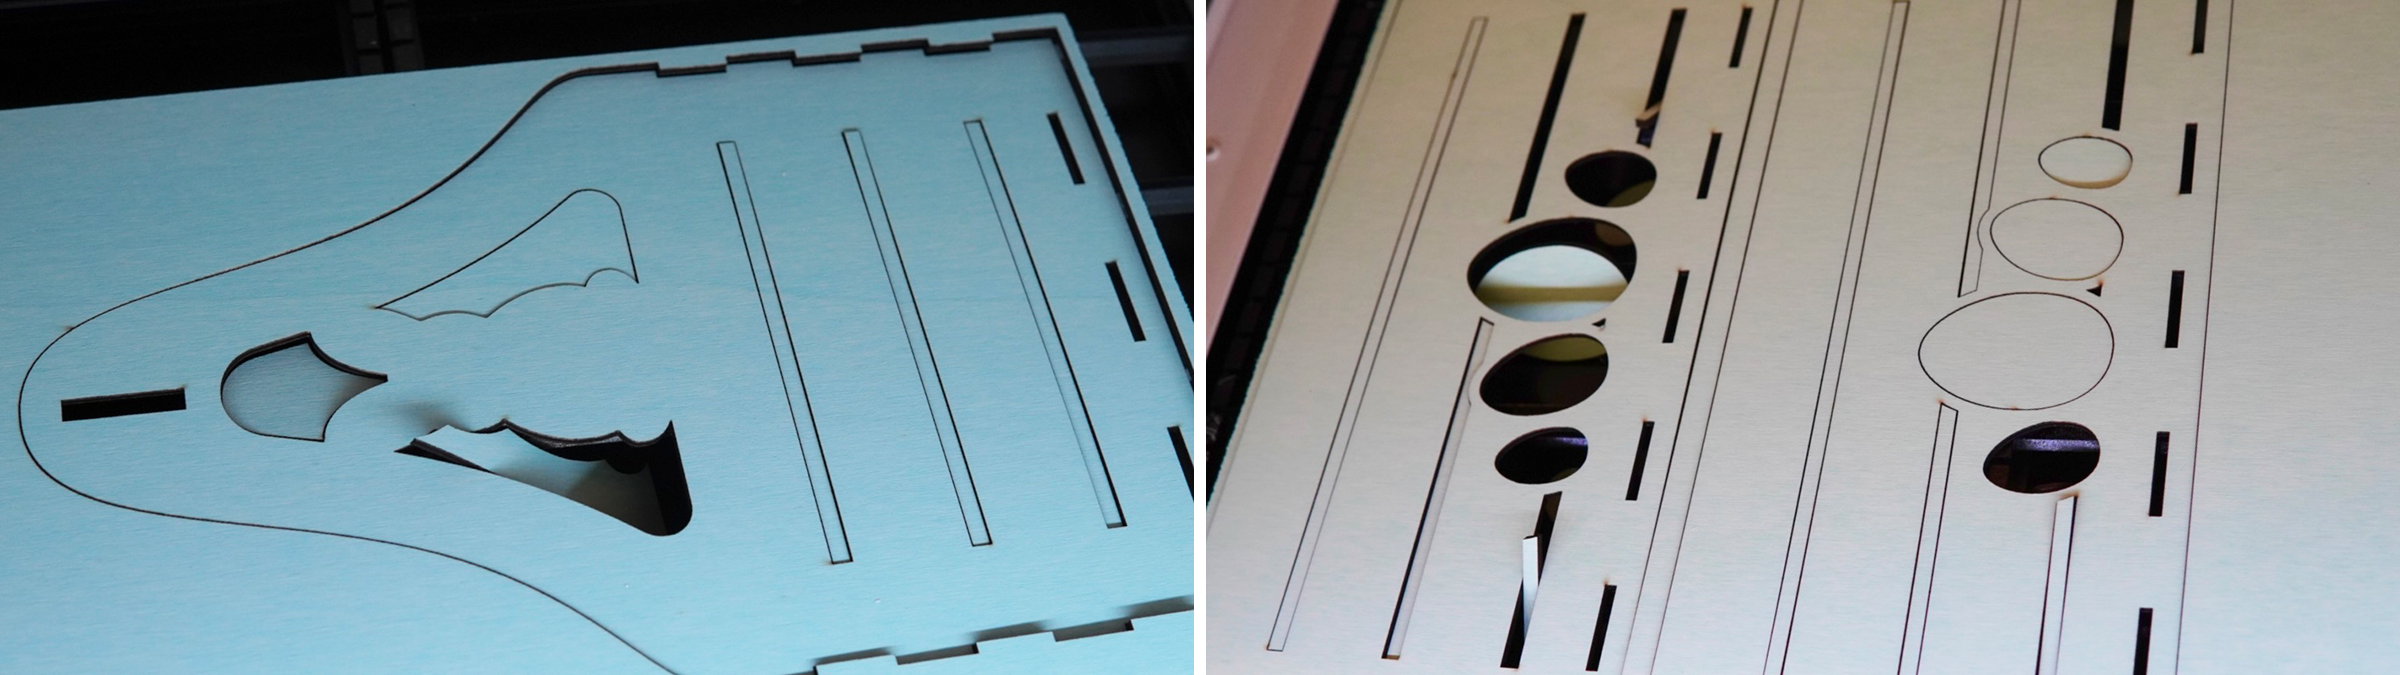
To do this, always “Skip” the colours that should not be lasered.
Personalize your modern DIY Easter basket
There is also a name tag for the Easter basket to easily personalize it.
You engrave the name on the sign made of the pastel purple plywood.
To do this, click on “Text” in the work area of the Mr Beam software, type in your desired text and select the font.
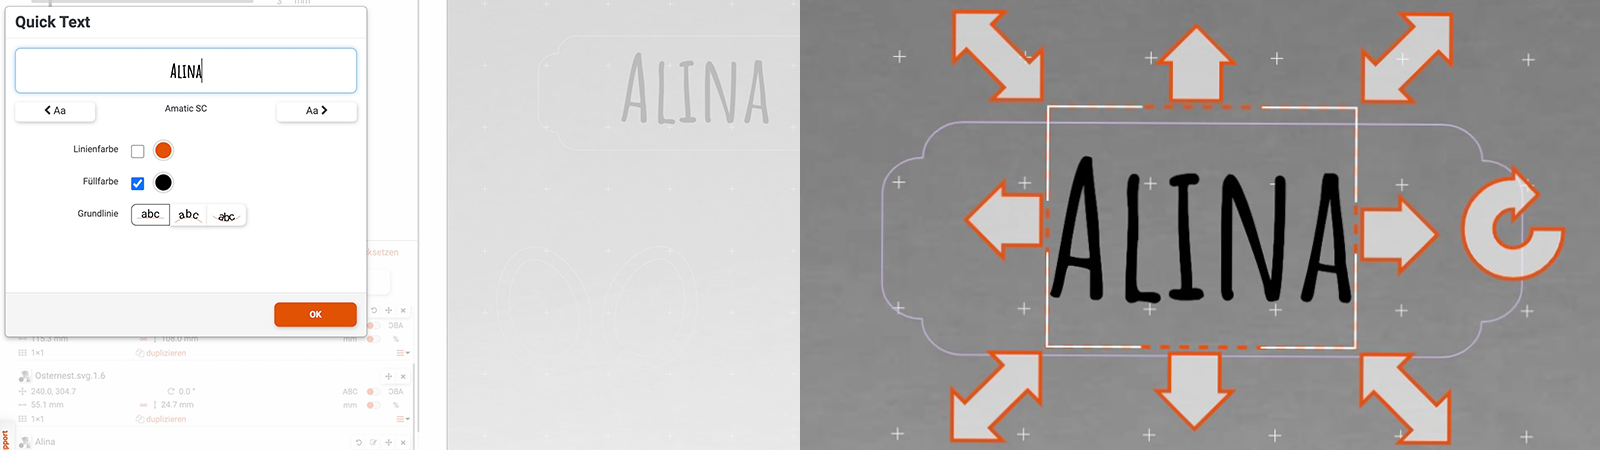
You can adjust the position of the name and also the size in the preview after clicking “OK”. Alternatively, you can select a font in your graphics program and create and insert the name there. Then you start the laser job by skipping all colours that are not required and only lasering “purple” and of course the engraving.
Put together your modern Easter basket
The first step is to decorate all sides of the Easter basket. To do this, apply wood glue to the back of the eggs, rabbits and also the name tag and press them firmly in the respective areas for a few seconds so that the glue can set better.

The bunnies are glued to the middle of the bunny shape. The eggs fit exactly as a kind of frame around the egg-shaped holes in the Easter nest. And you can position the name tag freely, it doesn't have a fixed place. I glued it in the middle over the eggs.
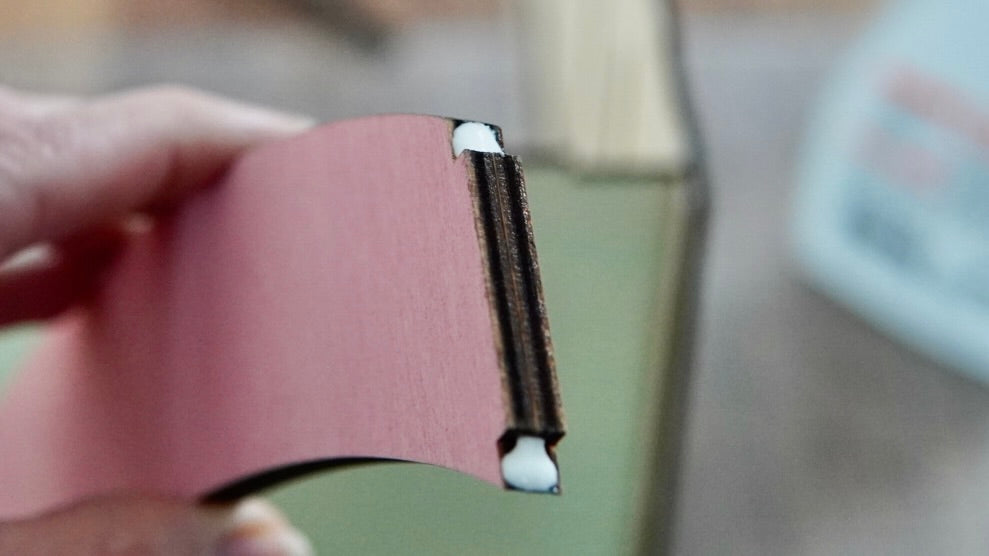
The carrying handle is then glued together.
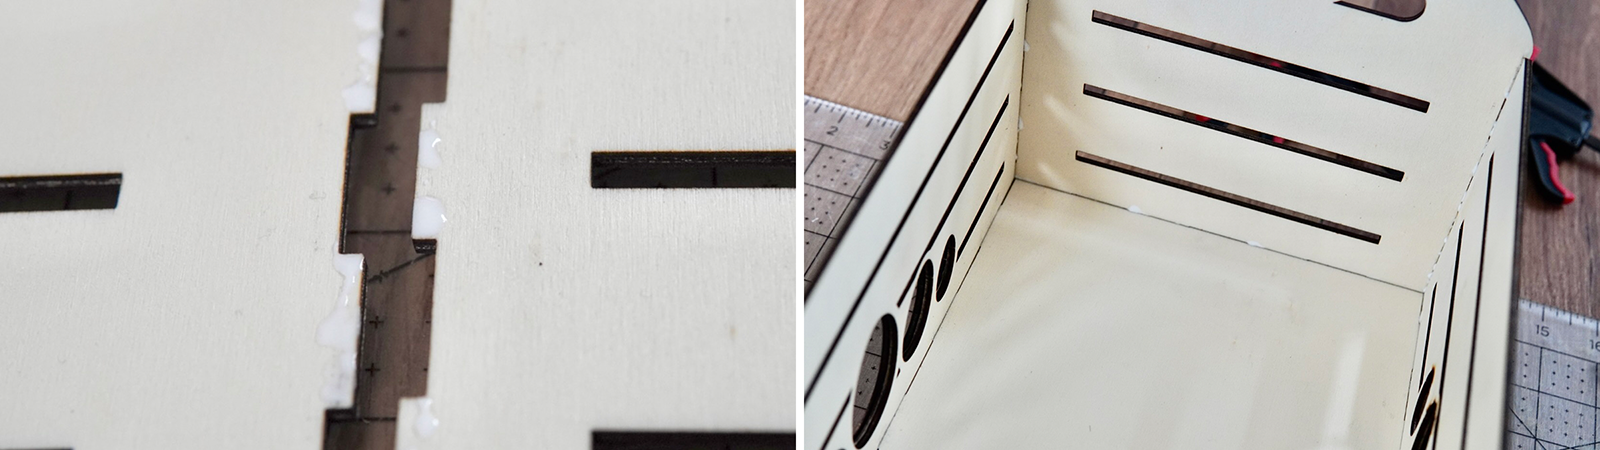
Now your modern Easter nest is almost finished, because now all you have to do is glue the sides and the bottom together by applying wood glue to the protruding tines of the side parts of the Easter nest and the inner areas on the edges of the bottom, then your Put the Easter basket together and let it dry.
To attach the carrying handle, put some wood glue in the corners. Both ends are now inserted into the slots provided.
You may have to bend the wood of the Easter basket slightly outwards on one side in order to get the carrying handle in between and be able to push it into the opening. To ensure that your Easter basket is fully resilient as an Easter basket, it is best to let it dry overnight.
I hope you have fun imitating and of course hunting for eggs with your self-made modern Easter basket! Last tip: You can engrave coloured eggs with the Mr Beam. - it couldn't be more personal. 🐰
Happy Easter wishes
your Rina