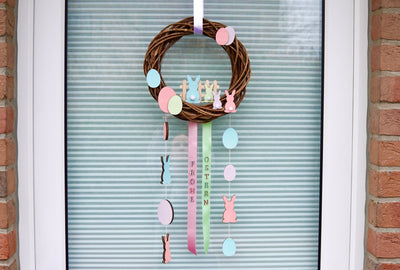
Easter is in a few weeks! After Christmas, this is probably the most intensive handicraft time of the year, or how about you?
I'm starving for colours after winter, I look forward to every blossom in the garden or along the way that fights its way to the top.
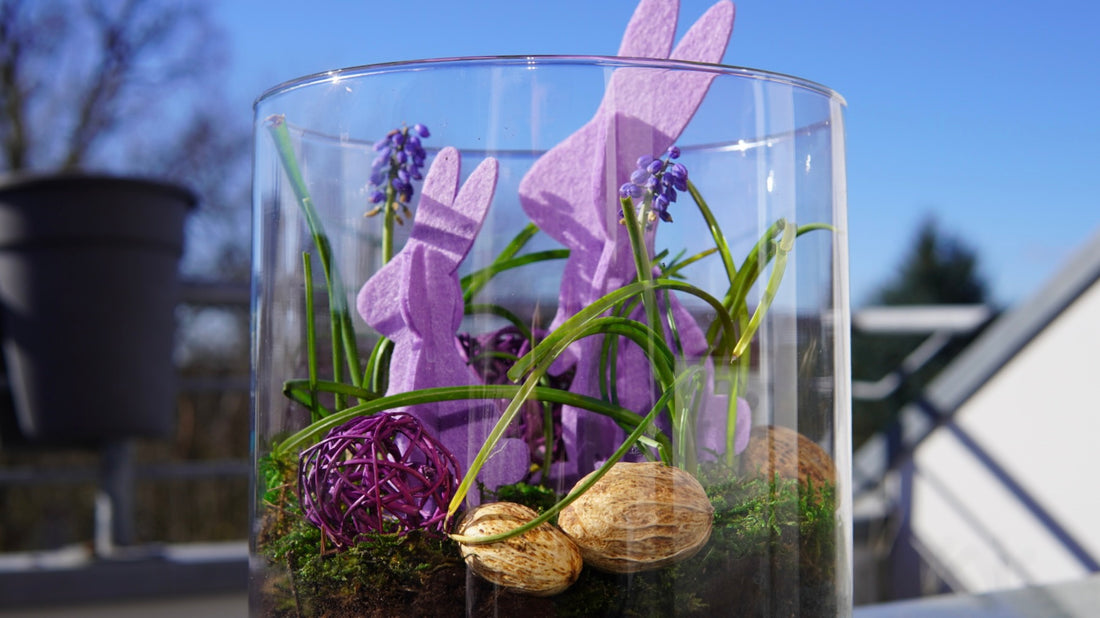
Yesterday I simply stole two grape hyacinths from our garden because I also wanted to have some colour on the table.
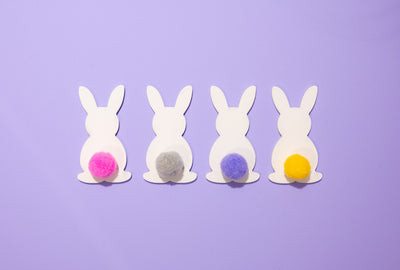
And because "just flowers" is too boring and thanks to my Mr Beam I was able to conjure up a few highlights for my Easter decorations so quickly, two DIY Easter bunnies made of felt had to be added.
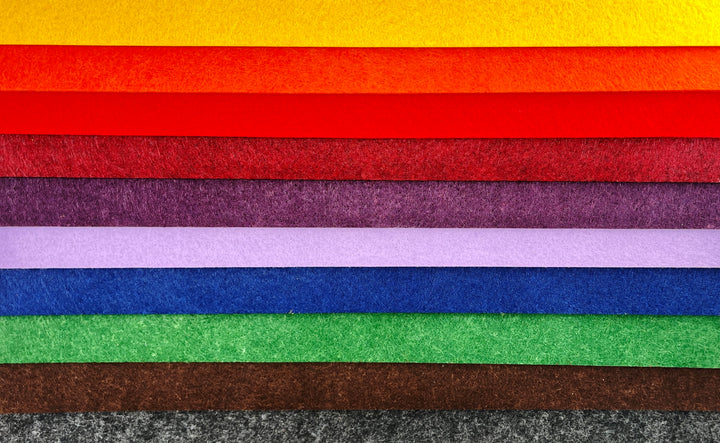
- of course felt in your desired colour, here is a light purple to match the grape hyacinths
- a large decorative glass / lantern with a diameter of about 20 cm
- some earth
- moss
- two to three spring flowers with bulbs of your choice, here it is blue grape hyacinths
- small, matching decorative elements
Prepare the decoration for your DIY felt Easter bunnies
So that your hyacinths can get back into the soil quickly, first fill your decorative glass with enough soil so that the bulbs can disappear about halfway into it.
Now, you plant your grape hyacinths. Distribute them evenly in the glass so that there is still enough space in the middle for your felt Easter bunnies and a little more decoration.

The hyacinths should now be watered a bit.
Moss as a green carpet for your felt Easter bunnies
It brings a little more green into the decoration and then forms the base for your felt Easter bunnies.
You can collect moss in your garden and dry it, or you can buy it, prepared, from a florist, in a well-stocked craft store or in some online shops.
In this blog article on preserving moss, I have shown you how you can preserve the moss you have collected yourself instead of simply drying it.
Preserving your moss for your felt Easter bunnies will prevent it from losing its beautiful green colour and also from becoming very vulnerable to drying.
You can use prepared moss again and again without any problems, and store it in a box or plastic bag when not in use.
Spread your moss pieces around your grape hyacinths until the potting soil is completely covered. The preserved moss can also be easily cut into suitable pieces or carefully torn. Now the bulbs of your hyacinths are no longer visible, or at least you can hardly see them.

Preparations for your felt Easter bunnies
Felt lasered by Mr Beam - just great! You can conjure up beautiful things with it so quickly. With an engraving, you can even set a highlight and coasters, key rings, table decorations and much more are ready.
In the Mr Beam Shop under "Material & Accessories" you will find a light lilac tone for the felt, which goes very well with the blue-lilac of grape hyacinths.
Mr Beam trial pack felt box
Sale price
CHF 40.00
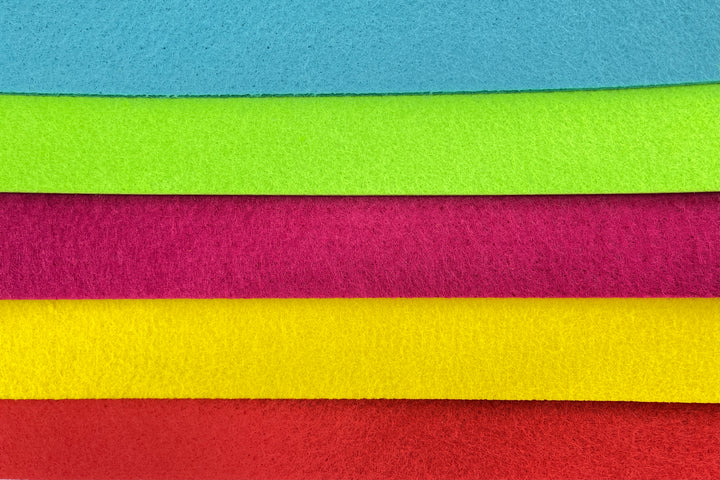
Mr Beam Acrylic felt, 3mm, A3, 5 Pack, neon colours
Sale price
From CHF 16.00

For my standing felt Easter Bunnies, I used the EasyPeasy 3D Bunny file from Mama's Stuff. In the file you will find several rabbits with cut-outs of different widths for plugging together.
Since the felt from the Mr Beam Shop is 3 mm thick and this also ensures good stability for your Easter bunnies, create a small 3x3 mm square in your graphics program, such as Adobe Illustrator.

Now you scale the Easter bunnies so that the gaps are as wide as the square and therefore as wide as your felt. That's done quickly.
This creates several Easter bunnies of different sizes.
Pick the two Easter bunnies that are the most sized for your decoration. After scaling, my Easter bunnies are about 12 and 17 cm high.
Felt Easter Bunny from Mr Beam
Start your Mr Beam and open the BeamOS.
Save the two Easter bunnies, first scaled in your graphics program, on your hard drive and then drag and drop them into your workspace in BeamOS.
Your file is that easy in one step, both in your design library and in your workspace, ready for lasering.
Now put your purple felt in the Mr Beam.
I use Mr Beam Shop cutting mats whenever possible. Simply because it means significantly less cleaning effort overall.
Of course, you then have to take the height of the cutting mat into account when setting the object height.
Align your Easter bunnies on your felt using the camera image to save as much material as possible. You can then go to the laser settings via “Laser”.

The settings for "Felt" are already stored with many colour tones. For your purple felt, choose the shade that most closely resembles purple.
Start the laser job. The two EasyPeasy 3D felt Easter bunnies are really easy peasy and, above all, lasered superfast from your Mr Beam.

Just take them out, put them together and they can go to your flowers.
Off to the glass, you Easter bunnies
Place your felt Easter bunnies slightly offset in the middle of your decoration.
Now you can distribute other decorative elements in natural tones or in a similar purple on the moss between the grape hyacinths.
If the sight of the potting soil bothers you, you can tie a border made of jute, for example, around your glass at the top, or as a first step, even before you fill in the soil, moss all around the bottom, with the green side facing out, in place.
I hope you have fun imitating it - and enjoy the first warm rays of sunshine!
Your Rina