
A guest book for a wedding or a birthday is a nice way to say a few personal words to the wedding couple. It is also suitable as a gift to the bride and groom. Maybe even unannounced and secretly filled out by all guests at the party.
And no matter whether you want to make this guest book for yourself, for your siblings, for your parents, for friends or relatives, it will definitely be a great souvenir of a unique day. And in this tutorial, I'll show you how you can use the Mr Beam to laser a beautiful, personalized guest book for your wedding.
Material for your wedding guest book

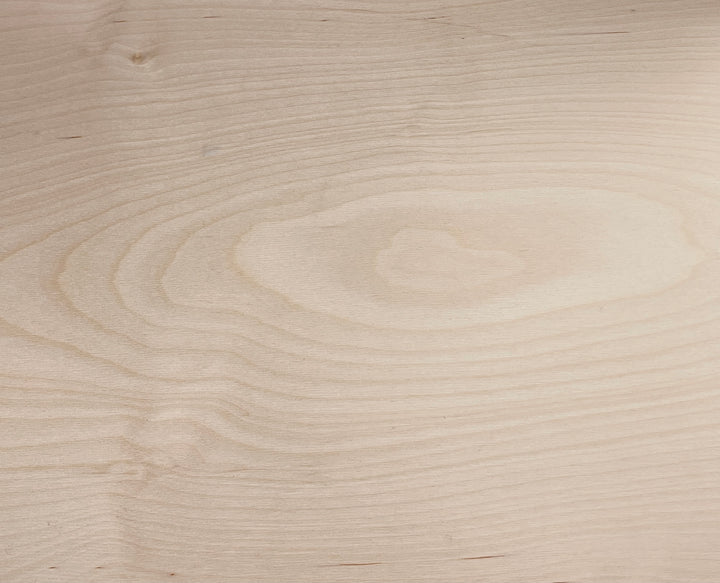
- Birch plywood 3mm
- 1 - 2 mm thick felt in the colour of your choice
- Double-sided tape
- Paper for the pages of your guest book, approximately A3
- Four book screws. The sizes of the book screws depend on the thickness of wood and felt you use and how many sheets you are stapling into your guest book.
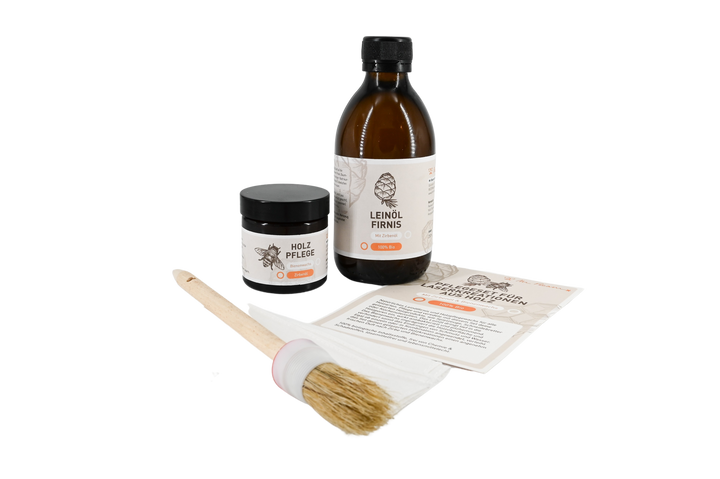
- Linseed oil varnish to make the personalized guest book more resistant.
- Cotton cloth or brush for applying the linseed oil varnish.
- The guestbook file from the Mr Beam Design Store.
Plywood birch 5 pack
Sale price
£41.00 GBP
Mr Beam wood care set with stone pine oil and beeswax
Sale price
£59.00 GBP
Personalize your wedding guest book
You can find the guestbook file in the Design Store. Load it into your design library and open it in your workspace.

You can recognize the cover by the engraving. The back is the rectangle next to it with the blue cutting line. The green line is the file for the guestbook leaves and purple is the cutting line for the felt. The felt is then the connecting piece and the folding mechanism of the book cover.
Personalize your wedding guest book
There is enough space under the word “guestbook” to personalize it.
You can include the bride and groom’s names and date, or the word “wedding party.”
There are no limits to your creativity here, and you can create your very own wedding guest book. The lettering “Guestbook” was created using the “Stylish” font. This also gives you the option of adding words in the same font to your graphics program. For example, Affinity Designer, Adobe Illustrator or Silhouette Studio are suitable for this. Or you can use the pre-installed fonts in the workspace of the Mr Beam software.

Laser engraving your personalized wedding guest book
You will need birch plywood for the cover and back.
In the specified size, the front and back of the guest book do not fit on a DIN A3 birch plywood board. Of course, you can also shrink the entire file.

Since I discovered a knothole on the edge of my plywood board and wanted to prevent any problems with lasering in advance, I marked the end of the knothole with the focus tool. So I was able to move the file accordingly in the camera view.

The laser settings for birch plywood are already stored in the Mr Beam software. After cutting and engraving your birch plywood for your personalized wedding guest book, place the thin felt in the Mr Beam and have the connector for the cover lasered.

Then all that’s missing are the pages of your guestbook. You should laser enough of this so that all guests have enough space for their entries. If the pages are still empty afterwards, you can take them out again.
Choice of paper for your guest book
Which paper you use for the wedding guest book is up to you. I recommend using thick enough paper to prevent thicker pens from showing through. Thicker paper is also more tear-resistant.
Make the wedding guest book resistant to small accidents

It's easy to spill a drink at a party, and in the worst case scenario, exactly where the guest book is.
You won't be able to get the stain or the smell out of the wood so quickly.
Treating the birch plywood of the guest book with linseed oil varnish also helps against greasy fingerprints or other small accidents.
In the blog article “What is linseed oil varnish? Mr Beam explains it - you will find out everything you need to know about linseed oil varnish and how to use it. The treated birch plywood for your personalized wedding guest book now needs to dry. This takes approximately 24 hours.
Assemble the personalized wedding guest book
When the varnish has dried, you can begin assembling the guest book.
Thread a book screw through the back of the guest book from below and staple the pages.

Then follow the felt and the narrow piece of the guest book cover. Now put on the counterpart of the book screw and screw it tight.

Stick double-sided adhesive tape to the still visible part of the felt on which the large element of the cover will rest. Of course, you leave out the holes for the book screws.
Now the smaller book screws follow. First, you push them through the felt from below. Then remove the foil from the double-sided adhesive tape and position the cover appropriately on the book screws and screw the counterparts tight.

Why the double-sided tape?
The double-sided adhesive tape prevents the felt from standing out unattractively when opening the personalized wedding guest book. You can clearly see the difference in the two pictures below.

The personalized guest book for the wedding is ready, and your guests can immortalize themselves.
Oh, I see someone is already writing in there?!

I hope you have fun copying it and if you make the guest book for your wedding, then have fun browsing it later.
Your Rina


