Okay, let's go through the Christmas gift list to see if you've thought of everyone.
Mum, dad, grandma, grandpa, your best friend, your buddy... great, you already have a present for everyone! Really all?! Oh crap, you forgot someone?
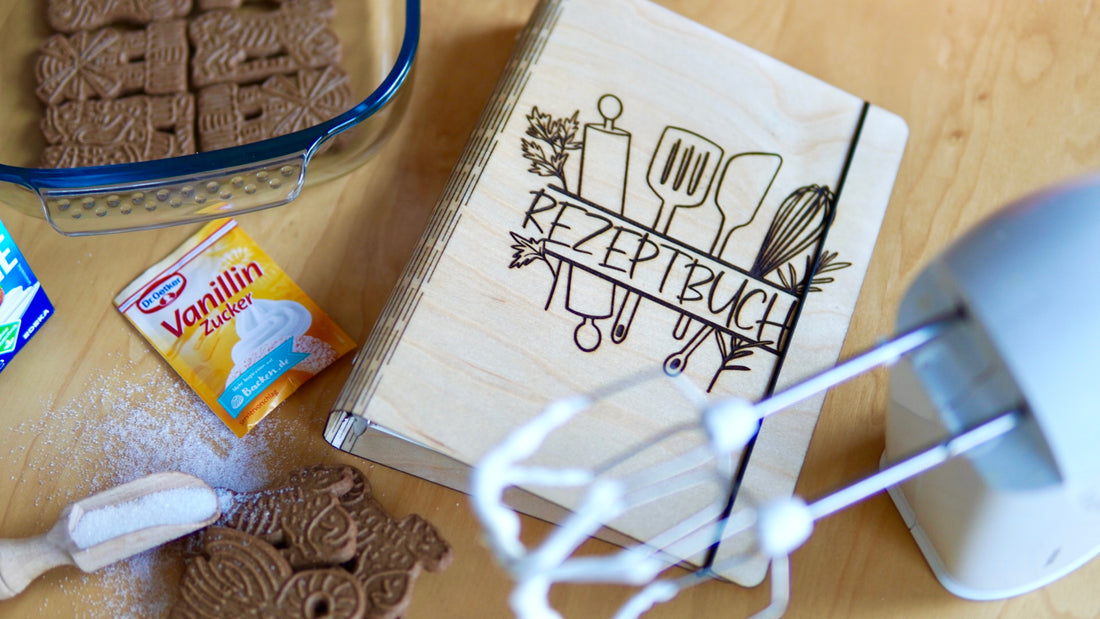
Your last minute Christmas present - a personalized recipe book from Mr Beam
Family recipes from mom or grandma, or for your own creations - everyone can use a recipe book for their own creations. You can find the right file for the personalized recipe book in the Mr Beam design store . It is designed for a sheet size of Din A5 and includes the book form with corresponding holes for the elastic closure and for the rivets of the ring binder mechanism.
Of course, you can also adjust and move the holes to suit your needs.
In order to be able to use this book form more individually, no engravings are included.
You can use them as a recipe book, guest book, notebook, calendar, diary or bullet journal. The possibilities are really diverse!

Everything you need for your personalized recipe book as a last minute gift
- Birch plywood in 1-2 mm thickness.
- Linseed oil varnish and a brush or cotton cloth for application.
- a ring binder mechanism with matching rivets or binding screws.
- Sheets in Din A5, preferably directly with matching 6-hole punching.
- Rubber to close the recipe book.
- the file from the Mr Beam design store and of course your Mr Beam.

Lasering your personalized recipe book to write yourself
Simply load the file from the design store, and you're good to go, but your personalized recipe book still needs a nice cover, an engraving for the spine and the name of the future owner for personalization.
In your graphics program, for example Adobe Illustrator or Affinity Designer, you can create a suitable engraving for your personalized recipe book.
On the cover there is an area of approx. 15.5 cm × 22.5 cm for your engraving, on the spine 2 cm × 16.5 cm between the two attachment points of the ring binder mechanism. To engrave the cover, I bought a kitchenware file and added the word “recipe book” in Bellagio font.
You can also personalize the cover with the name of the future owner. Or, like me, just discreetly on the spine with a "recipe book from..."

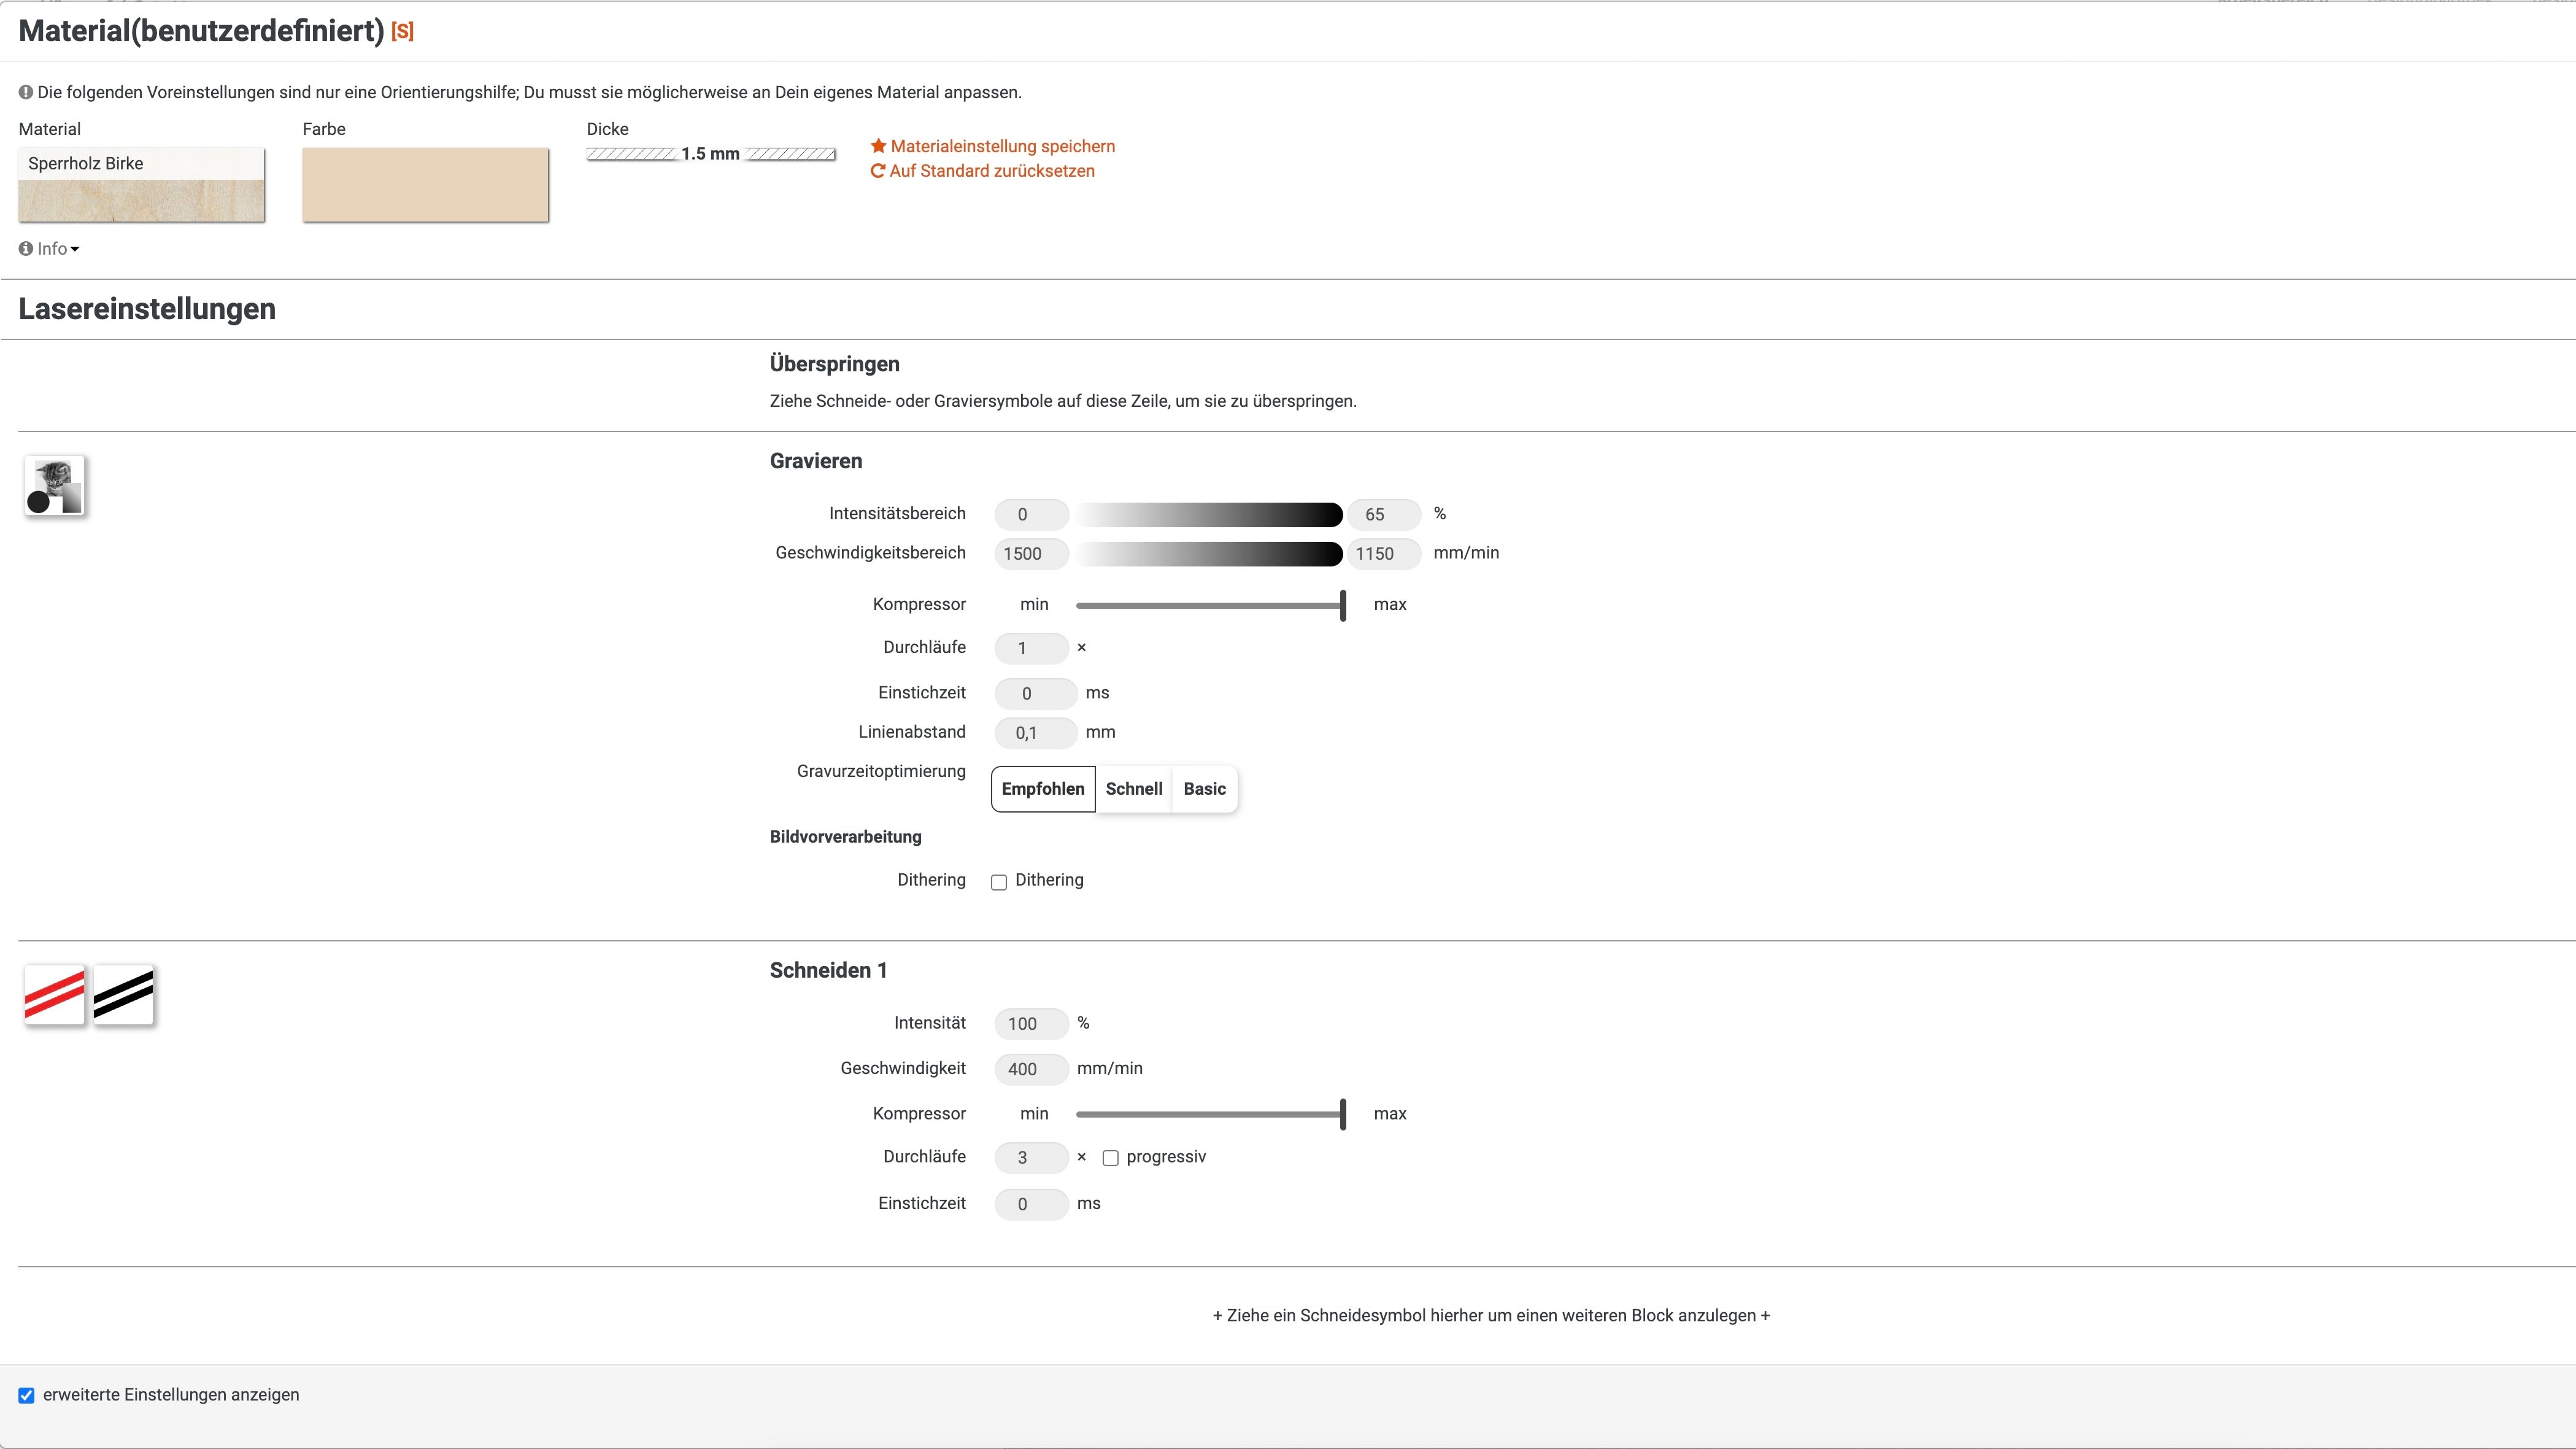
I slightly adjusted the laser settings for my 1 mm thick birch plywood. The default values are 1.5 mm, so I reduced the intensity of the engraving a bit and increased the cutting speed.
Make your personalized recipe book more resilient
You take your finished lasered book cover out of your Mr Beam and remove the soot residue with a dry and lint-free cloth or with compressed air.
Then you should treat the recipe book with linseed oil varnish to protect it from any splashes or puddles of water.
Why Linseed Oil Varnish?
Linseed oil varnish is a 100% solvent-free, ecological, traditional surface protection made from pure, cold-pressed linseed oil for indoors and outdoors.
It hardens due to the oxygen contained in the air. Depending on the temperature and humidity, full curing takes about three weeks.
But it's worth it. After drying, it is food safe and completely harmless to humans, animals and plants. It gives the wood a beautiful honey tone and also emphasizes the grain. The wood surface is protected against water after drying, but still breathable.

How do you apply Linseed Oil Varnish?
- Your personalized recipe book should be clean, dry and of course free of grease before you apply the linseed oil varnish.
- You should first shake or stir the oil well.
- Now apply it evenly to the birchwood with a brush or a cotton cloth.
- After about half an hour, you can remove excess oil with a lint-free cotton cloth, but of course it is better to avoid excess directly.
- Depending on the temperature and humidity, the surface is dust-dry after one to two hours.
- As already written above, full hardening is achieved after about three weeks. Until then, the recipe book should be treated with care.
Important: If you used a rag to spread, you should clean this soaked rag immediately after use or keep it in the water until cleaning, otherwise it could ignite itself. Heat is generated when linseed oil varnish hardens. If this heat cannot escape, for example in a crumpled rag, it threatens to ignite itself.
Your personalized recipe book to write yourself will have a ring binder mechanism and an elastic closure
The ring binder mechanism for your personalized recipe book is quickly attached.
Most of the time, you get tubular rivets that go directly with a ring binder mechanism. Otherwise, you can buy them separately in small packages or just switch to binding screws.
Guide the two bottom parts (with the long pin) of the rivets from the outside in through the holes provided on the spine of the book.

Position the ring binder mechanism at the top and bottom of the protruding ridges.
If the top of the rivet just fits it, it's the right length.
You can now use pliers or a rivet setter with a hammer to fix it.
The ring binder mechanism is already fixed.
Now the rubber clasp is missing.
This has metal ends that you can easily slip through the holes in the book cover and then snap open to secure.

Your personalized recipe book is now complete and can finally be filled with pages.
Write a few of your favourite recipes in it, or even better: hand over the book with a dish you've cooked from it.

I wish you a lot of fun imitating and giving away afterwards. If you want to personalize your gift wrapping, these wooden gift tags are the right choice for you!
Your Rina


