Summer is bouquet time. I often think to myself how sad it really is that the flowery works of art have to be disposed of so quickly. That's why this year I've dealt with the topic of drying flowers.. First the classic variant with hanging in the basement. But this way you have a lot of delicate buds that are difficult to store and take up space.
Pressed flowers are a lot more space-saving. I built the right flower press myself and made this tutorial for you. You will also find practical tips below on how to best use such a flower press. So enjoy reading.
Material for your DIY flower press

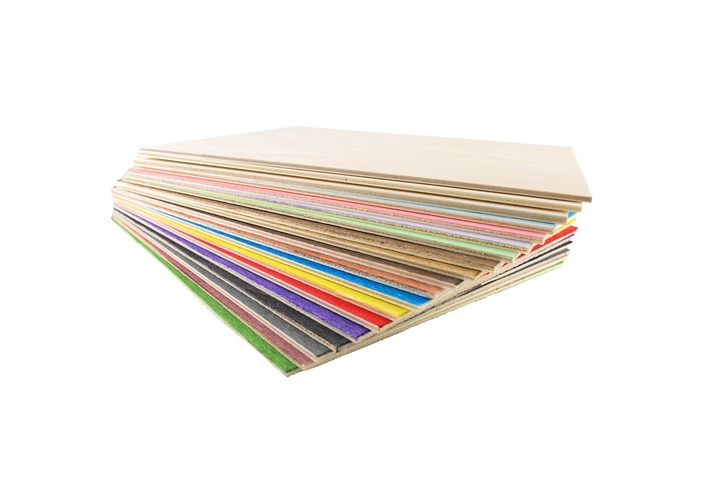
- 4 mm beech plywood
- 4 wing screws size M8
- 4 washers M8
- 4 screws M8
- A4 cardboard box
- A4 paper or baking paper
- flowers of your choice
- your Mr Beam laser cutter

Mr Beam plywood beech, 4mm, pack of 5 A3, suitable for [x]
Sale price
From CHF 64.00
EuerKonstantin "handicraft box", wooden trial set
Sale price
CHF 62.00

Mr Beam Poplar plywood suitable for [x], 4mm, A3
Sale price
From CHF 34.00
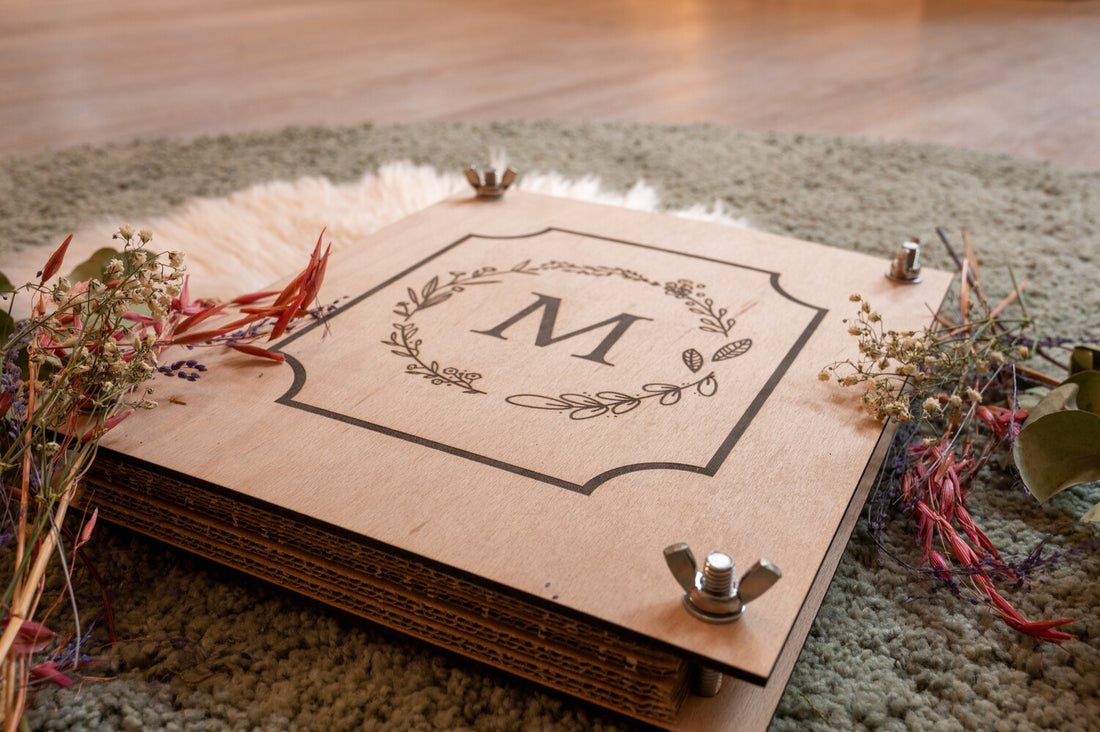
Build your own flower press
The most important thing when building your flower press is choosing a sturdy piece of wood so that enough pressure can be applied to the flowers. That's why I chose 4 mm beech plywood for this project. Birch would also be a good choice, but I found the colour and texture of beech more appropriate. You can find the right file for the flower press in the Mr Beam Design Store. Note that you may have to adjust them a bit if you want to use different screws.
Frame and floral wreath engraving are included in the file. You can delete them by "separating them by line colour" and import your own engraving file or, like me, add a letter using the text tool. This will give you an individual flower press.

And then it can already go to the lasers. Appropriate settings are stored in BeamOS for 4 mm beech plywood. Due to the large engraving, the Mr Beam takes a little longer. You should plan about 1 hour and 20 minutes for the cover. The spine of your flower press is ready in no time at all, in about 10 minutes.
Once everything is cut out, it's time to start assembling. To do this, first insert the four screws from below into the holes in the backplate. Then you alternately stack a piece of cardboard, two sheets of paper, then another piece of cardboard and so on. As many layers as you want and as the length of your screws will allow. The cover plate is attached to this stack. Make sure you put washers under your thumbscrews. Your flower press is ready for its first use.

Which flowers are good for pressing?
Before you start pressing flowers, you should check whether your flowers are suitable for pressing. While you can actually use almost any crop, some produce better results than others. Flat buds with thin petals in particular work well as they are easier and quicker to dry. Here are some flowers that are particularly easy to press:
- Daisy (Bellis perennis)
- Forget-me-not (Myosotis)
- Dandelion (Taraxacum officinale)
- Violet (Viola odorata)
- Yarrow (Achillea millefolium)
- Gypsophila (Gypsophila paniculata)
- Autumn asters (Symphyotrichum spp.)
- Sunflower (Helianthus annuus) - ideal for larger flower presses
- Zinnia (Zinnia elegans)
- Pansy (Viola tricolor)
Of course, you can also press leaves!
How do I use the flower press?

It is important to press the flowers when they are fresh and in good condition. Remove excess water and ensure the flowers are placed flat and straight in your flower press. Open your flower press and always place the flowers flat between two pieces of paper.
The paper is there to absorb the escaping moisture. Alternatively, you can also use parchment paper. However, this does not absorb as much moisture, which is why the drying process takes longer. Your layers should build up like this:
Backplate - cardboard - paper - flowers - paper - cardboard - paper - flowers - paper - cardboard etc. up to the cover. When you've stacked all the layers, close your press again and use the thumbscrews to tighten it just enough to apply pressure.
How long do the flowers have to dry?

Give your flowers and foliage enough time to dry, which can take anywhere from several days to weeks depending on the type of flower and humidity. Basically, you can stick to the rule of thumb: the thicker the flower, the longer it will take. If you are unsure, you can always open the press and carefully check how dry they are. After pressing, you can still store your buds between the papers, such as in a folder with clear sleeves. That way you won't break them until you find an application.

You can stretch the finished flowers in a frame, cast them in resin, use them for your bullet journal or decorate your laser projects with them. For example, they look particularly beautiful on flower loops.
To make them even more durable, you can also spray them with clear nail polish or brush them with clear nail polish. Surely you already have some DIY ideas of what you can do with your pressed flowers. I wish you a lot of fun with the implementation.
Your Marie


