
Now that winter is finally here, there's nothing better than a cosy film night with cosy blankets and snacks. But then there's always that one problem: how do you place food, drinks and all that other stuff within arm's reach? There is a very simple solution for this, and that is a couch bar! This means you can simply take your treats with you on the sofa and don't have to worry about it falling over. And in this blog post, I'll show you how you can easily build one yourself.
Material for your couch bar

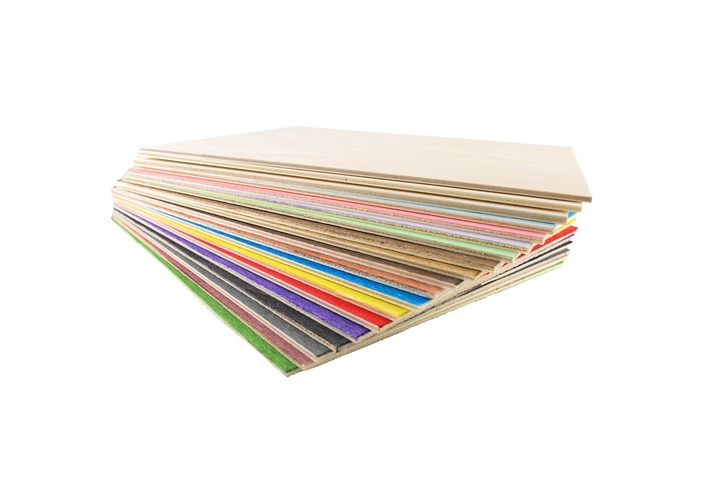
- 3 A3 panels 6mm poplar plywood
- wood glue
- Sandpaper or sanding blocks
- Optional paint primer
- Paint in a colour of your choice
- Acrylic paint gold
- Paint brush
EuerKonstantin "handicraft box", wooden trial set
Sale price
£54.00 GBP
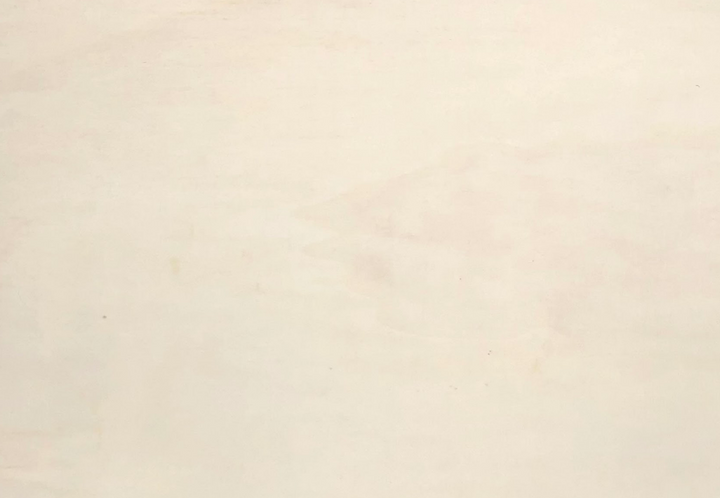
Mr Beam Poplar plywood suitable for [x], 6mm, A3
Sale price
From £39.00 GBP
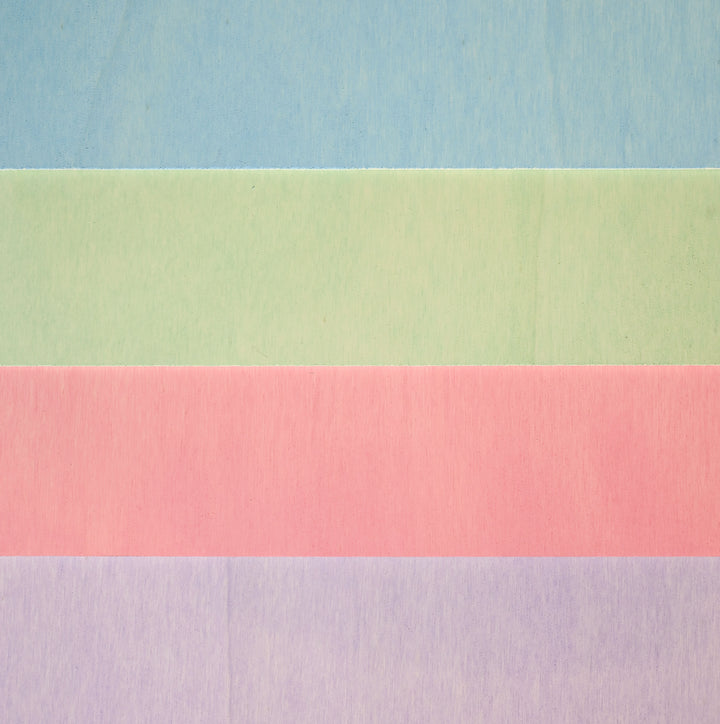
Mr Beam poplar plywood 3mm, pastel, A3, economy pack (4 colors)
Sale price
£54.00 GBP
First we need a file. You can make these yourself or use our template from the Design Store. We coloured the lines there so that you can easily separate the holes for glasses and other things directly in BeamOS using the share function. This allows you to quickly edit the design and customize it to suit your glasses and bowls. For more precise planning, I still recommend that you adapt it in a graphics program such as Adobe Illustrator or Inkscape.
Cut 6mm poplar plywood with our 10 watt model

Since the file is created in different colours, you can easily break it down according to line colour in BeamOS or divide it into different laser jobs in the settings. This means you don't have to save and upload three individual files, you can get started straight away.
Since we are working with thicker wood here, the first thing I did was clean the interior and the laser head in order to achieve optimal cutting results. I also made a small test cut to test the suggested settings on my wood. Also note that for this file, you will need the X-head to cut 6mm thick wood. If you only own one Mr Beam dreamcut [S], you can also adapt the design for 3 mm wood, for example. We'll show you how to do this in this video. And you can get started. Insert your wooden panels, place the design in the desired location using the camera, focus the laser head, select the appropriate settings, close the lid and press the start button.
Prepare your wood for further processing
With this file, it is particularly important to do a good sanding job so that the surfaces look nice and smooth afterwards with the varnish. You can also refinish edges and remove the soot. If it doesn't fit perfectly somewhere, sand it again a little. You should also definitely test the sliders for the pocket before painting. They should fit into the slots without much friction. Also keep in mind that the varnish will make them slightly thicker. It is important that you always start with a coarse grit sandpaper and work your way up to a fine grit.
Now colour comes into play - we paint the couch bar

You should only paint in a well-ventilated environment, ideally outside or in a painting chamber. Also protect yourself with a mask and gloves. It's best to take your time and work with several thin layers. It is important to shake the paint can well beforehand so that the colour pigments are evenly distributed.
Hold your can vertically and wait a few minutes before starting the next round. I also let it dry in between and refinished the already painted surface with fine sandpaper. This makes it even more even and since all the parts are flat, it's pretty quick. I also decorated the edges of the base and lid plates with a gold border. This is an easy way to spice things up a bit. Otherwise, you could engrave something heavily beforehand to create a depression.

Everything comes together - assembling the couch bar
To create a better hold, you can sand the paint off the glued areas. But actually the hold is good enough as it is. Apply your glue and press the pieces together with good force. If possible, you can also fix them with clamps. If your couch bar dries under pressure, it will be more resilient afterwards. If wood glue oozes out of the slots, you can carefully remove it with a damp cloth or brush. Most glues are water-soluble as long as they have not yet dried.
Now you can equip your homemade couch bar
If you use the layout from the Design Store, your couch bar will be structured like this:

Your couch bar can be used in many different ways. Here you can see three examples of how it can be equipped according to the theme: a romantic date, a film marathon and a board game evening.

I hope your evenings on the couch will be even nicer than usual with the homemade couch bar, and I'm excited to see how you use it. Lots of fun crafting.
Your Marie


