
The big day has come - the wedding! Every wedding needs a wedding cake. Some are multi-tiered, others are flat, there are buttercream cakes or ice cream cakes, there are simply endless types of wedding cakes.
And in order to reflect the personality of the bridal couple and the theme of the entire decoration of the wedding, a very individual DIY cake topper is particularly suitable in addition to the actual cake decoration.
In this tutorial, I will show you how easy it is to create your very own personalized DIY cake topper in your graphics program and then have it lasered by your Mr Beam.
What you need for the DIY cake topper for the wedding
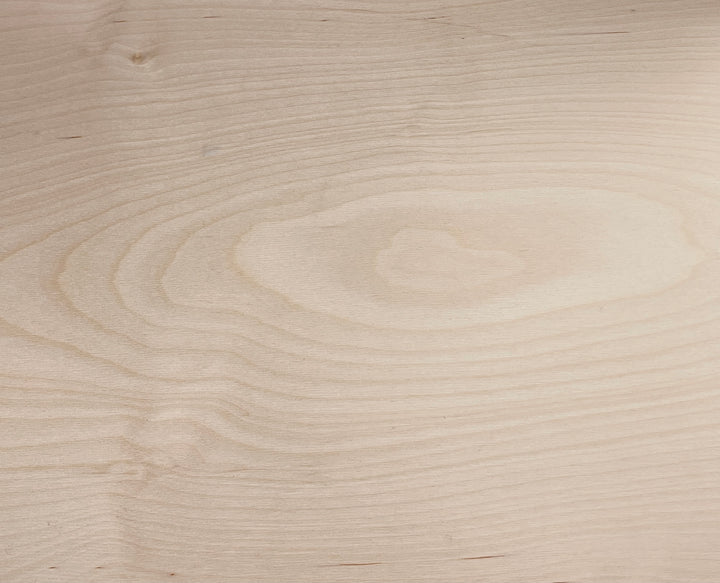
For a beautiful cake topper, you only need wood of your choice. Of course, laser engravings are always particularly effective on light-coloured wood.
I therefore recommend poplar or birch plywood.
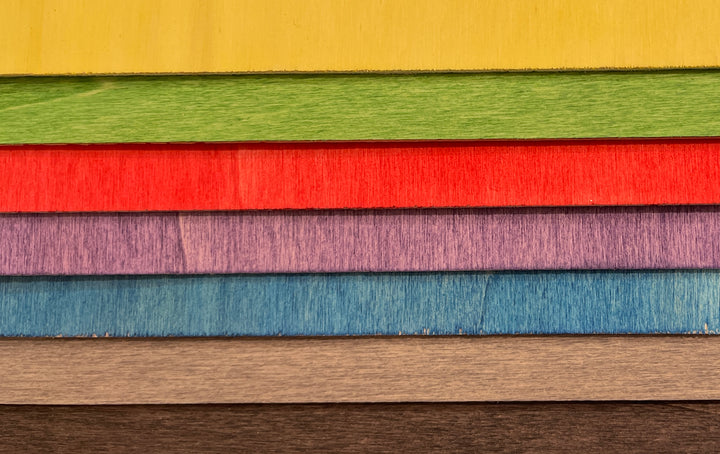
Mr Beam poplar plywood coloured (different colours)
Sale price
From € 22,26 EUR
Plywood birch 5 pack
Sale price
€ 50,74 EUR
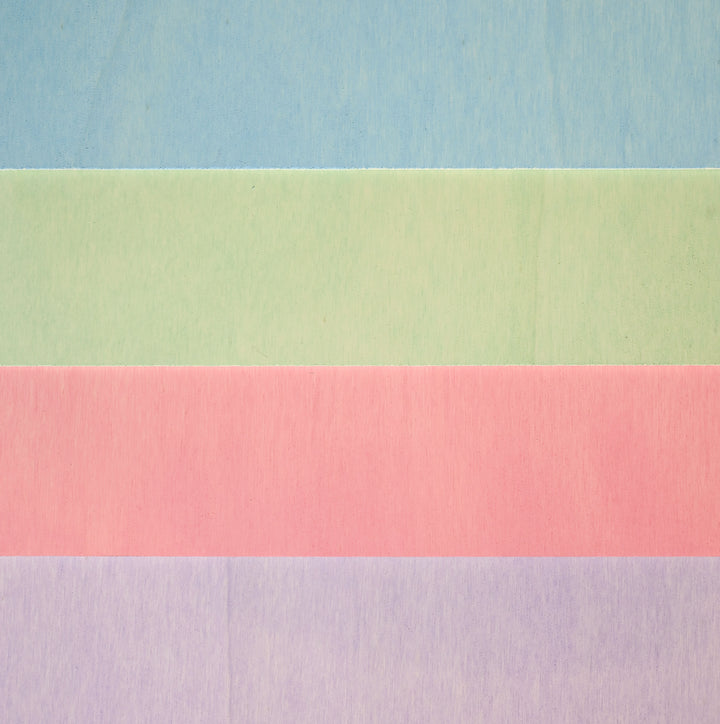
Mr Beam poplar plywood 3mm, pastel, A3, economy pack (4 colors)
Sale price
€ 67,01 EUR
Create the file for your DIY wedding cake toppers
To create your file for your wedding cake topper, open your graphics program.
In fact, having transitioned from plotting to lasering, I still like to use Silhouette Studio to create my files, even if it's not a direct graphics program such as Adobe Illustrator or Affinity Designer.
A wreath and sticks for the DIY cake topper
First, you need a wreath to engrave. You can find plenty of laser templates or finished files on Pinterest or Etsy. Of course, it should match the cake and thus the rest of the decoration.

This wreath, which can of course look completely different on yours - maybe square, or a different frame - now needs an offset so that Mr Beam can cut around it.
And in order to make a DIY cake topper out of the beautiful wreath, it naturally needs sticks with which to stick it into the cake.
In most graphics programs, there are ready-made shapes, including such arrows. For my cake topper, I created two stems to gain more stability.

The two stems are now welded to the offset of the wreath so that there is a common cutting line.
By adapting the wreath itself to the decoration, your DIY cake topper has already been given a personal touch for the wedding.
Personalize the DIY cake topper with the names of the bride and groom
To personalize it even further, add the names of the bride and groom.
Choose a font that also suits the decoration and also the personality of the couple. For me, it became the font “Sunday Morning”. Loose, a bit playful and still clear lines.

To make the “&” stand out, I want to make it bigger. However, if you do this, the “&” will not only be larger, but also significantly thicker than the letters of the two names.
That's too much emphasis on the "&" ;-).
That's why I tricked something. However, this is only possible because all characters have the same line width. I removed the black fill from the "&" and created an inner offset, which then has roughly the same line width as the letters of the two names.

Then I removed the outline of the actual “&” and what was left was the inner offset. The result is a capital “&” with the same line width as the other letters.

The complete lettering for the DIY cake topper for the wedding now needs an offset as a cutting line, just like the wreath.
Then you weld the two offsets and the file for your personalised cake toppers is ready to be lasered.

And just as quickly, you've also added a stick to other symbols to use as cake toppers, or even for muffins in the candy bar.

One heart, one stem, weld together, ready to be lasered. So quickly you created more small cake toppers.
Laser your DIY cake topper for the wedding
Save your created Cake topper files and start your Mr Beam.
Open the Mr Beam software in your browser and then drag and drop your file into the workspace.
Place your poplar or birch plywood in the Mr Beam and line up your cake toppers on the wood using the camera preview. Do not forget to set the working height correctly.

You can then go to the laser settings via “Laser”. Values are stored here for both poplar plywood and birch plywood. Depending on the situation, it is advisable to reduce the line spacing for the engraving. But you should always test it!
After focusing the laser head, you can start the laser job.

When your Mr Beam has lasered your personalized DIY cake toppers for the wedding , they are almost ready to use. Since they're going to be stuck into the cake, be sure to sand down the stems and rid them of the laser debris. It is even better to paint with clear lacquer afterwards or wrap in cling film before inserting into the cake.
I wish you a lot of fun imitating - and a delicious wedding cake!
Your Rina


