
A birthday is a very special day, especially for our young school-age students or the bright little personalities in kindergarten. In schools and kindergartens, it is important not only to provide education, but also to promote a sense of community and belonging. And what better way to do that than by celebrating each child's birthday?
A homemade birthday calendar is not only a great way to encourage creativity, but also builds a sense of community when the kids work together on a project. In this tutorial, I'll show you step by step how to make a birthday calendar with rainbows and flags that you can decorate with your students every year.
Material for your birthday calendar

- Poplar plywood in different colours
- Dense foam panels 50 cm x 21.5 cm
- Acrylics
- sponge
- Paint brush
- suspensions
- wool yarn
- pins
- wood glue
- Contact adhesive
- plastic glue
Plywood Pack of 5
Sale price
From CHF 30.00
Mr Beam poplar plywood 3mm, pastel, A3, economy pack (4 colors)
Sale price
CHF 62.00
Mr Beam poplar plywood coloured (different colours)
Sale price
From CHF 21.00
Foam as a light and flexible baseplate
First, let's start with the background. I had two large sheets of white EVA Foam left over, which are excellent for this project. EVA Foam is a high-density foam that is used, for example, for children's puzzle mats or in cosplay. It is particularly suitable for this project because it is light, easy to paint and afterwards we can attach the threads with a simple method.
EVA foam is best bonded with contact adhesive. To do this, smear a thin layer on both adhesive surfaces, let them dry completely for about 10 minutes and then press them together with high pressure. With this connection, the whole thing is extremely tight and can be painted.

I chose a cloud motif to match the rainbow and the flags. Of course, you can let your school class or kindergarten group decide how the plate should be painted. Acrylic paints work best as they stick well to the foam, are flexible and easy for children to work with. I painted the entire surface with a pastel lavender and then dabbed it with clouds of white.
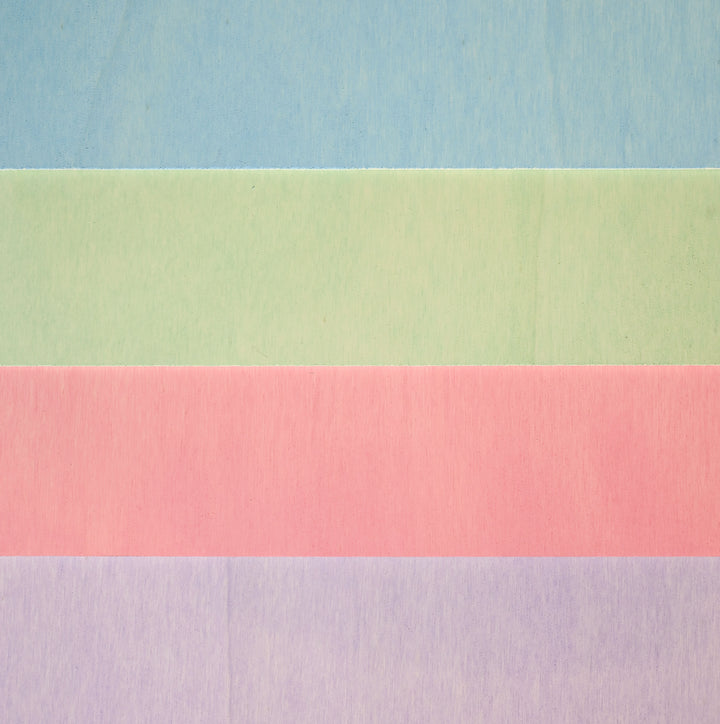
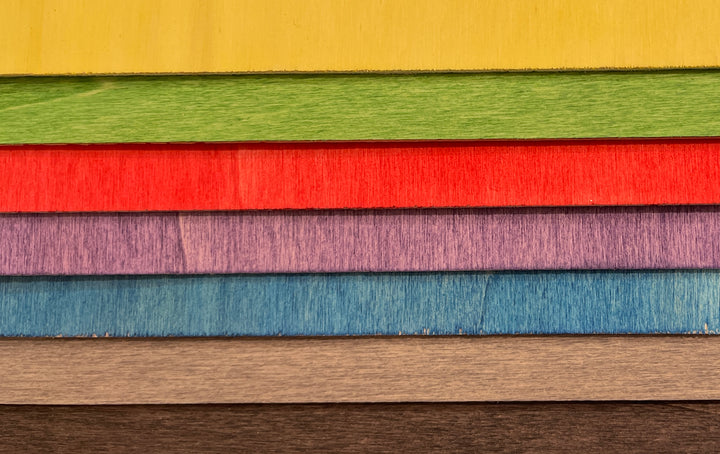
Completely in line with the colour trend with pastel coloured poplar plywood
So that the decoration doesn't become too heavy, and the calendar can be hung on simple nails on the wall, I decided to use poplar plywood. This is available in the Mr Beam Shop in many different colours. You cut out the individual colours with your Mr Beam laser cutter. The file is created with different contour colours. You can only laser the lines whose wood colour is currently on the work surface by dragging the others to "Skip". You can also paint natural wood in your desired colours. I did this for the white clouds, for example.

Rainbows are back in fashion, especially among children. That's why my calendar really needed one! The individual parts are glued together with wood glue. So that the whole thing holds up well, I applied another layer to the back after drying. I used UHU Hart special glue for the connection between the backplate and the rainbow. It is important that the rainbow is straight. And this is where our Cutting Stix once again have their grand entrance. :)
Place a few of the Stix under the rainbow, and it lies perfectly as long as the glue dries. To strengthen the connection, a thick edge of hot glue on the top edge also helps. Then the monthly plates are also attached to the background with the special glue.

Easily personalize birthday flags in BeamOS
The most work is to create all the little flags. Since this is just an example, these are fictitious birthdays. I did hide a few Mr Beam team members though. You might recognize them from blog posts, YouTube videos, trade fairs or from the official Mr Beam Users Facebook group. ;)

If you would like to involve your class or group, everyone can laser their own flags. To do this, drag the flag file into BeamOS and write down the names and birthdays using the text tool. To ensure everything runs smoothly, it is recommended to first cut out the small circles and do the engraving. Then cut out the outer contour of the flags in a second laser job. This will prevent them from tipping over beforehand and thereby preventing the holes from being cut correctly.
In total, you will need one piece of yarn for every 12 months. You can use a needle to thread it. I actually didn't have one with a large enough needle eye, so I used a piece of wire. Folded in the middle, you can also thread the wool through the narrow holes.
You can restock your birthday calendar every year

Now we come to the most important reason why I decided on a foam wall : Similar to a cork wall, you can sink pins here. That way, you can pull out the needles at the end of the year and reload with your next class or group. To do this, pierce the tip a little bit, then knot the yarn around and push the needle all the way down. Make sure the threads are attached above the appropriate month, so your pennants hang at just the right height.
Finally, cut off any ends that are too long and, if necessary, attach hangers to hang the whole thing on the wall.

I hope your school class or kindergarten group has a lot of fun filling the birth calendar together and gets to know each other better.
Your Marie


