Yes, yes, as a girl mom you can hardly avoid this topic: unicorns!
They are available as toy figures, cuddly toys, Lego sets, on bed linen, clothes, balloons and so on...
So it's not so far-fetched that a unicorn party will be celebrated.
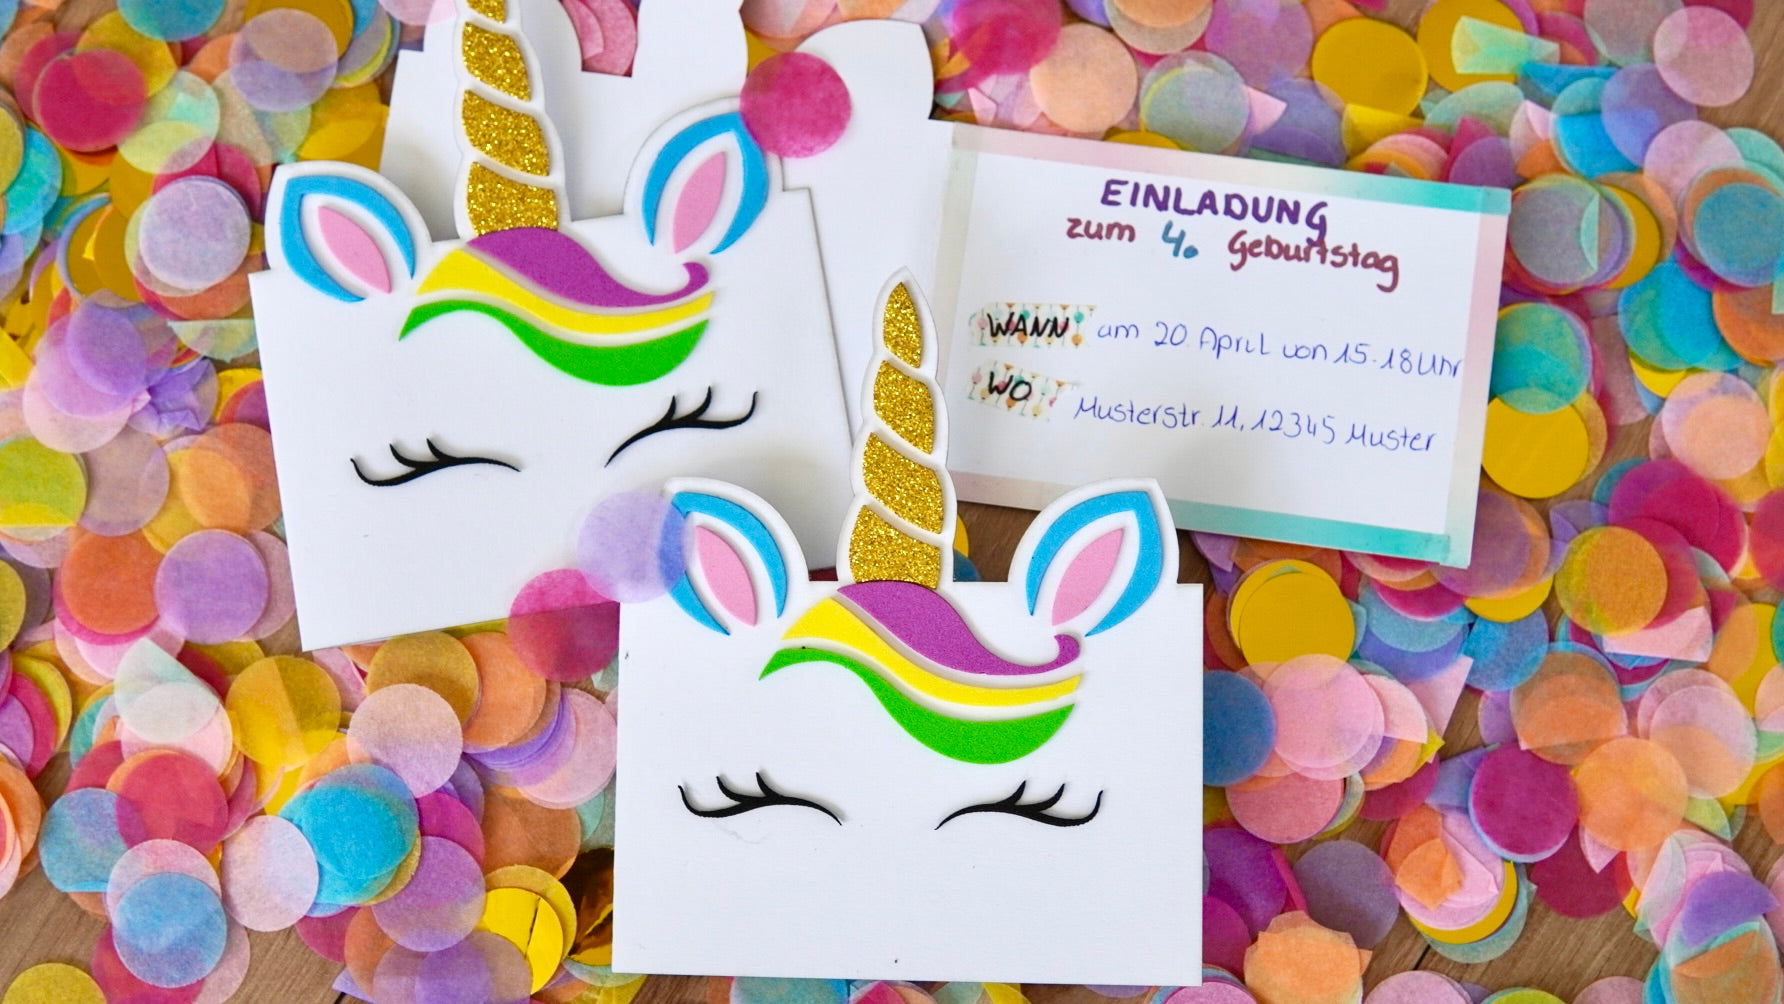
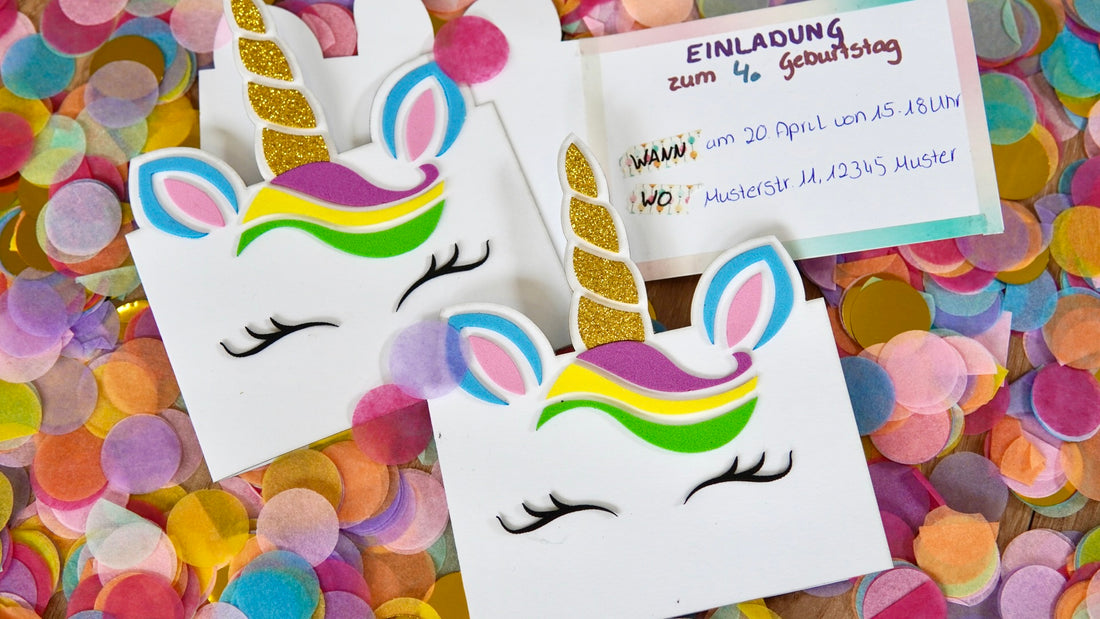
And of course, we also make unicorn invitation cards to match the theme of the party. In this tutorial, I'll show you how you can laser DIY invitation cards for your unicorn party thanks to the great file from the Mr Beam Design Store and a little material.
Material list for your DIY unicorn invitation cards
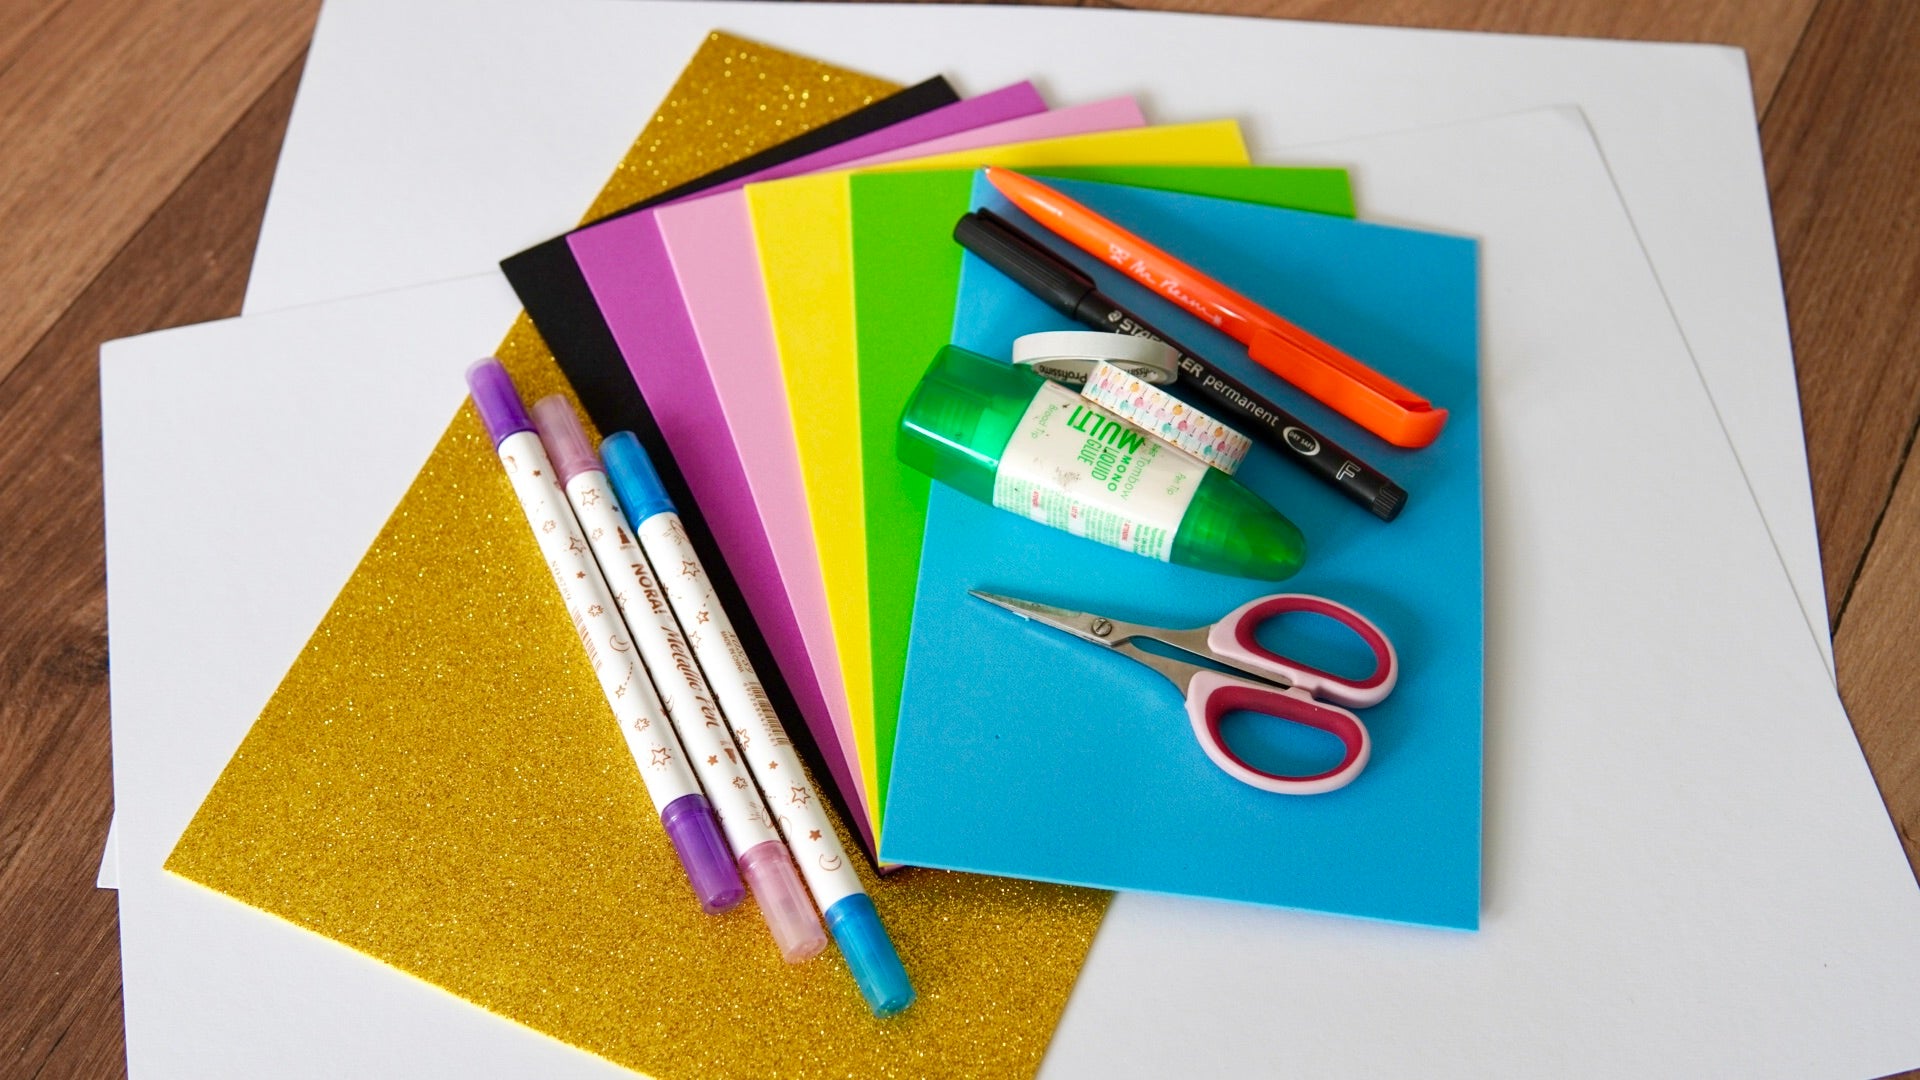
- white photo cardboard in DIN A3 for the card
- Colourful 1-2 mm thick foam rubber for the details of the unicorn
- optional: glitter foam rubber or glitter felt for the horn
- Glue for foam rubber, for example Tombow Multi Glue
- Pens and whatever else you like to design the unicorn invitation cards afterwards

Mr Beam Glitter Acrylic Felt, 3mm, A3, various colours (5 pieces each)
£14.00 GBP
Sale price
From £9.00 GBP

Mr Beam II dreamcut [x] & Air Filter III Bundle
Sale price
£3,653.00 GBP
That's about it for crafting materials. And since the file is available in the Design Store and the Mr Beam cuts photo cardboard and foam rubber super quickly, you can make the invitation cards for the unicorn party in no time.
Prepare the unicorn invitation cards for lasering
Start your Mr Beam and open the Mr Beam software. At the top right you will find the Design Store. Simply enter the word “unicorn” in the search field, and you will find the right file for your unicorn invitation card. Pay for the design with Beam Coins and then you can start lasering.
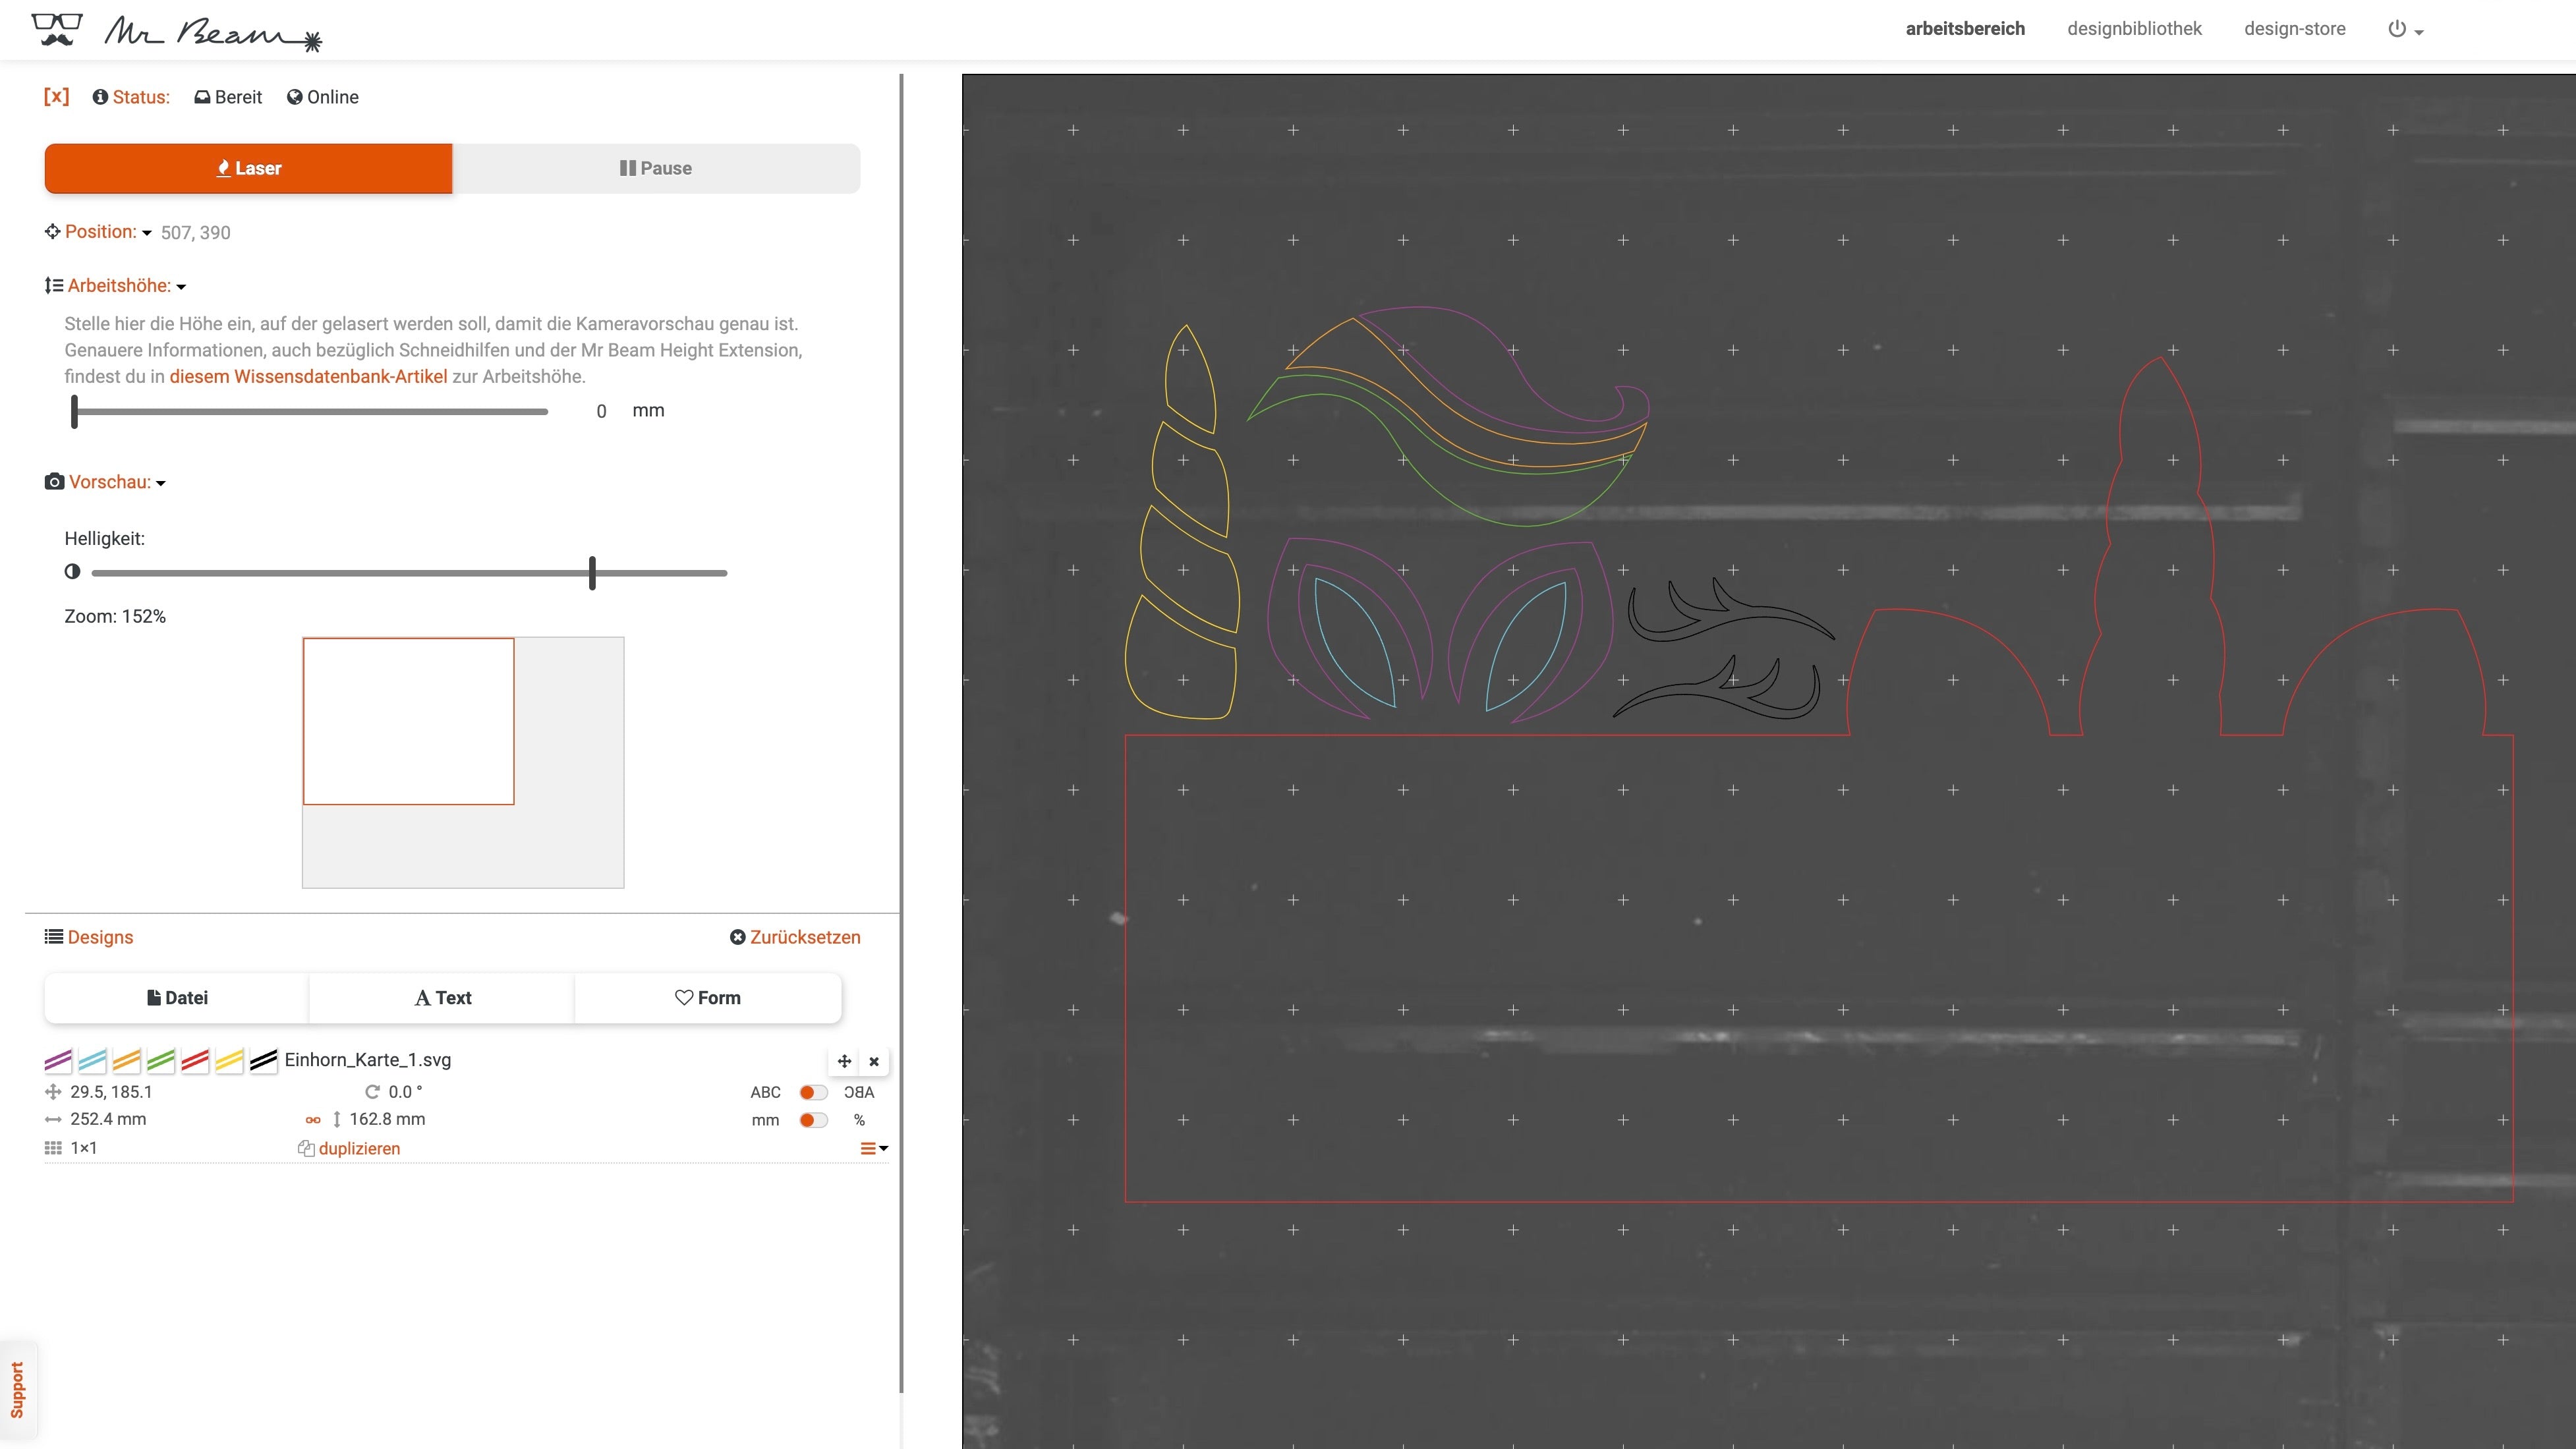
When you open the file in the workspace, you will see that the cutting lines have different colours to make it easier to divide the laser jobs.
Depending on how many invitation cards you need, you can duplicate the file as many times as necessary.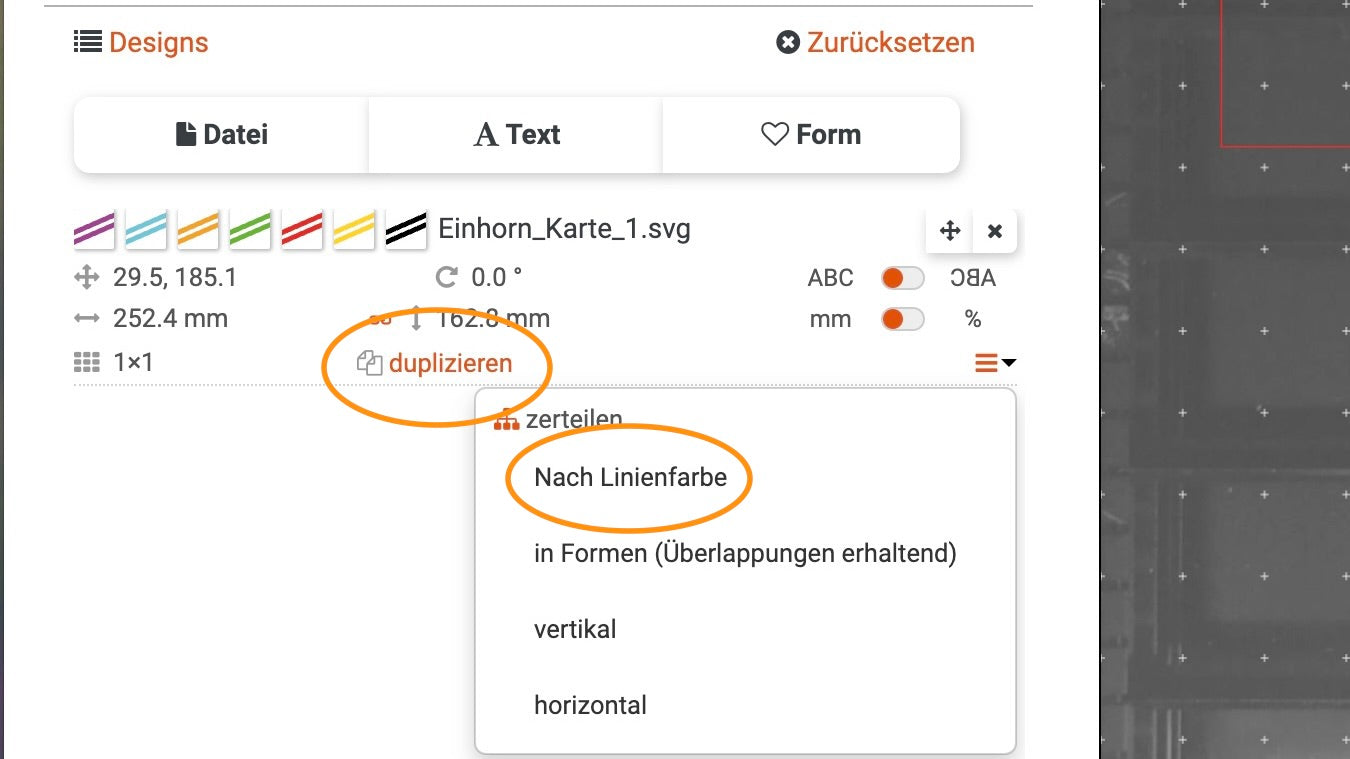
Then you divide the files by line colour. Now everything is prepared for lasering the DIY unicorn invitation cards.
The folding card of your unicorn invitation cards
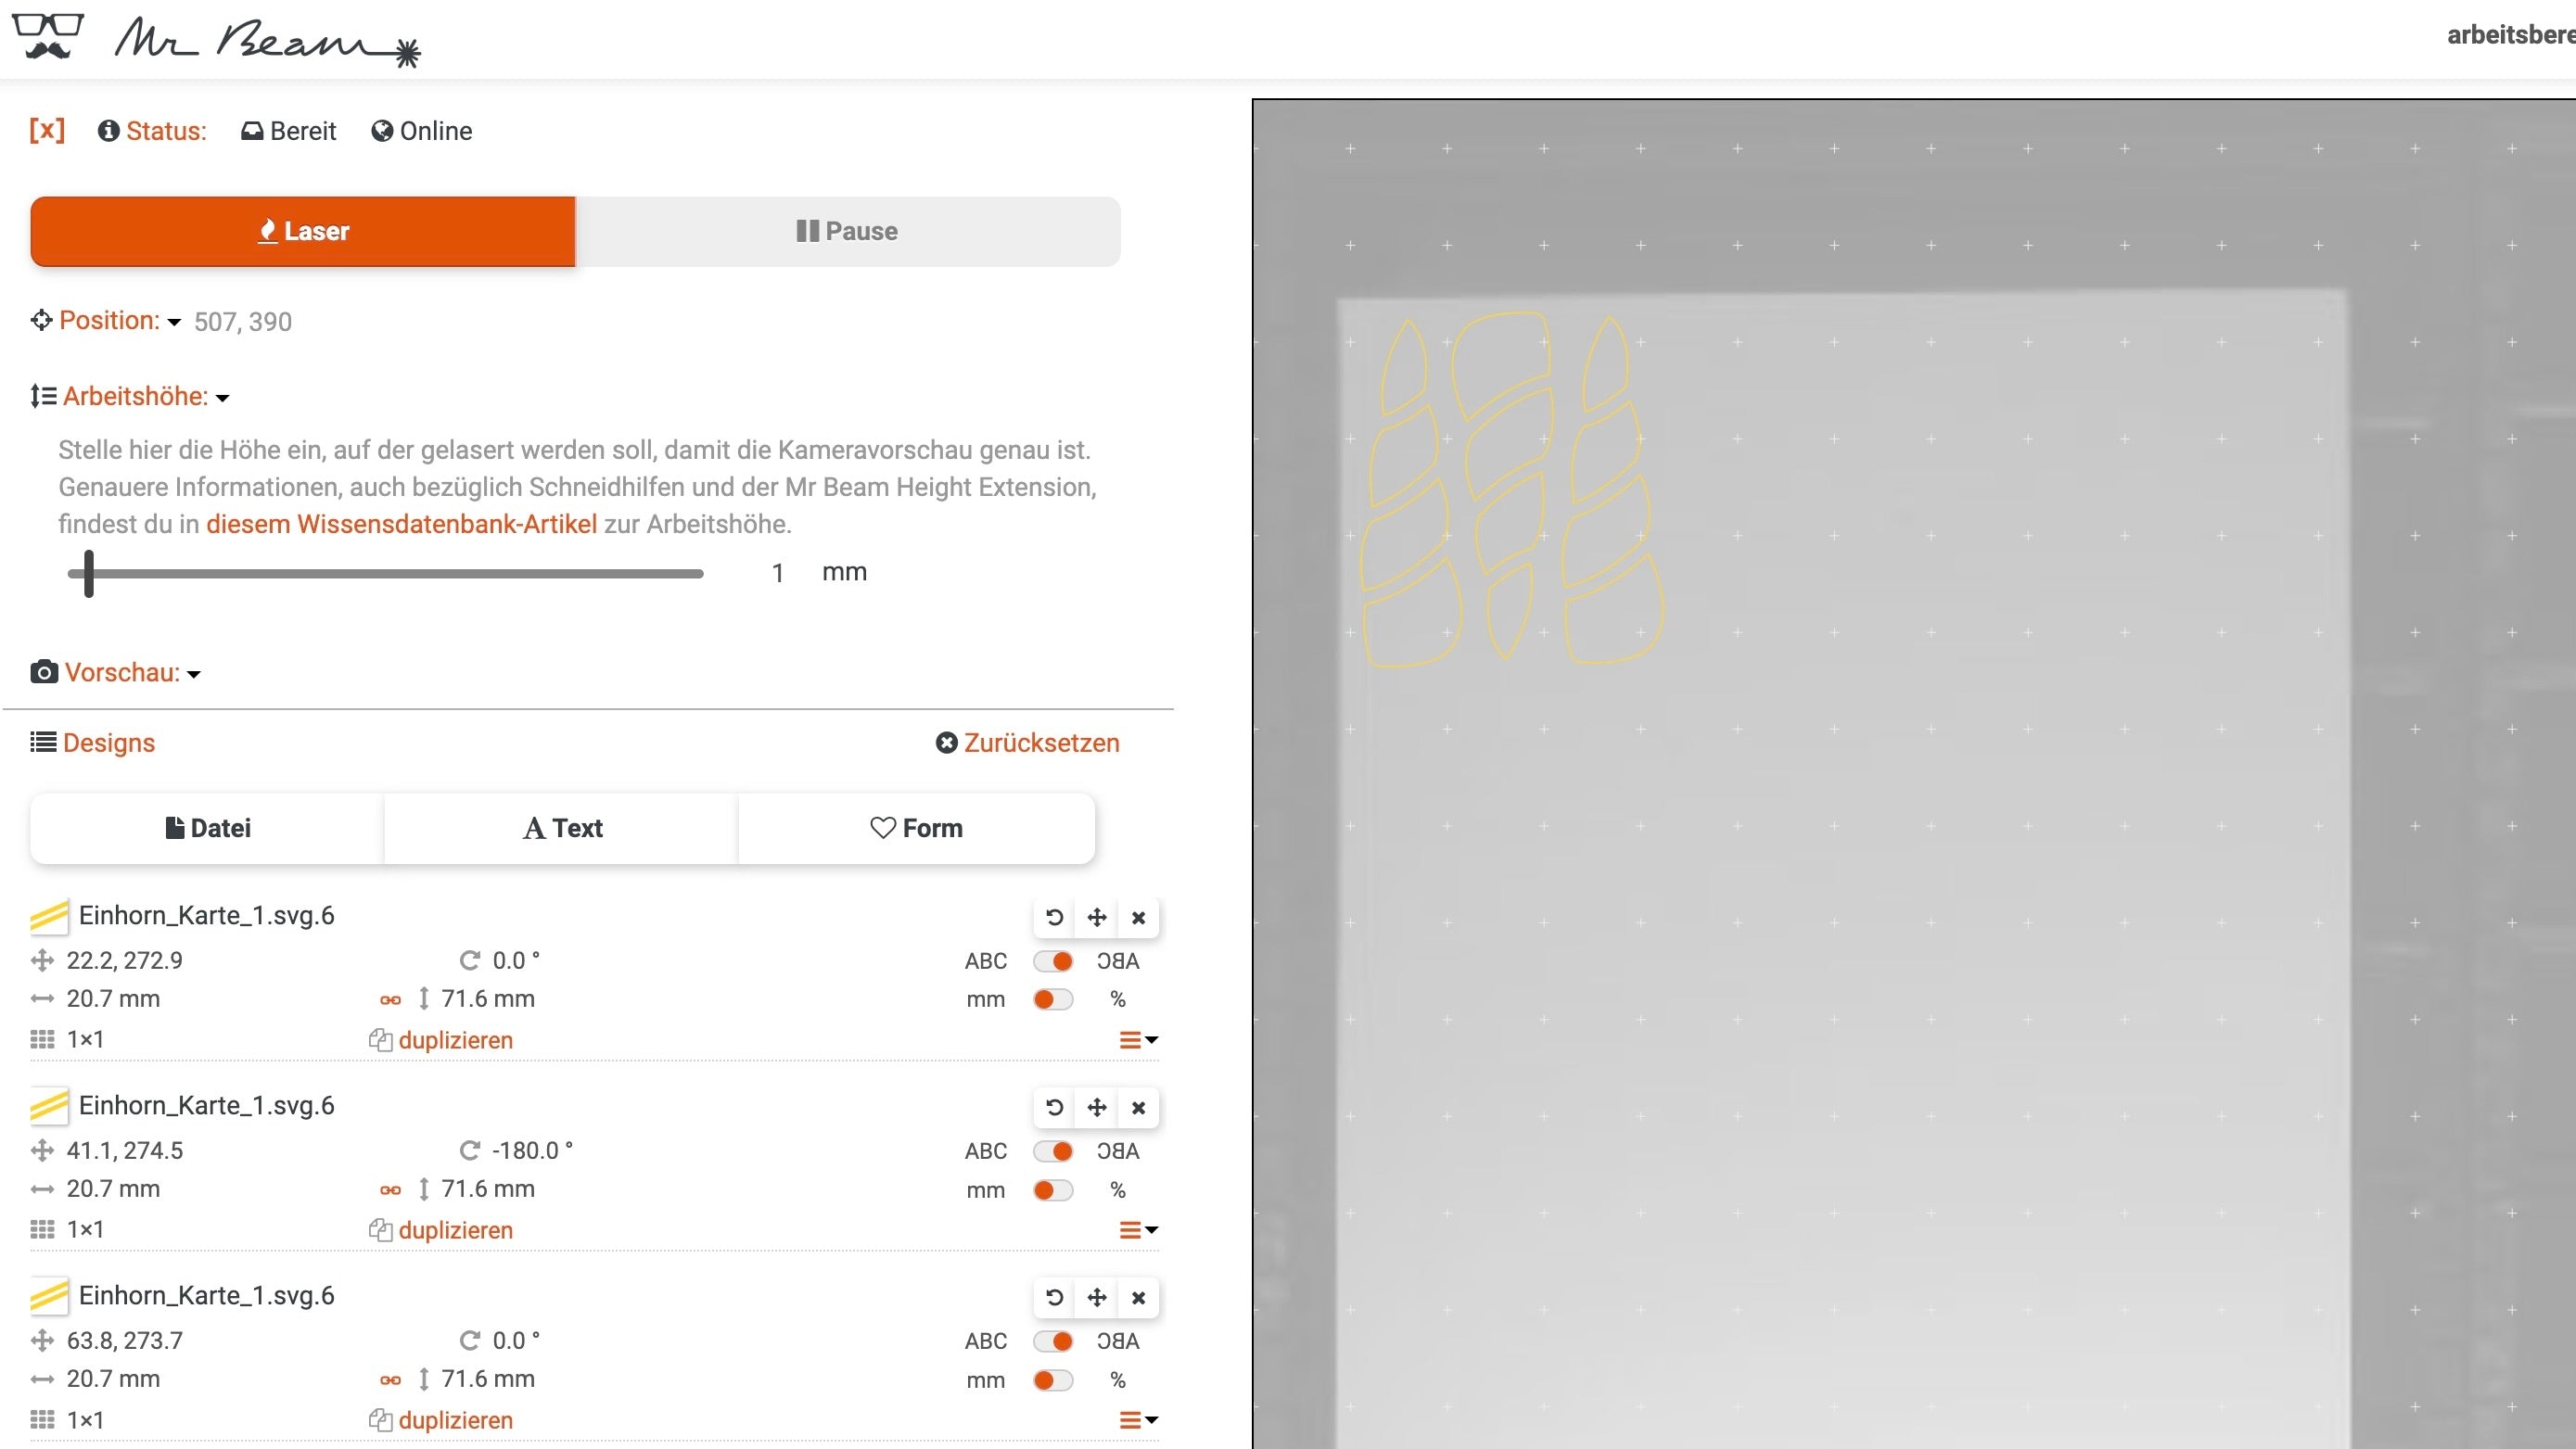
First, laser the white photo cardboard. This creates the actual folding card.
To do this, place the white cardboard in the Mr Beam and place the basic shapes of the unicorn invitation cards on the material using the preview function in BeamOS.
Then click on “Laser” and choose "Paper” in white.
Tip: Depending on how many unicorn invitation cards you need, you will have to divide it into two or more laser jobs. Three invitation cards fit on an A3 photo cardboard.
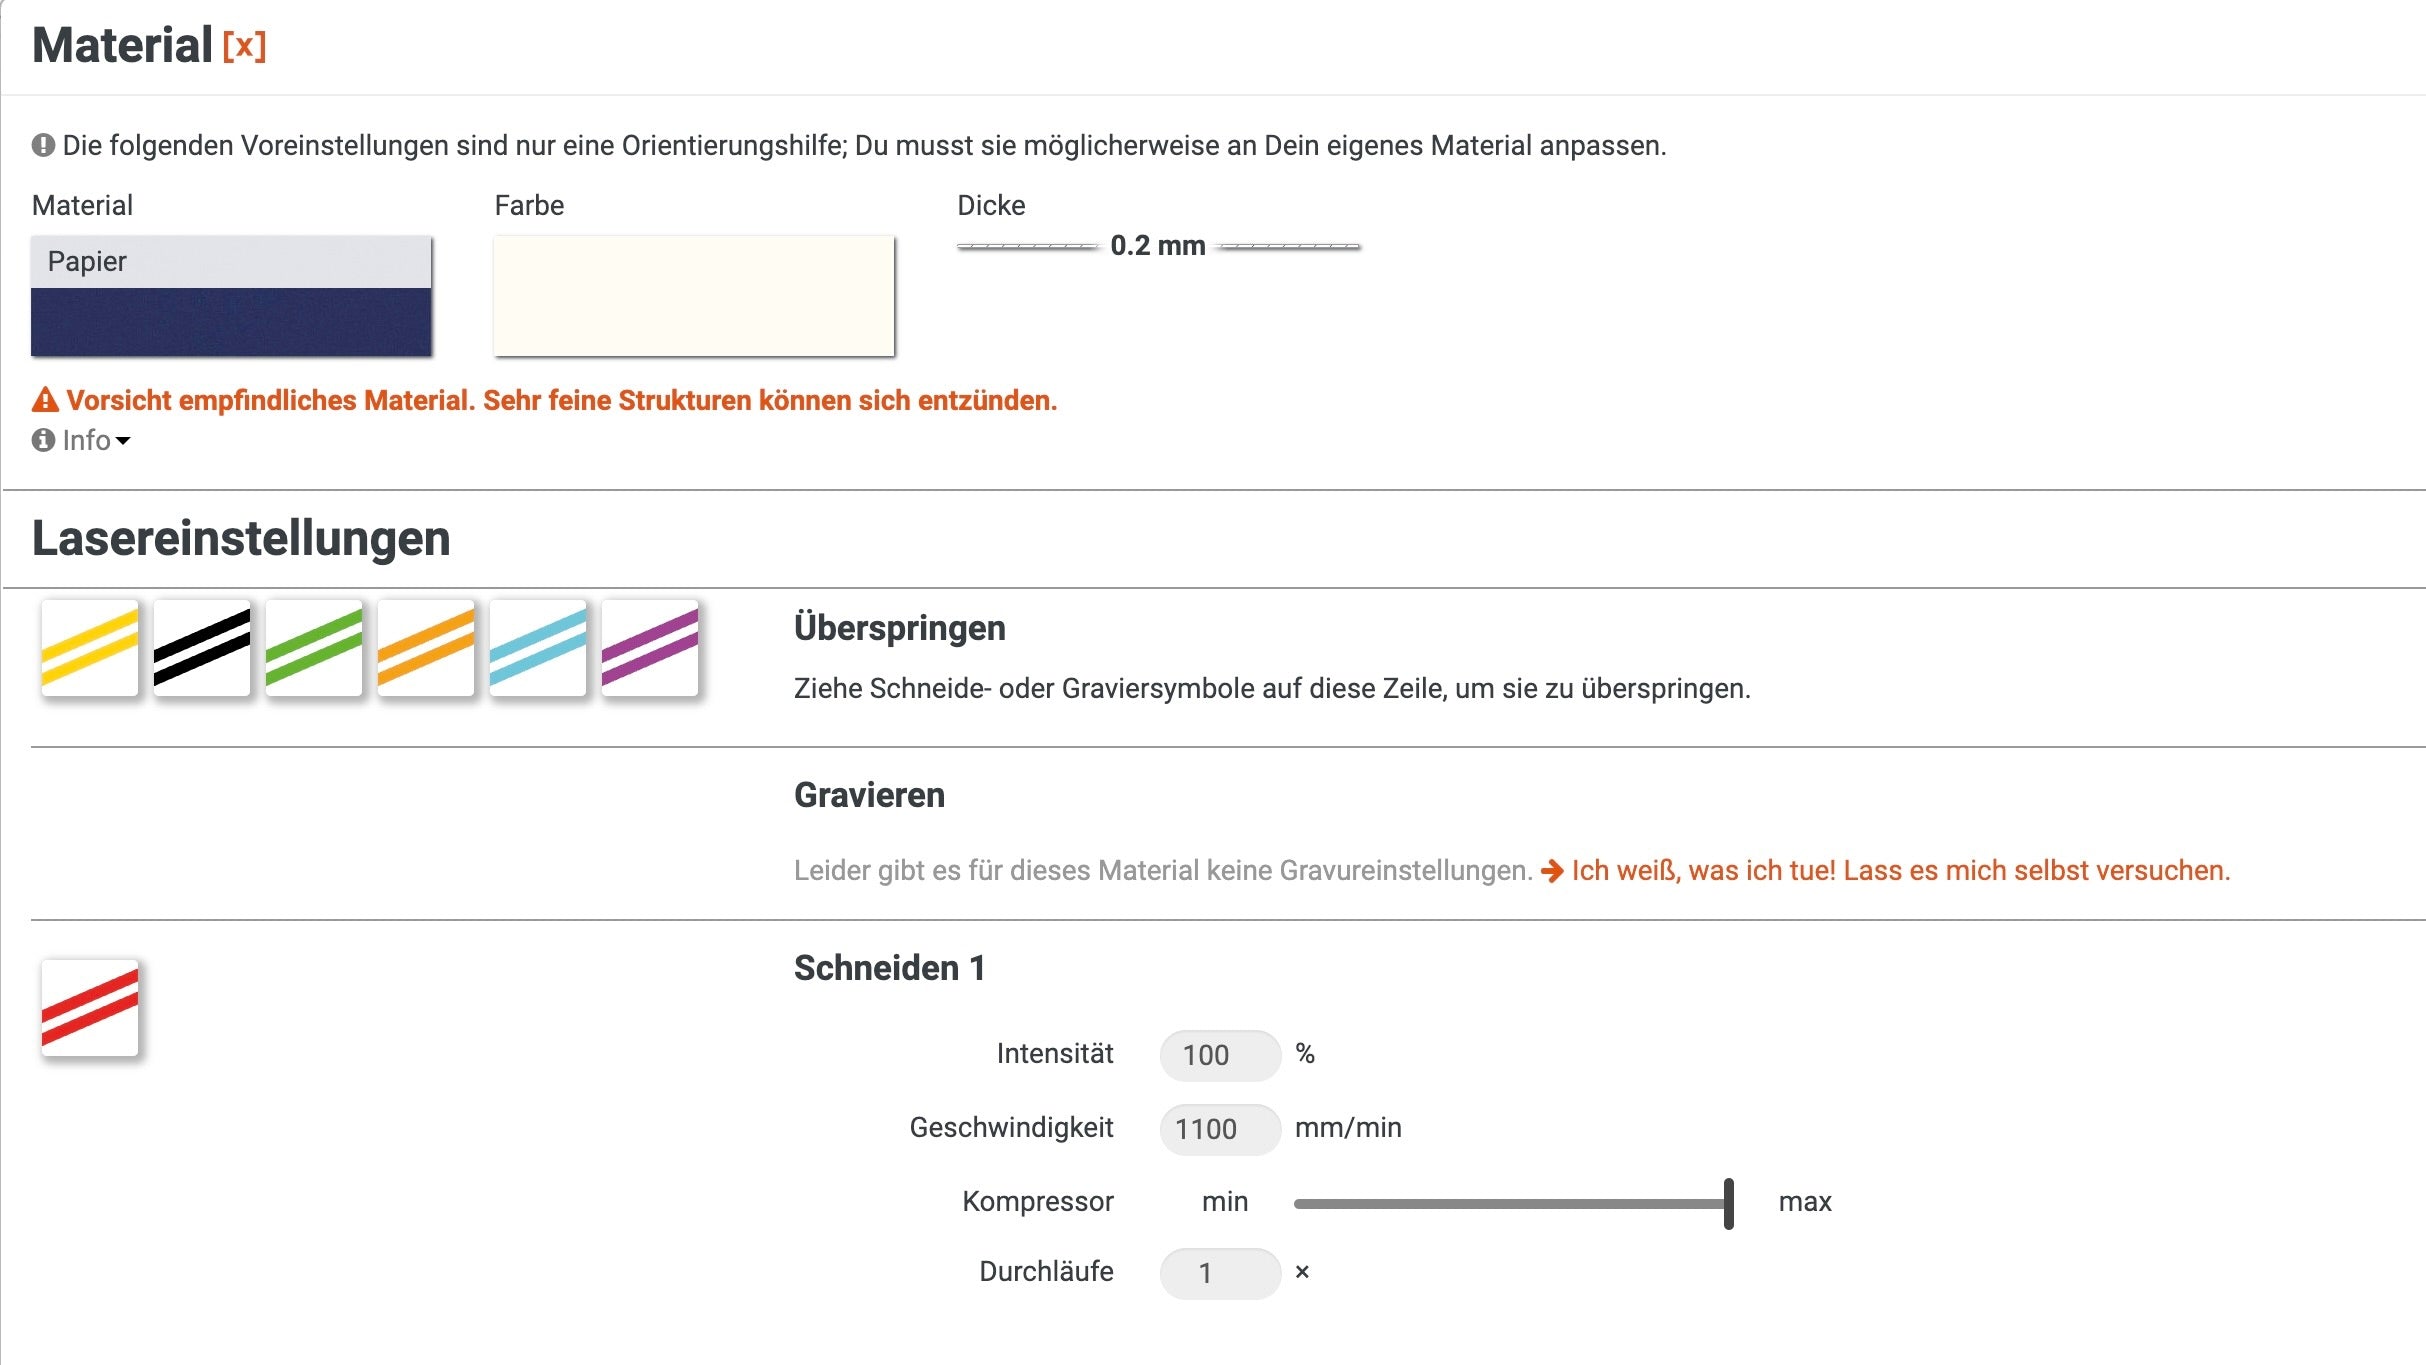
You drag all other colours, except red, of course, into the “Skip” field. Then you focus the laser head and start the Mr Beam. After lasering, the basic shape for your invitation cards is already ready. We then continue with the colourful elements made of foam rubber.
Foam rubber for the details of the unicorns
You are of course completely free to choose the colours for your unicorn invitation cards. There are no limits to your creativity here.
“The horn has to glitter!”
My daughter then had another objection when I was choosing the colours: “Mom, a unicorn’s horn has to glitter! They’re always sparkling!” Regardless of whether it is glitter felt or glitter foam rubber, or other materials with reflective surfaces, the following always applies: cut the material from the back. This means that you place the foam rubber with the glittering side down in the Mr Beam and of course reflect the motif accordingly.
Via “Laser” you can access the laser settings. Choose “foam rubber” and the colour that is closest to the back of your glittery foam rubber and start the laser job. Then the parts for the horns are already ready.
After a previous test cut, I found out that my Mr Beam can cut all colours of my foam rubber with the same settings.
Intensity: 100%
Speed: 2000mm/min
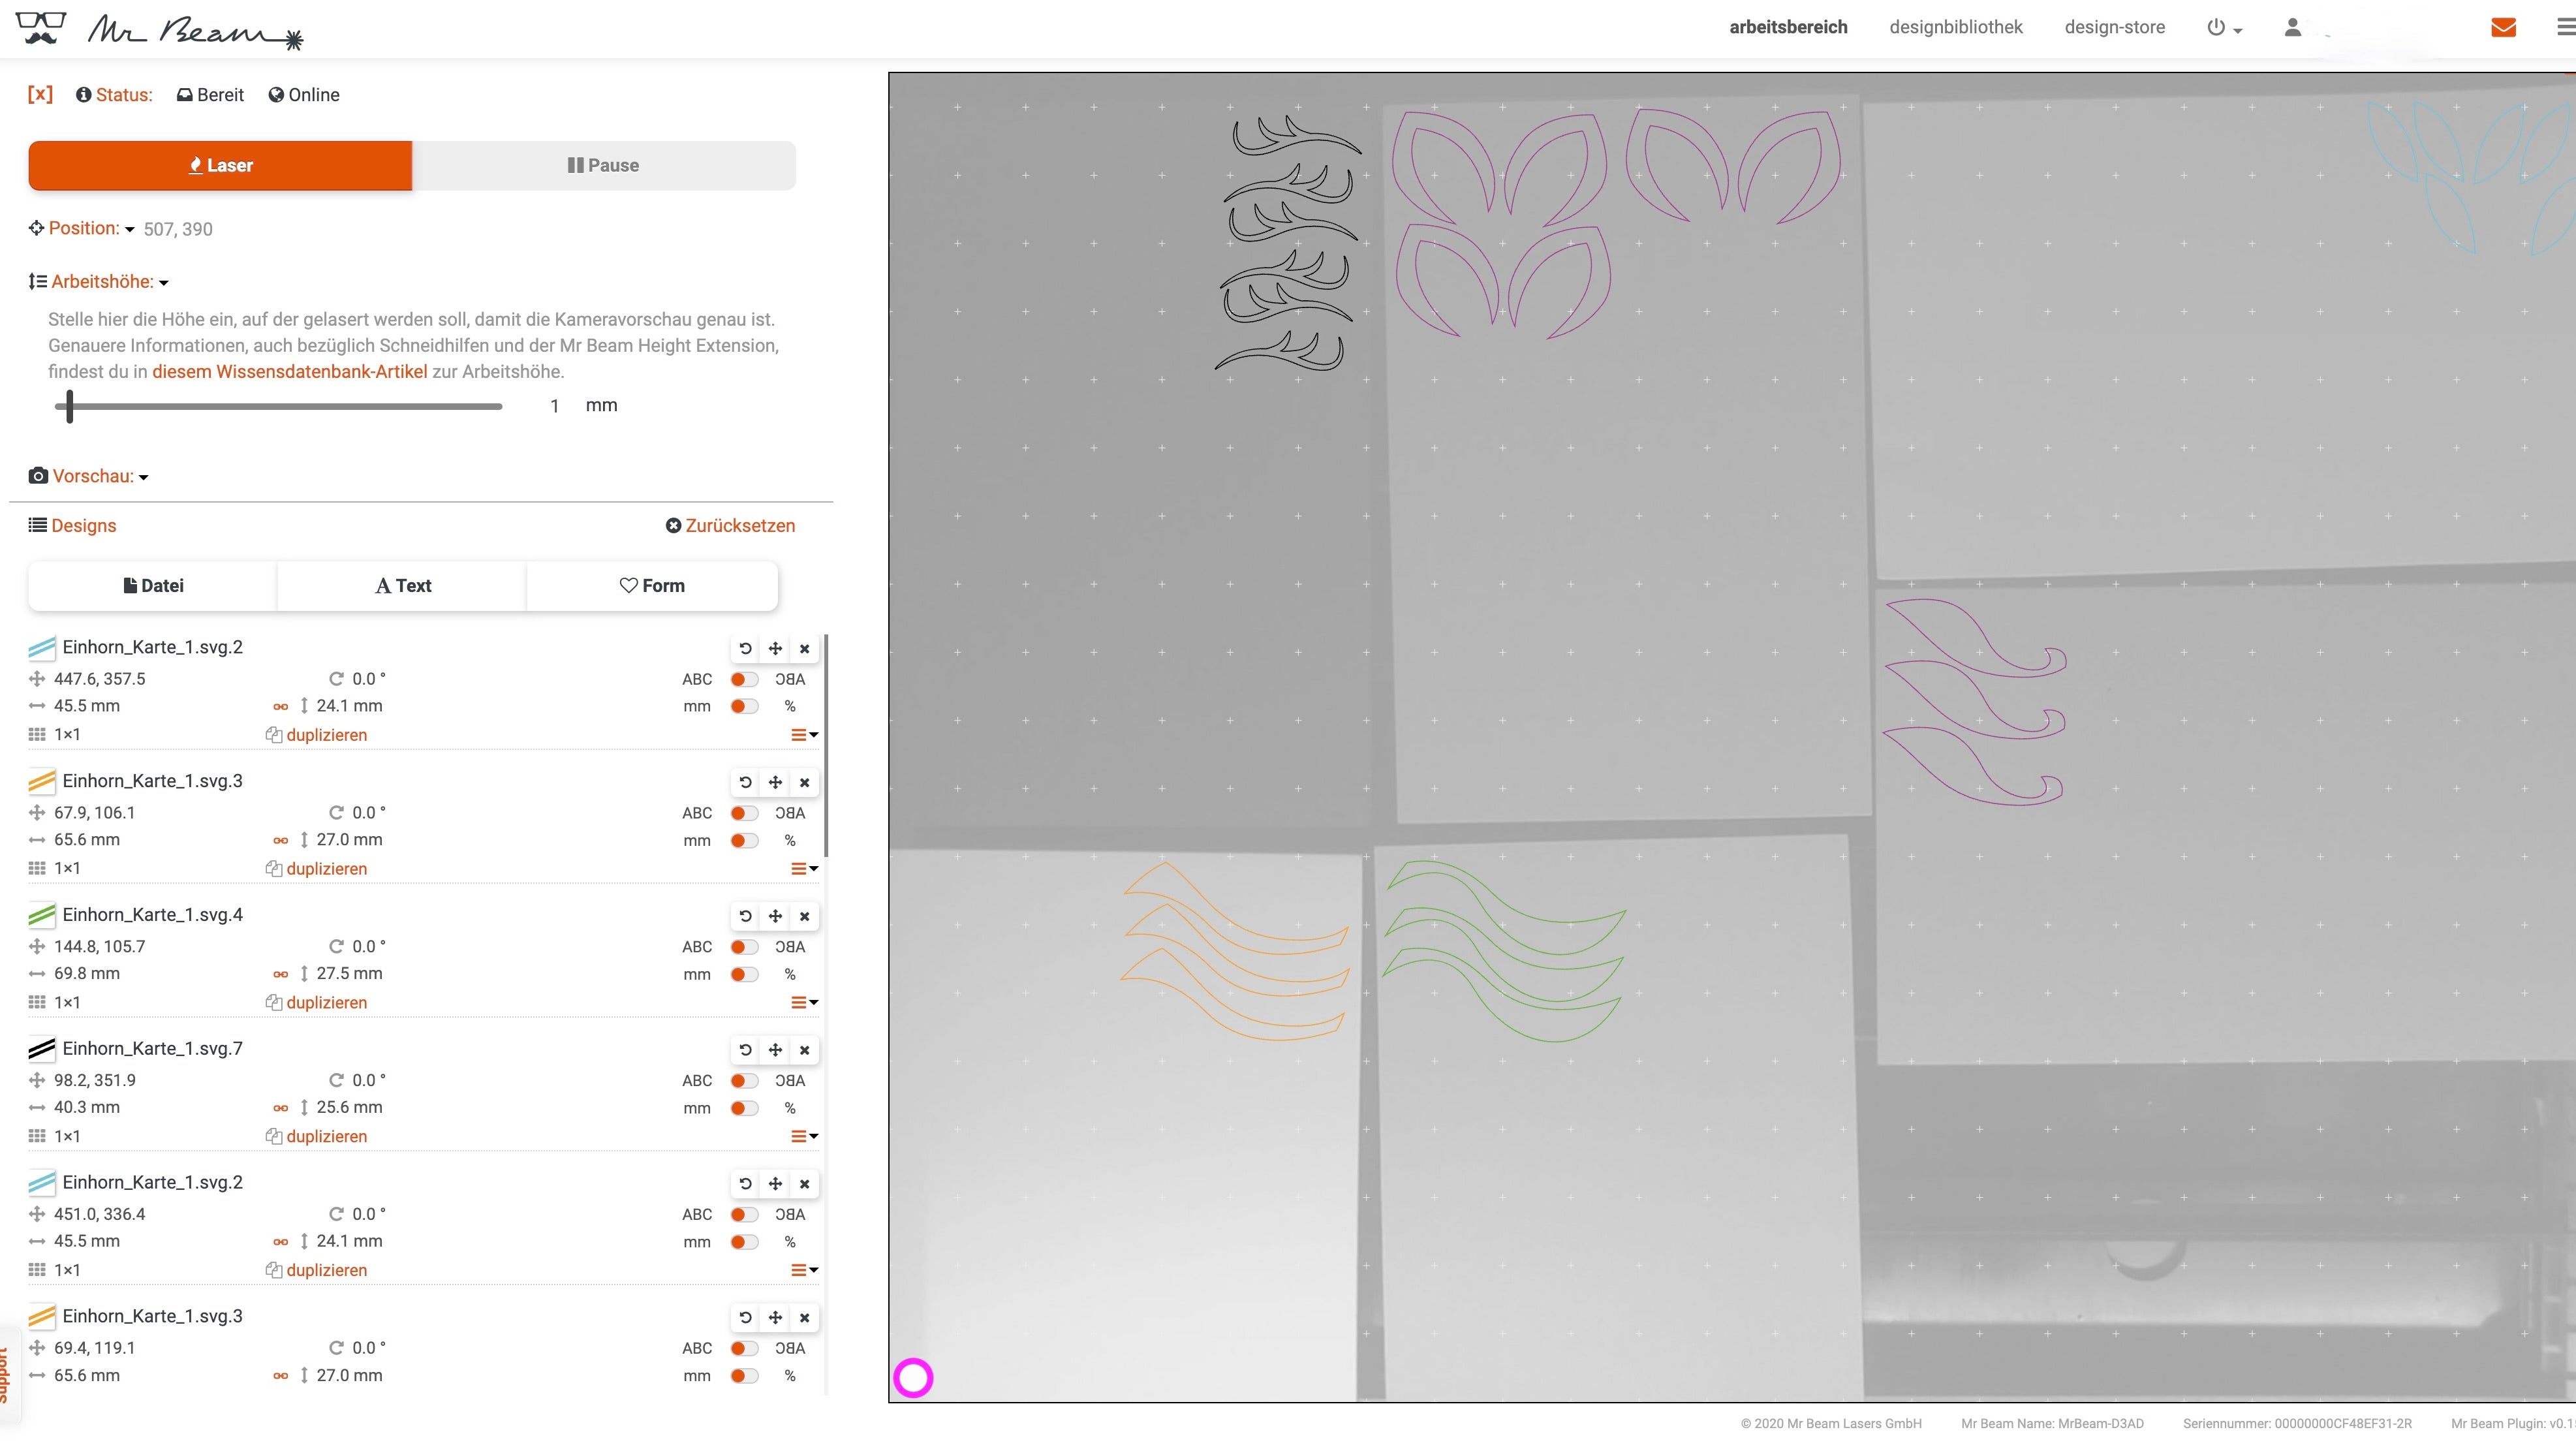
Since it always depends on the colours and the material, you should also carry out a test cut yourself. So I put all the colours in the Mr Beam, positioned the corresponding elements of the unicorn in the work area on the respective foam rubber and started the laser job. After lasering, you take everything out of the Mr Beam and can now start crafting.
Make your unicorn invitation cards
In order to be quicker, I laid out all the parts per card. Then I don't have to look for unicorn parts while I'm crafting.
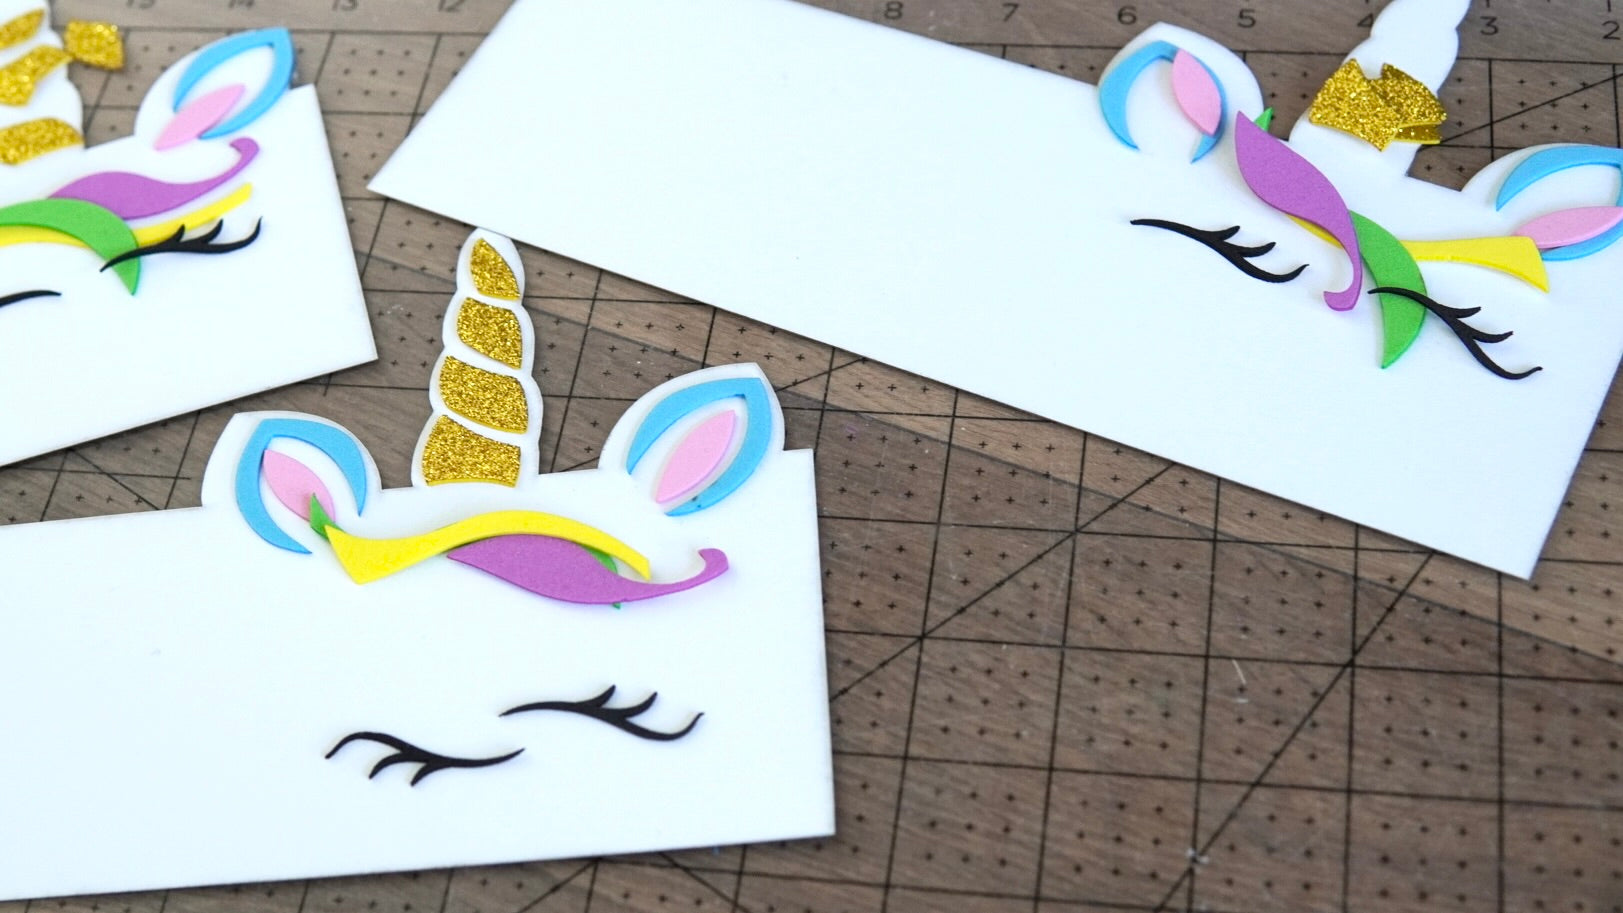
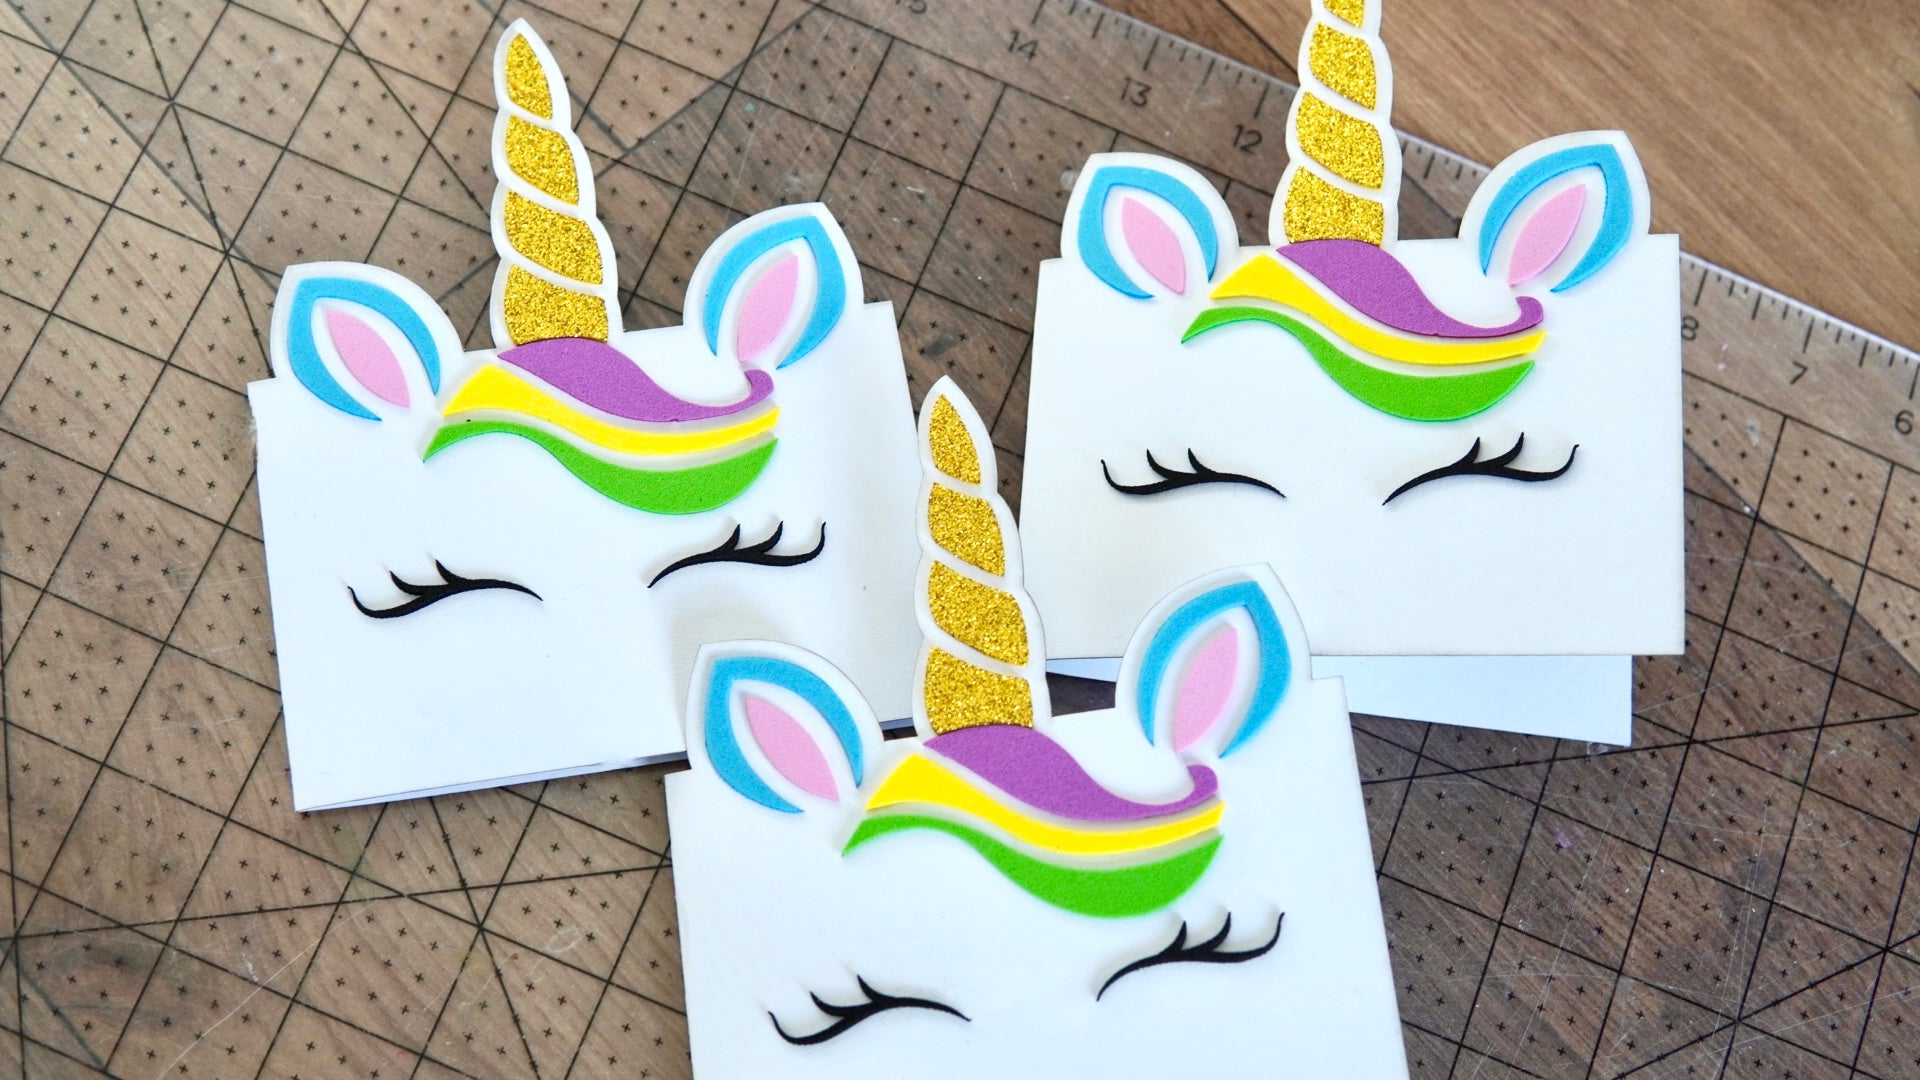
Start by gluing the horn in place and then work your way down.
The four parts of the horn are glued with some distance between each other and the edge of the card. The same goes for the ears.

You also glue the three strands of hair under the unicorn's horn with a little space between them. The Tombow Multi Glue has a fine tip for applying the glue, which is very helpful for the eyelashes. Admittedly, I found it a bit difficult to position the eyelashes.
In order to have an even lateral distance between the eyelashes and the edge of the card, I then used the unicorn's ears as a guide. I used a ruler to stick the eyelashes horizontally onto the card. Now all you have to do is fold the DIY card, and it's done!
To label and design the unicorn invitation cards, I used matching Washi tapes and metallic pens. But here, too, there are no limits to your creativity.
And if you are still looking for inspiration on how to make the right decoration for the unicorn party, then I can highly recommend my tutorial “Make your own unicorn party decoration”.
I hope you have fun imitating and making the great unicorn invitation cards with your Mr Beam.
Your Rina