
Are you as excited about Christmas crafting as I am? I love the run-up to Christmas, which in our “DIY bubble” often starts as early as Christmas cookies are available in the supermarkets. Now it's approaching Santa Claus and this year I would like to bring a little surprise to the teachers in our daycare center. Homemade, of course - that's clear.
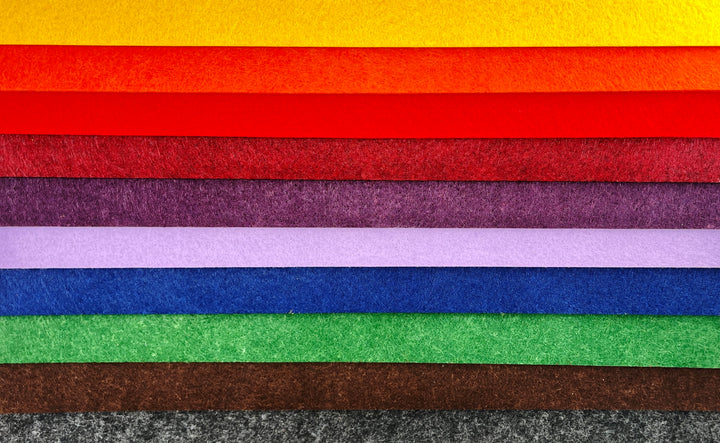
A stable, yet soft and flexible material that the Mr Beam lasers in no time is felt .
Material for your Santa boots made of felt

- of course Beami, who will give you a helping hand...or even do nonsense with the material.
- Craft felt, Din A4, approx. 1.5 mm thick, in red (you need two Din A4 pieces per boot)
- hot glue
- thin glitter felt for the decorative elements in gold and silver (the thinner the more flexible the Santa boot stays in place)
- Faux fur band in white
- the files from the Mr Beam Design Store of Santa's boots and snowflakes.
- Optional: Flex film for personalization

Mr Beam Glitter Acrylic Felt, 3mm, A3, various colours (5 pieces each)
£14.00 GBP
Sale price
From £9.00 GBP
Mr Beam trial pack felt box
Sale price
£35.00 GBP
Laser felt for your Santa Claus boots
For the Santa boot, you need the two files mentioned above from the Mr Beam Design Store.
I created the file for the boot so that it fits exactly onto a piece of felt in A4 size. Of course, as always, you can adjust the size to your liking in the workspace of the Mr Beam software .

So first place two pieces of felt in the Mr Beam and align the Santa boots on your felt using the camera preview. It is important to set the working height precisely in order to get the most accurate camera preview possible.
Laser settings for the felt
Only laser settings for 3mm thick felt are pre-installed in the Mr Beam software. The felt for your Santa boots, which is only 1.5 mm thick, needs different laser settings.
You have to test which ones fit your laser head and your felt.
I roughly doubled the speed for my felt Santa boots.

After lasering the boots, take them out of the Mr Beam and then place the gold and silver glitter felt for the decorative elements of your Santa boots into the Mr Beam with the glittery side down, just like you did with the thicker glitter felt from the Mr Beam Shop.
Stars and snowflakes for your felt Santa boots
Now, you create stars using the Quick Form function in the workspace of the Mr Beam software. You can adjust the number of points and also the sharpness of your star as you like.

Once you have created a star, you can duplicate it as many times as you need by clicking “duplicate” and then laser them out of the gold glitter felt.
You can also resize and multiply the snowflakes from the Mr Beam Design Store as you wish. They are made of silver glitter.

You also have to try out which laser settings are right for your glitter felt.
I chose the same ones as the red felt for Santa's boots. In this case, you don't have to mirror your motif, but if you want to laser a lettering, for example, you shouldn't forget it!

Your Santa boot and the decorative elements are lasered, and you can turn off the Mr Beam.
Make your Santa boot out of felt
You now need the hot glue, your lasered felt elements and the faux fur ribbon.
Once your hot glue gun has preheated, you're ready to get started. Place the two lasered boots on top of each other precisely. A bit of speed is required when gluing things together.
Apply the hot glue to the edge of Santa's boot, place the counterpart on top and press it firmly while the glue is still hot. Of course, you leave out the top edge, because your Santa boot needs an opening to fill it 😉.
It helped me to glue the boot in several sections.

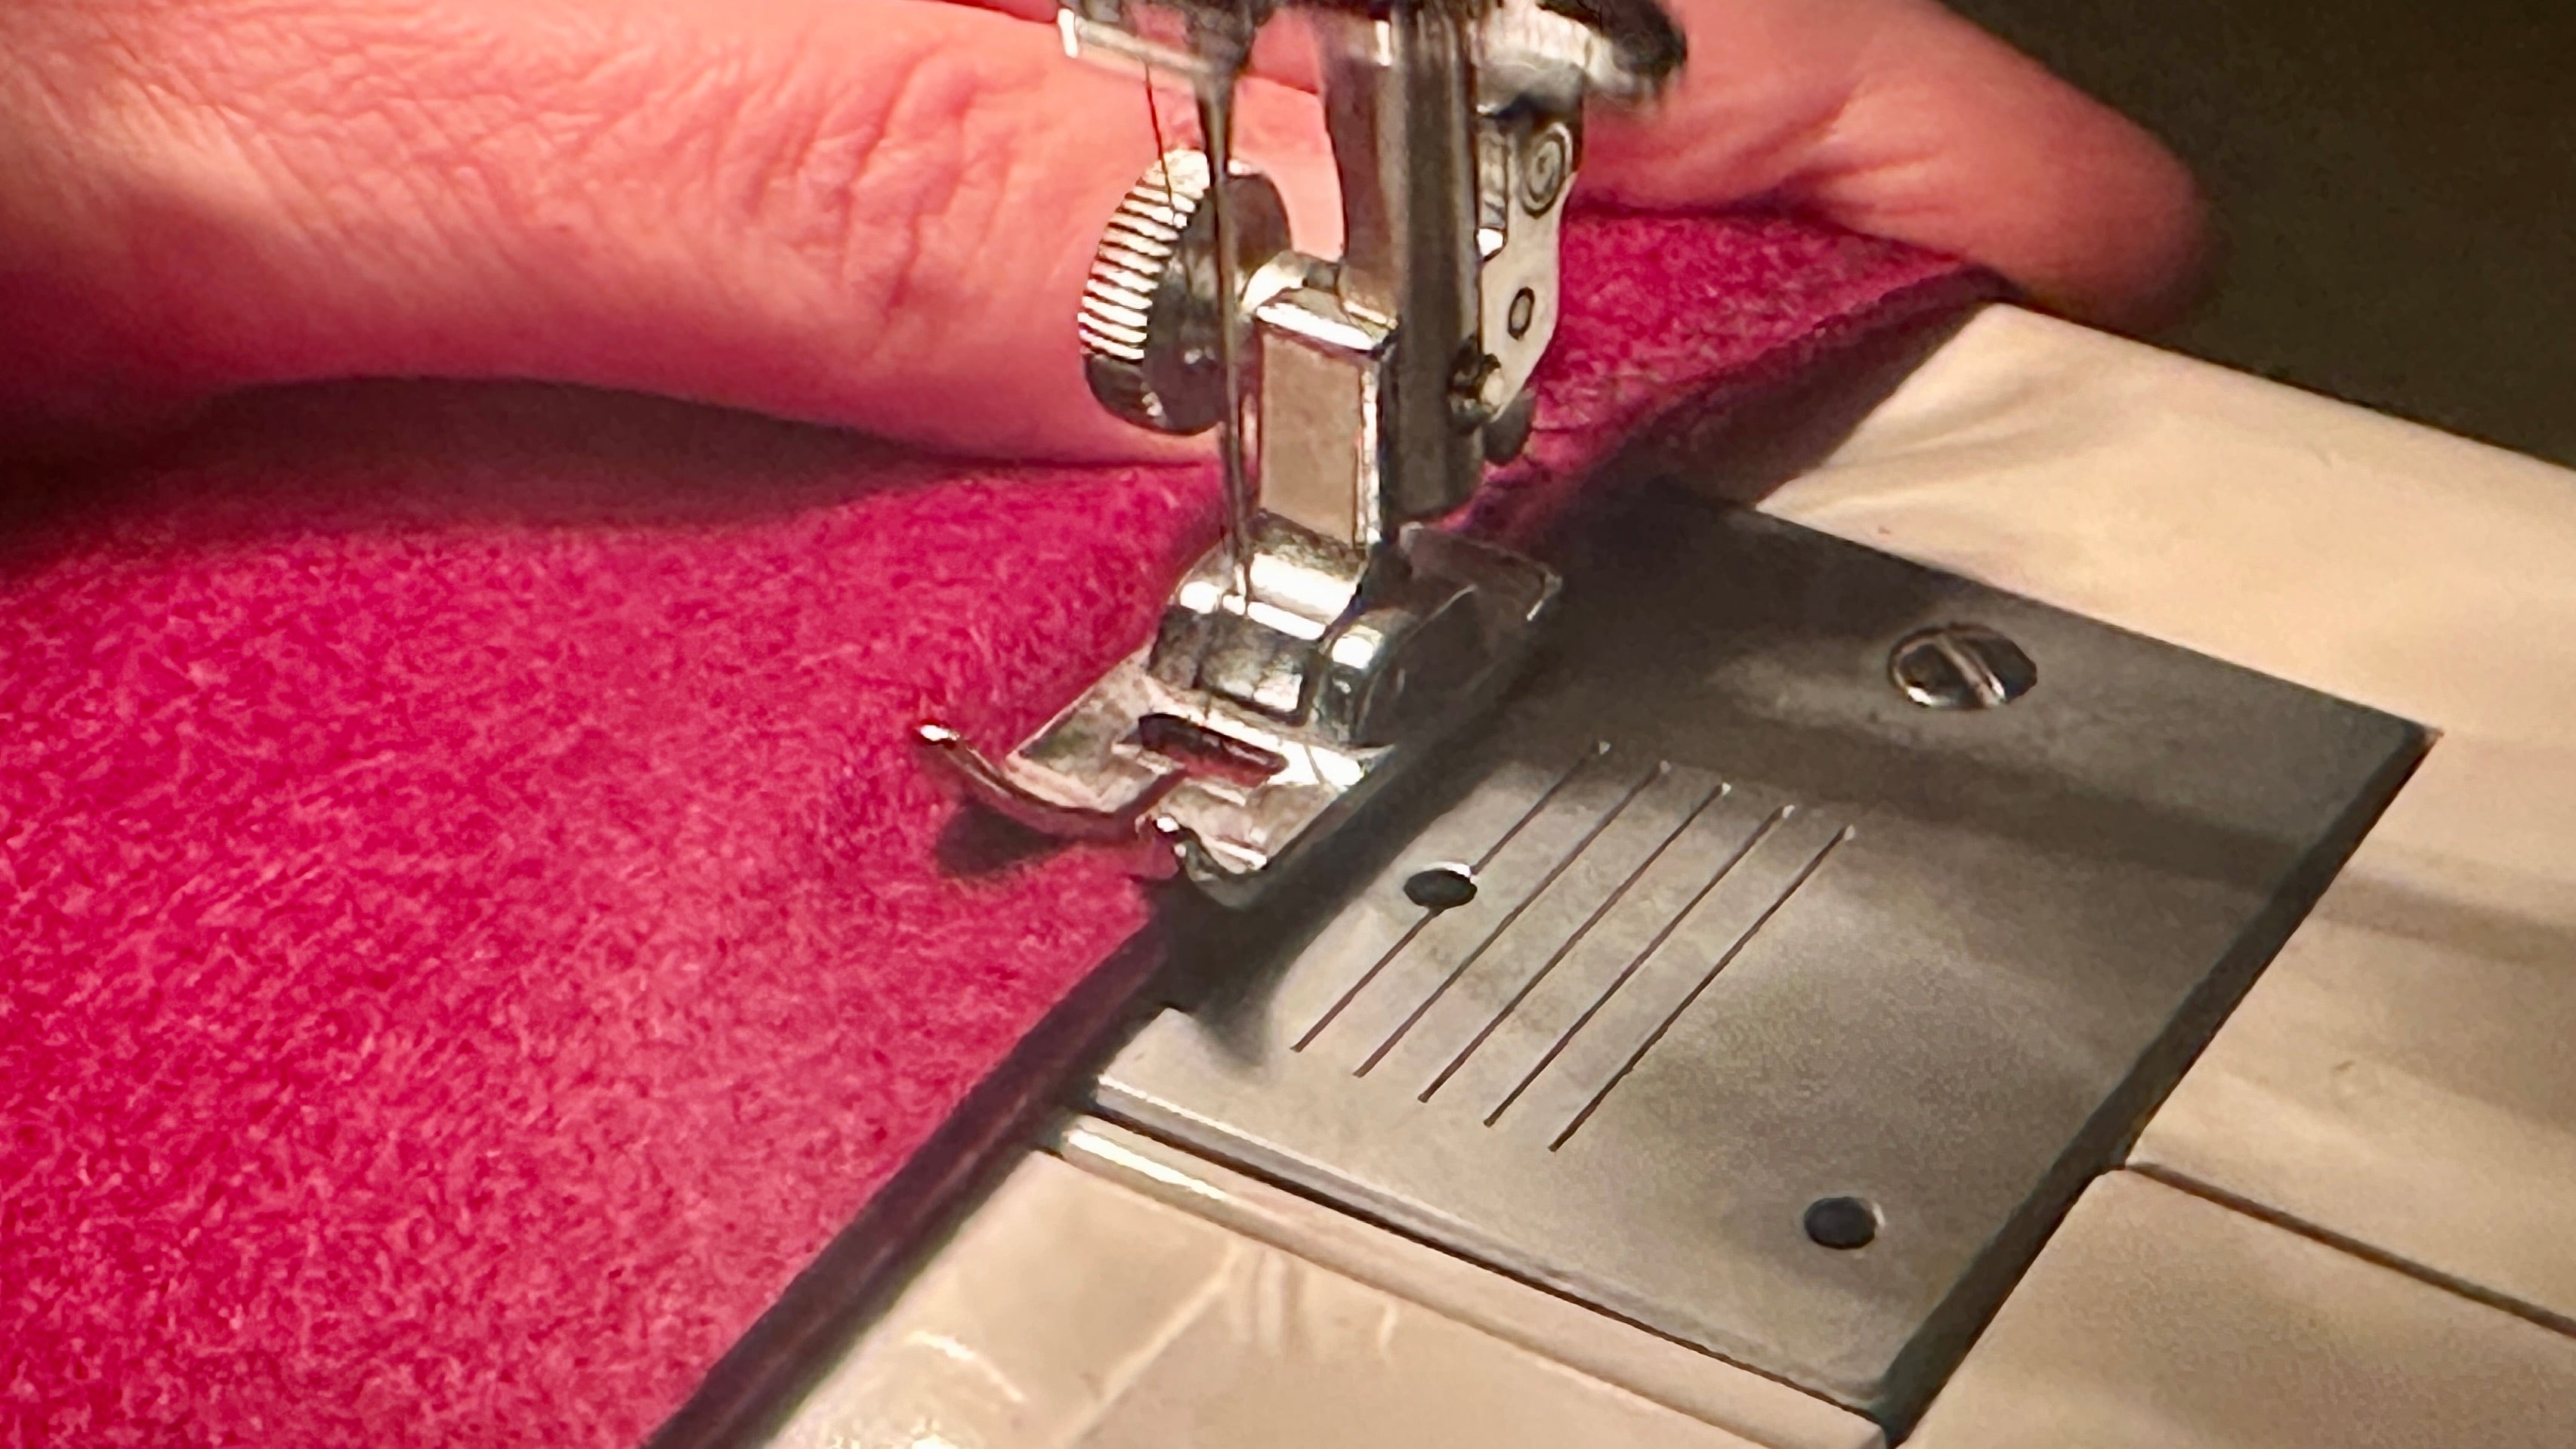
If some hot glue oozes out on the side, you can cut it off with scissors after it has dried. Of course, you can also sew your Santa boots if you have a sewing machine.
White faux fur ribbon for your Santa boots
Glue the faux fur ribbon around the top of the boot along the opening. Here, too, it makes sense to glue in sections, as the hot glue will no longer bound to both materials if it has cooled down too much.

Once you have wrapped the faux fur band around the boot, cut it off and apply hot glue again at the connection point to glue the two ends of the faux fur band for your Santa boot.
Now distribute the stars and snowflakes on your boot and glue them on with hot glue.

Personalize the Santa boot
As with most gifts, it's nice to be able to personalize them.
There are countless possibilities in the DIY area:
- Laser the name out of felt and stick it on
- write on the felt with a thick, waterproof pen
- or, if you have a plotter like me, you can plot and press the name or wishes for the Santa boot with flex or flock film

I hope you have fun imitating and giving as a gift…..Beamiiiiii??? Hey, you shouldn't snack! Oh, as a thank you for your help?! Well, okay…
Well, I can tell you, you can't take your eyes off Beami for a second.
Beautiful Advent!
Your Rina


