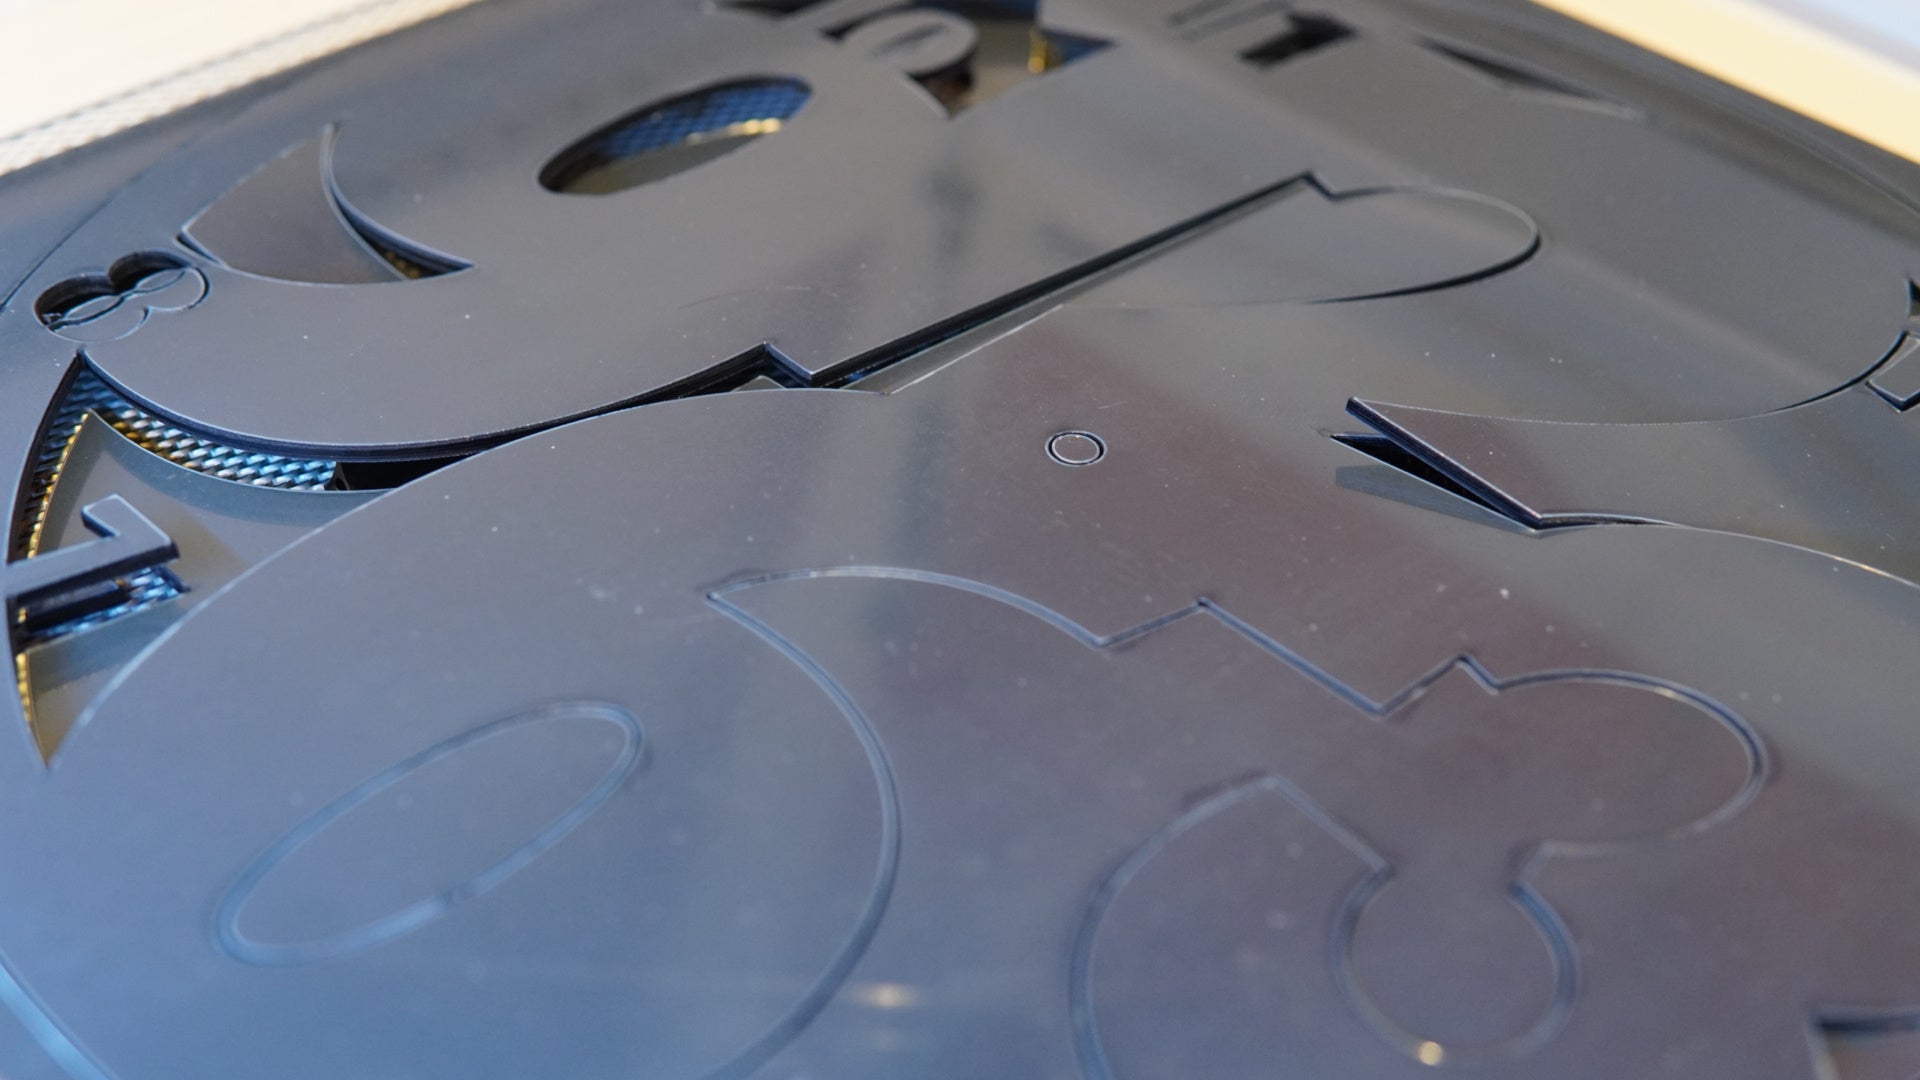
I'll admit it: I love black acrylic. And yes, Mr Beam's [x] head can now cut other colours, such as white acrylic, but I just like black acrylic. Acrylic can be processed easily and now even faster in the Mr Beam and looks really chic. Whether in combination with other materials or not, black acrylic always looks good, don't you think?
But a wall clock? Why, in the age of cell phones and watches?
There are various reasons why a wall clock can be a useful addition to a mobile phone clock or other digital clocks:
Time management and focus
A wall clock is a handy way to keep track of time and improve your time management. It allows you to read the time quickly and easily WITHOUT having to look at your cell phone or other electronic devices and without being distracted. Especially in work or study areas, a wall clock can help create a focused work environment to meet deadlines and not miss appointments.
Decorative function
A wall clock can also simply serve as a decorative element , adding style and character to the room in which it hangs. Of course, it is always important that the design, colour and style match the interior and your personal taste.
Ultimately, a wall clock is both functional and decorative. It can help you manage your time better while serving as an attractive element that complements the style and atmosphere of your space. And your new DIY acrylic wall clock is ready in no time!
Material list for your DIY acrylic wall clock
The new clock for my office will - you guessed it - be made of black acrylic.
I would not recommend thicker than 3 mm, otherwise your wall clock will be quite heavy. What else do you need, Just a clockwork with hands, of course a battery and my file from the Mr Beam Design Store.
The file for your DIY acrylic wall clock
The file is designed for a wall clock with a diameter of 35 cm and for a clockwork that requires a bushing with a diameter of 8 mm. You may need to adjust the opening for your clockwork.
To get started, start your Mr Beam and open BeamOS on your computer. At the top right in the bar you will find the "design-store" where you can also download the file for your DIY wall clock. Simply pay for the design with your Beam Coins, and it's in your design library.
As soon as you click on the wall clock, it will open in your workspace in BeamOS.
You can read how to buy laser templates in the Design Store in the knowledge base.

Lasering acrylic with the [x] head - your DIY wall clock is ready to use in no time
For your DIY wall clock, you now place your acrylic plate in your Mr Beam. Make sure that your wall clock should be at least 36 x 36 cm.
I recommend removing the foil on the acrylic only after the laser job and attaching your acrylic with the magnets or placing it on the Mr Beam Sti(x), so you get a nice cutting result with clear, smooth cut edges.
With a small ruler, you can now determine the object height to set it in BeamOS. This is important for the correct orientation of the file in the camera view.
Now align the wall clock file on your acrylic sheet to save as much material as possible. Click on "Laser" to get into the laser settings.
As always, the reminder to focus now appears. Have you focused yet?!
If yes, then we can start. The laser parameters for the different acrylic colours are already stored in BeamOS, so you only have to choose your colour - black in my case - and the thickness of your material for your DIY wall clock.

Then the appropriate laser parameters appear and you can click on “Start”. Close the lid of your Mr Beam and press the button.

The [x] head only needs five passes, and on the last pass you can already see the cut elements falling down. Cutting acrylic is super easy with the Mr Beam.
If you leave the foils on the front and back of your acrylic sheet, it may happen that the Mr Beam needs one more pass.

When the laser job is finished, before you take out your acrylic, check that the opening for your movement really fits. To do this, insert it once from the front through the hole provided.

If everything fits, get your almost finished DIY wall clock out of your Mr Beam and remove the foil from your acrylic. Lay out the individual parts of your clockwork and the hands, and follow the assembly instructions.

With most movements, you first lay down the movement itself, followed by the fastening hook and non-slip rubber.

Now put your DIY acrylic wall clock over it and fix it with the washer and nut provided. Now the pointers follow. First the hour hand, then the minute hand and finally the second hand.
You can determine the appearance of your pointer yourself when you buy it. Of course, it should match your wall clock and your furnishings in terms of colour and design.
Now you're almost done, all that's missing is the battery. Insert it and set the current time.
Caring for your DIY acrylic wall clock
Acrylic is relatively easy to care for. To avoid scratches, you should use a soft microfiber cloth when cleaning the surface. For stubborn dirt, a plastic cleaner that was specially developed for cleaning acrylic is also suitable. In any case, you should avoid aggressive cleaning agents or abrasive sponges, as these would damage the surface of the acrylic.
I wish you a lot of fun imitating it - and always plenty of time ;-), because we all don't have enough of that.
Your Rina


