The next Children's birthday Stands and of course nothing works without a nice decoration: balloons, air cats, garlands, Kuchendeko - both chocolate and just decorative in the form of cake toppers, confetti and so on ...
Currently, it is mostly "topics of birthdays" ... the unicorn party, a Dinosauria birthday or a pirate party. But no matter what topic, one have all birthdays in common: It should be colourful! 🎉🥳🎈
A nice birthday garland, a cake topper tinker and of course A chic crown for the birthday child not missing.
I made the files available to you again. You can find them in Mr Beam Design Store.
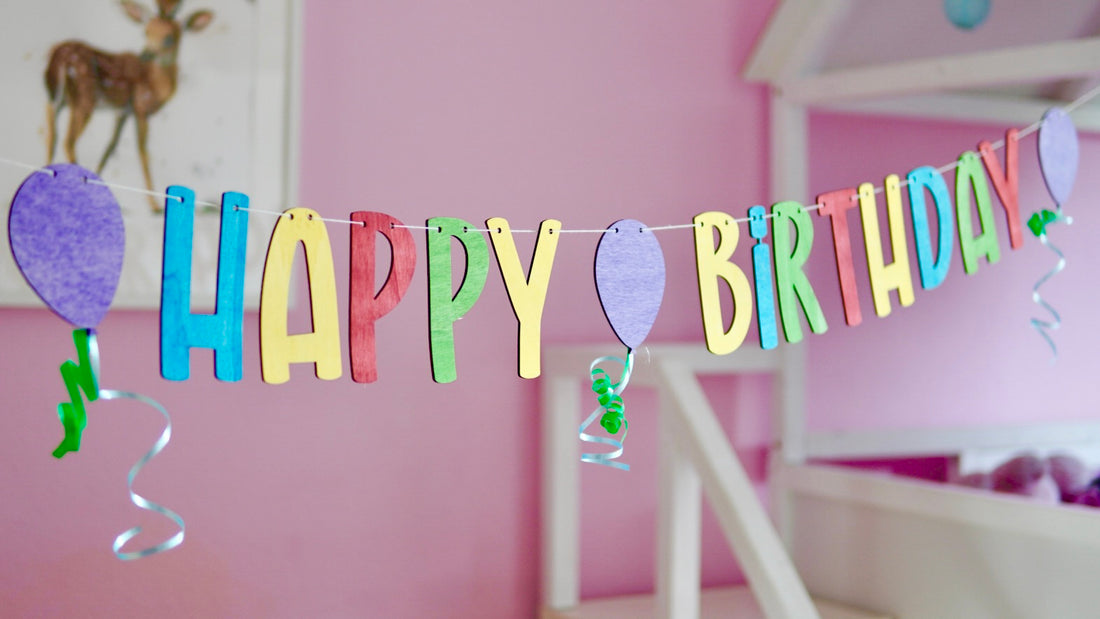
The Happy Birthday garland - the basic decoration
One garland For the front door, the living room, in the garden pavilion or as Table decoration hanging over the birthday table always makes something, and you know where the party rises.
- Colourful poplar plywood
- Cord / cord
- Possibly a hot glue gun and decoration (for example gift ribbon)
You can simply make your garland brightly coloured or make them colour -coordinate to the topic. To do this, you have the option of painting the letters - either before or after laser. Or you just take that Colourful poplar plywood from the Mr Beam Shop. Before laser, think about which colours your letters should have and share the file accordingly in the work area of your BeamOS on.

There are two holes for the cord in each letter. After lasering, you thread your cord through, and it is Birthday decoration ready.

You can Birthday garland Add other elements, such as balloons, for example. You can glue gift tapes or crêpe paper strips on the balloons, so something flutters in the draft.

Or do you complement hearts, stars or elements to match the decoration of the party theme? There are really no limits to your imagination.
No matter what and how, you quickly have a beautiful garland thanks to the template of Your birthday decoration.
Cake topper tinker as a decoration for the birthday cake
- Poplar plywood
- Wood glue
- Possibly colourful poplar plywood or spray pack
- Cling
A Cake topper for the birthday cake did you lasered down. You load the file into your design library and from there to your work area in the BeamOS.
The area under the "Birthday" is chosen a little more generously, so you can very easily personalize. Either with the name or the year, or maybe you can think of something completely different.

Our daughter becomes two and her favourite colour is green.
So it quickly became clear that on the Cake topper for your birthday cake, a green “2” must. I glued the lasered “2” with wood glue. So the number not only stands out somewhat due to the colour.

The Cake topper You can wrap with cling film at the top that is inserted into the cake before you put it in the cake.
So the poplar plywood does not differ, and the birthday cake does not taste burned at the point through the laser residues.
And what is there at every party? Coffee, cake, decorated tables, gifts and of course, not to forget: The birthday child.
Last but not least: the birthday crown for the birthday child
- Felt 3mm
- Felt 1mm
- Hot glue gun
- Cord / Velcro /…. To close the crown
A crown in the favourite colours of the birthday child and The decoration of the crown all over colourful. The template from the file is approximately 38.5 cm long.
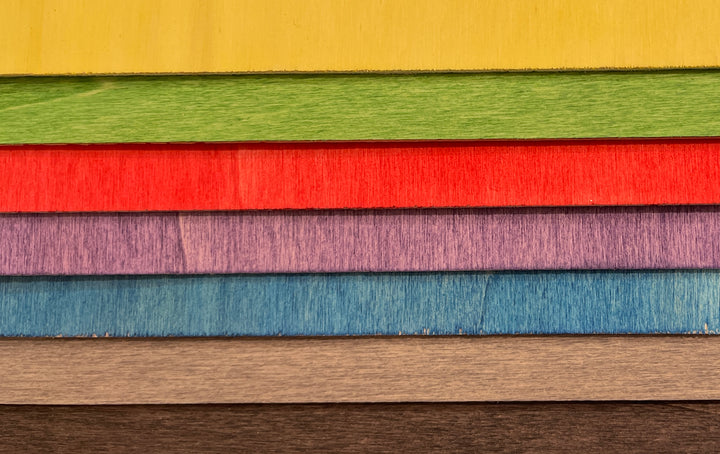
Mr Beam poplar plywood coloured (different colours)
Sale price
From £18.00 GBP
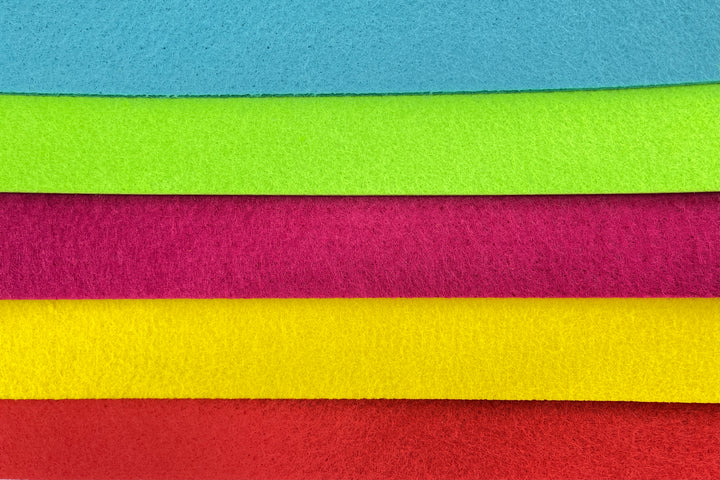
Mr Beam Acrylic felt, 3mm, A3, 5 Pack, neon colours
Sale price
From £14.00 GBP
For the crown base, you take the stronger felt. So the crown gets stability and sometimes holds a fall from the head of the Birthday child out of.
You can laser openings directly into the base for attaching a string.
To do this, select “Circle” in the work area and add it two or four times. For the diameter of the circle, you are guided by the diameter of your cord.

You have different options for the closure. Either you use Velcro, a string, a wide fabric band, or You tackle the crown Together.
According to the base for the head decoration, you let yours Mr Beam the backlog lasers felt and then stick it to the base with hot glue in the middle.

Spread the glue well. Apply sufficient adhesive, but not too thick, otherwise you may see the glue later.
Attention, the glue is very hot. You leave the confetti points as decoration Mr Beam Simply laser from many colours of your felt to afterwards Colourful crown for the birthday child to have.
The number comes with the circle and the sun on the big spikes of the birthday crown.

And already you have Individual decoration for your birthday - and thanks to yours Mr Beam It was very quick!
You have that Tutorial to like? Then follow us Instagram and don't miss any articles from our Mr Beam Blog. We always look forward to your shared laser results #madewithmrbeam. - so, what are you waiting for? 🥰


