In the DIY sector, you can hardly avoid the topic of upcycling, right? Especially in 2023 it is THE handicraft trend par excellence.
And I confess: I love it! Because you have most of the materials at home anyway, or you can quickly fish them out of the paper bin or the yellow sack. Everyone has old milk cartons or Tetra Pak for upcycling at home.
Thus, upcycling ideas are perfect for small spontaneous gifts - also at Easter.
- an empty milk or juice carton, the main thing is Tetra Pak
- an old mailer
- masking tape
- acrylic paint and a brush
- two wooden sticks
- hot glue
- Glue
- a black felt-tip pen
- some cord
and of course something already or at least soon to be in bloom.
A flower vase made from an old milk carton as a small Easter present
First, you cut off the top 10 to 15 cm of your milk carton to use for your upcycling.
Thorough washing with a little washing-up liquid is important, because the smell of milk can be very persistent.

Now you can let off steam on the milk carton, because it has to be kneaded well until it's soft. At the seam, start by peeling off the thin layer of printed paper, and then peel it off completely all around. You can either leave the bottom as is, or remove the top layer here as well.
Fold the top edge over once or twice and bend your milk carton back into shape as a vase.

The milk carton upcycling gets the right look for Easter
A template for transferring the appropriate motif for Easter
It is certainly nothing new for you to have your Mr Beam lasered to a template. But a template made of paper or cardboard is rather unsuitable on the uneven surface of your vase. The paint would run between the cavities.
So you need something that sticks and at the same time can be easily removed again: masking tape.
And how should Mr Beam laser masking tape so that you have a template afterwards?
Very simple: First stick a few strips of masking tape horizontally on a piece of paper, slightly overlapping them, then do the same again vertically.
You put that in your Mr Beam.

A rabbit on the vase
Now the right motif for Easter is missing. Do you remember my blog article about wall stickers ? Here I lasered forest animals for my girl's nursery. This cute rabbit looking up is perfect for your upcycled vase as a small gift for Easter.
Load the file from the theme store, or if you bought it then from your theme library, into your workspace. - It almost doesn't get any more sustainable.
You adapt the size of the rabbit to the existing area on your milk carton upcycling.
Use the camera image to align the rabbit in the middle of your masking tape area. You have to test which settings for lasering suit you here.

The Yellow Paper settings worked for me, increasing the passes to three.

After lasering, you detach the masking tape from the paper, of course contiguously as an entire surface. Glue your template to your vase and press the masking tape down firmly, so there are no voids. You're good to go, your upcycling vase as a small gift will get its colourful look for Easter.

Apply your paint with a brush. The material is relatively absorbent, so acrylic paint with its rich, opaque colours is best. After applying the paint, let it dry a little and then carefully peel off your masking tape template.
Now your upcycled vase is ready for your little Easter present.
Of course, flowers still have to move in here.

An Easter greeting for your little gift
A "Happy Easter" should not be missing from your Easter gift, right?
You now make a small garland with two wooden sticks, some string and an old mailing bag.
You should definitely paint the two wooden sticks, otherwise they will quickly soften in the moist soil.

I wrapped matching washi tape around the sticks and then painted them. While the paint is drying, you can make the garland.
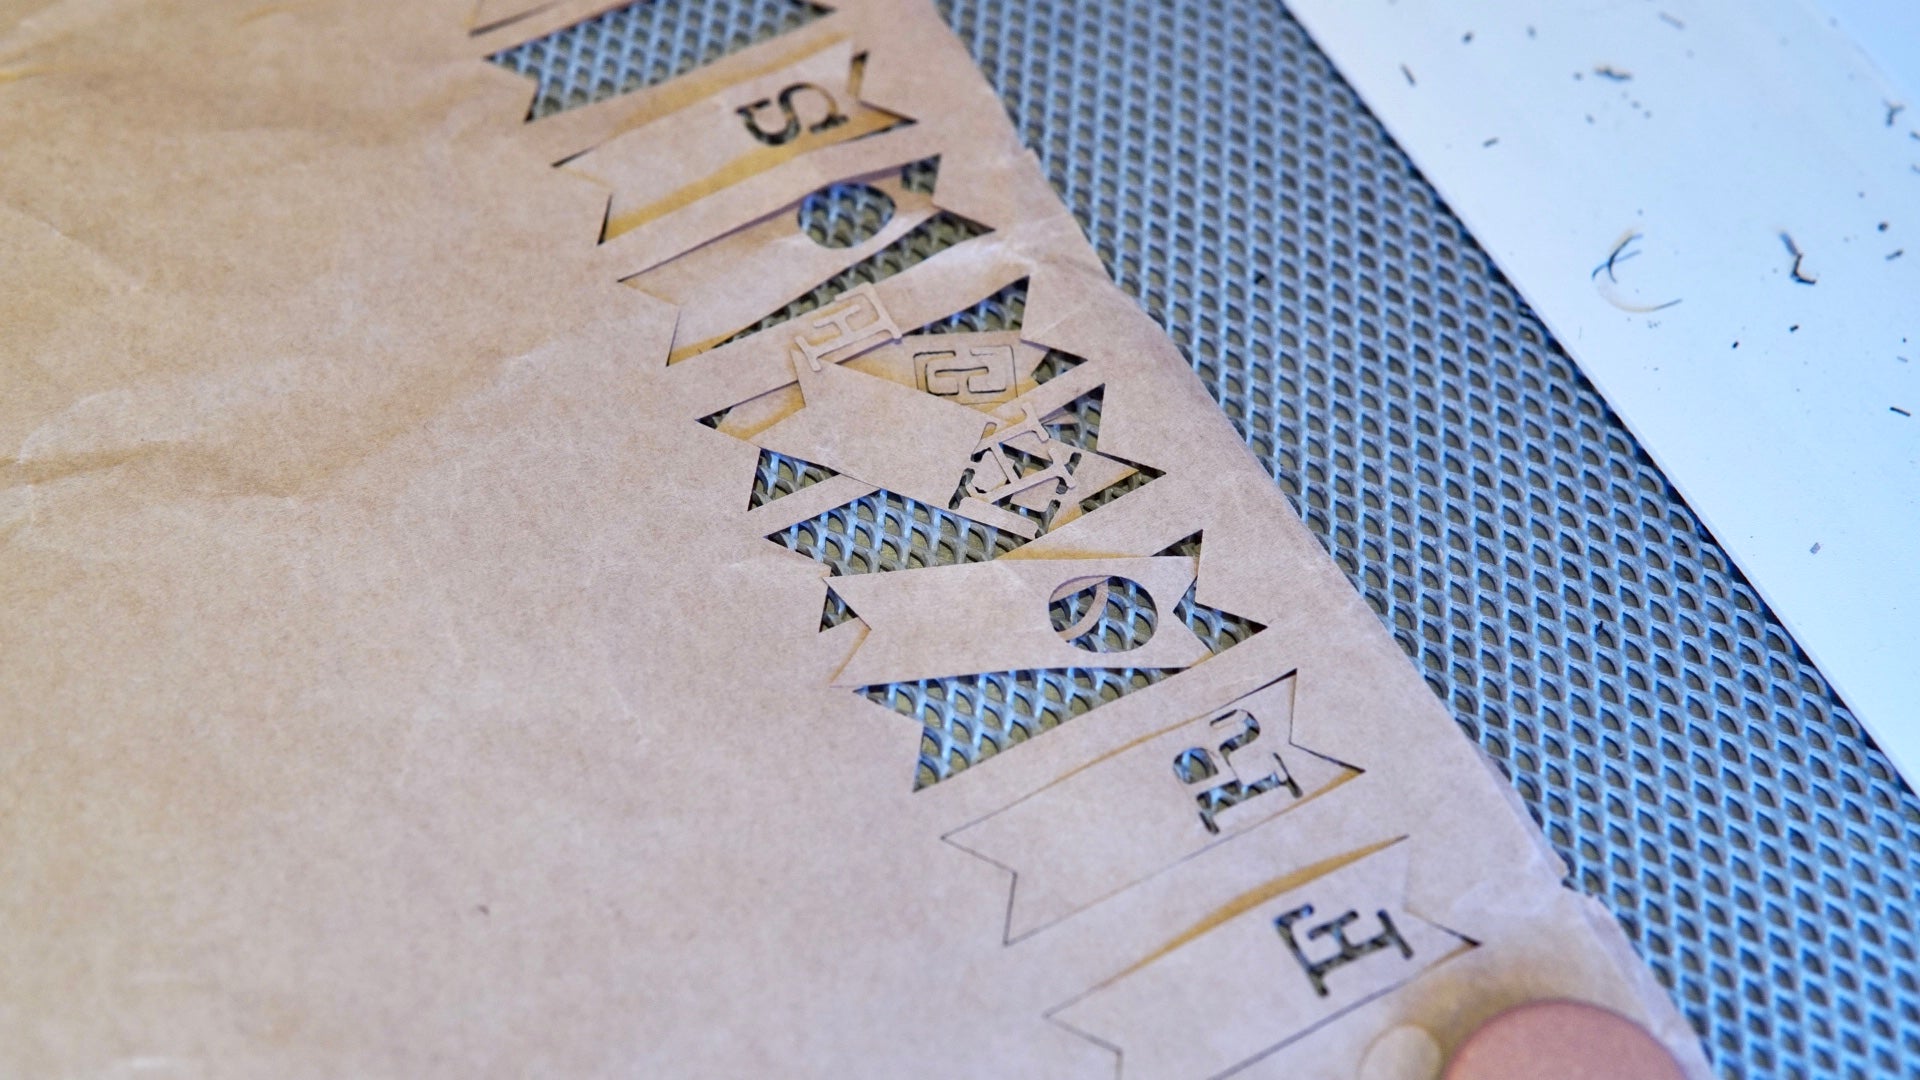
Create eleven small flags in your graphics program, each with a letter from “Happy Easter” and save them. Drag and drop the file into your work area in BeamOS and let your Mr Beam laser the little flags out of the old mailing bag. Be careful not to lose the inner parts of the Os and Rs.
If your mailer is too crumpled, you can iron it briefly on a very low setting. Depending on the situation, it is also sufficient to stretch the paper with magnets.

To make the letters easy to read after gluing your flags together, paint the inside of your flags with a felt-tip pen.

You need two pieces of cord, one per word, to which you now glue the flags.
To apply the glue more precisely to the small areas between the letters, a "Quickie Glue" rollerball is suitable. Alternatively, a toothpick is suitable for applying the glue.
Now put the flag around the cord and press it together. Then stick the missing elements of the Os and Rs onto the flags. Tweezers may be helpful in some cases.
Next, carefully insert the two wooden sticks into the soil, being careful not to damage the roots of your flowers.

A small drop of hot glue is suitable for attaching your garlands to the wooden sticks. Apply hot glue to the back of the wands, then gently push your cord in - watch out, hot!
Your upcycling vase is ready as a small gift for Easter. Who would still suspect that it was an old milk carton before?
I wish you a lot of fun tinkering - and also when handing over your little upcycling gift for Easter.
Your Rina


